Create an OCI Repository
Create an OCI repository to pull, publish, or aggregate container images and OCI artifacts. See Repository Management and Repository Types for more details.
Note
OCI repository names must be lowercase.
OCI Proxy Repository
Use Nexus proxy repository when you want to download packages and centralize package caching of external dependencies. To learn more, check Proxy Repositories.
To create an OCI proxy repository, complete the following steps:
Nexus One UI
Navigate to Settings → Repositories.
Select Create Repository.
From the Select Format section, select OCI.
From the Select Type section, select Proxy.
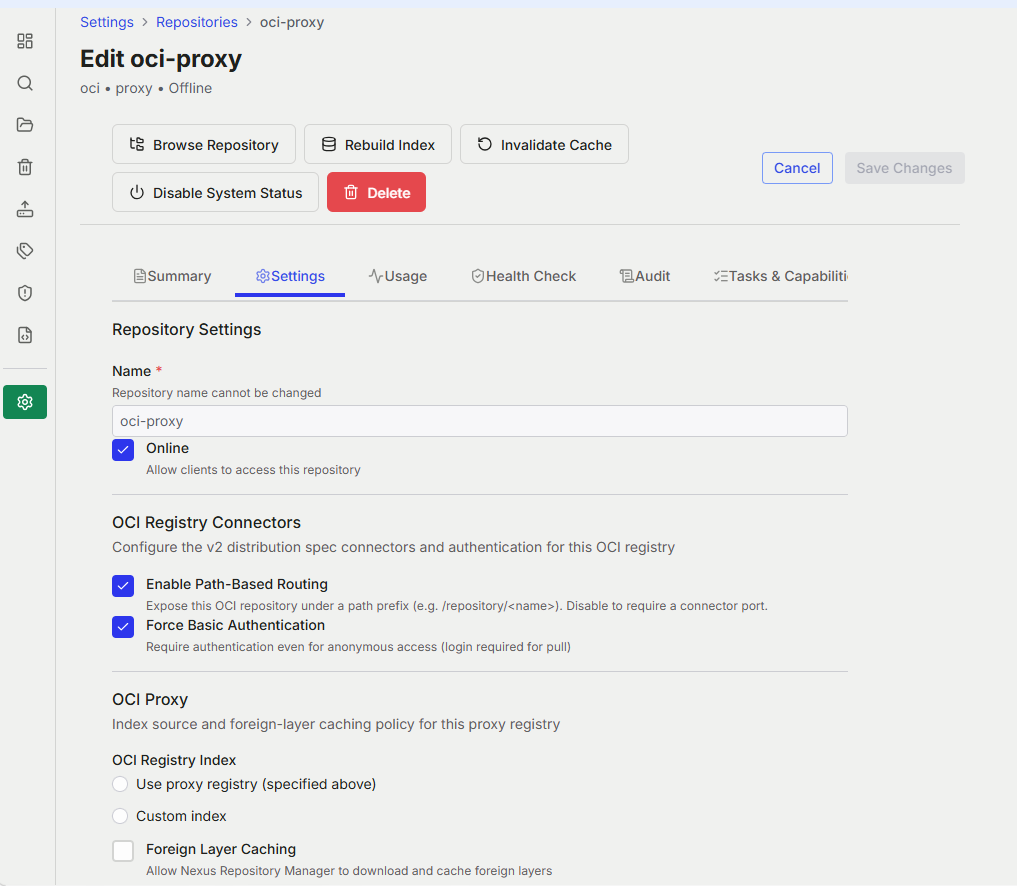
In the form that appears, complete the required fields.
Name, for example docker-proxy-oci
Remote storage URL, for example https://registry-1.docker.io.
If the upstream registry requires credentials, enter the username and password.
Blob Store
Complete the additional fields for configurations you wish to add for creating your repository. Available configurations differ by repository format and type. See Configurable Repository Fields for more details. Click Continue.
In the Enable RHC section, turn on Enable Repository Health Check to analyze components for security vulnerabilities and license issues. Leave it disabled to configure it later.
Select Create Repository.
Classic UI
Go to Settings → Repository → Repositories.
Select Create repository.
From the list of recipes, select oci (proxy).
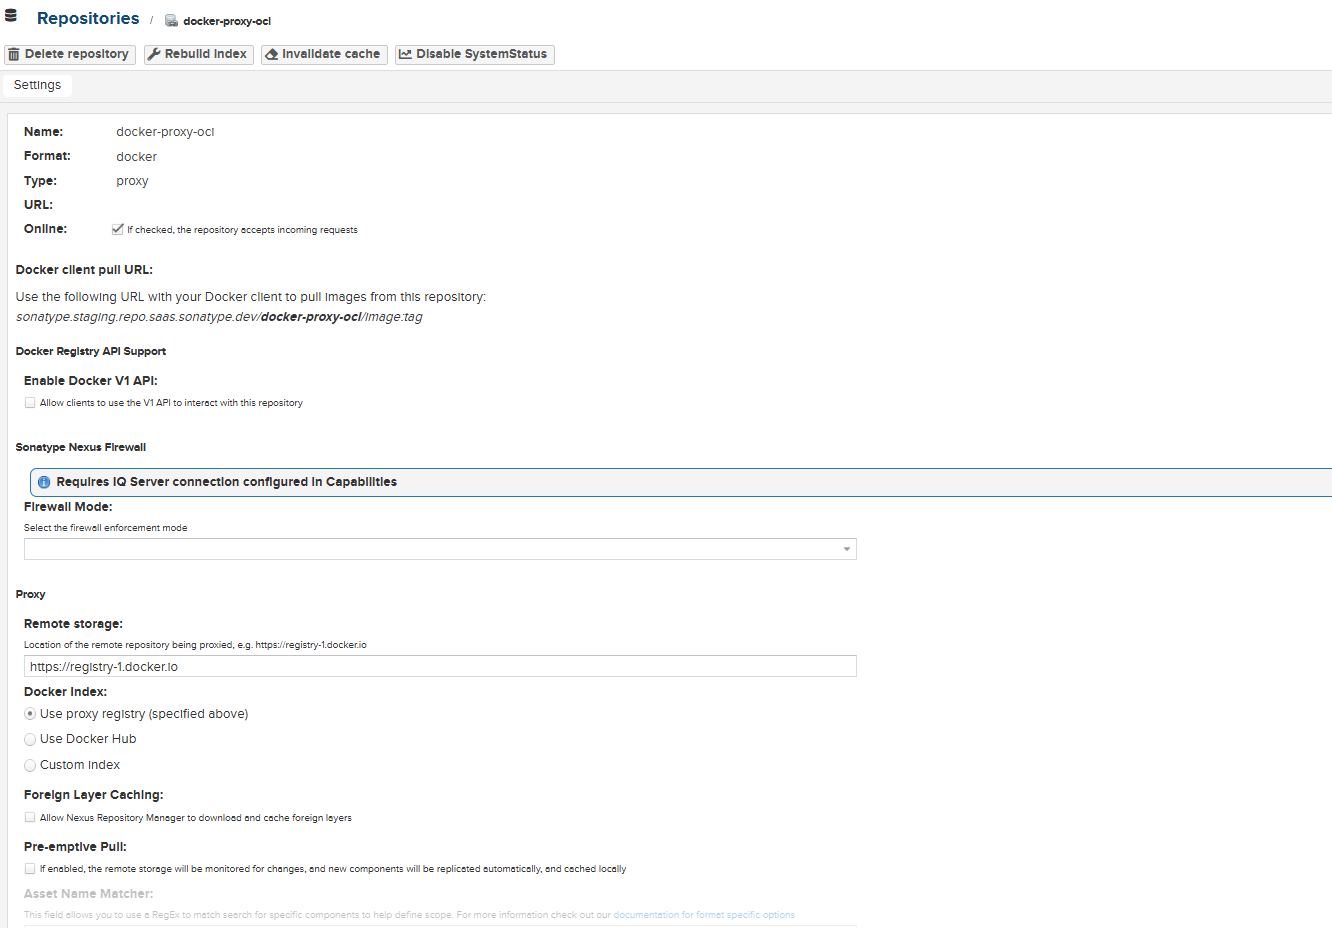
In the form that appears, complete the required fields.
Repository Name, for example docker-proxy-oci
Remote storage URL, for example https://registry-1.docker.io.
If the upstream registry requires credentials, enter the username and password.
Blob store
Complete the additional fields for configurations you wish to add for creating your repository. Available configurations differ by repository format and type. See Configurable Repository Fields for more details.
Select Create repository.
OCI Hosted Repository
Use Nexus hosted repository when you want to publish and store your own internal artifacts and third party components, so they can be consumed via Nexus. To learn more, check Hosted Repositories.
To create an OCI hosted repository, complete the following steps:
Nexus One UI
Navigate to Settings → Repositories.
Select Create Repository.
From the Select Format section, select OCI.
From the Select Type section, select Hosted.
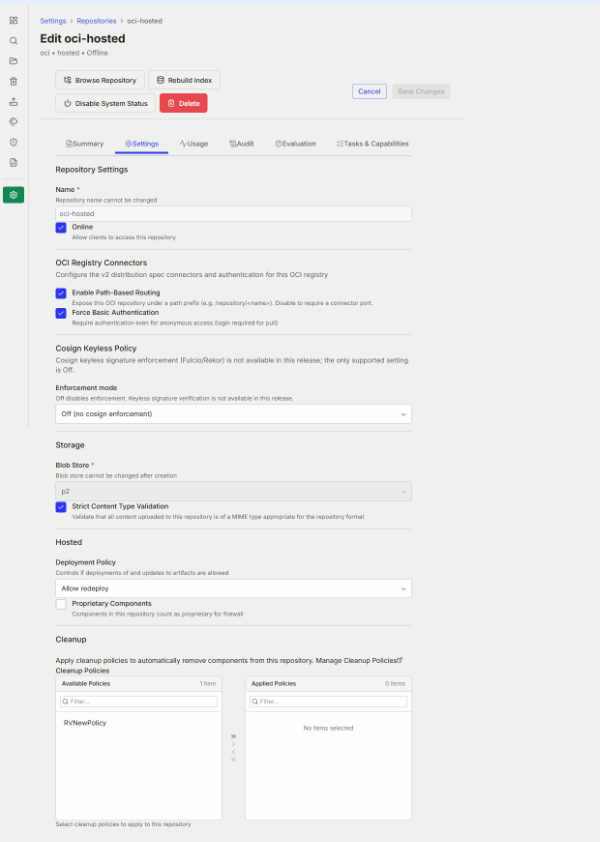
In the form that appears, complete the required fields.
Name, for example oci-hosted
Blob Store
Complete the additional fields for configurations you wish to add for creating your repository. Available configurations differ by repository format and type. See Configurable Repository Fields for more details.
Select Create Repository.
Classic UI
Go to Settings → Repository → Repositories.
Select Create repository.
From the list of recipes, select oci (hosted).
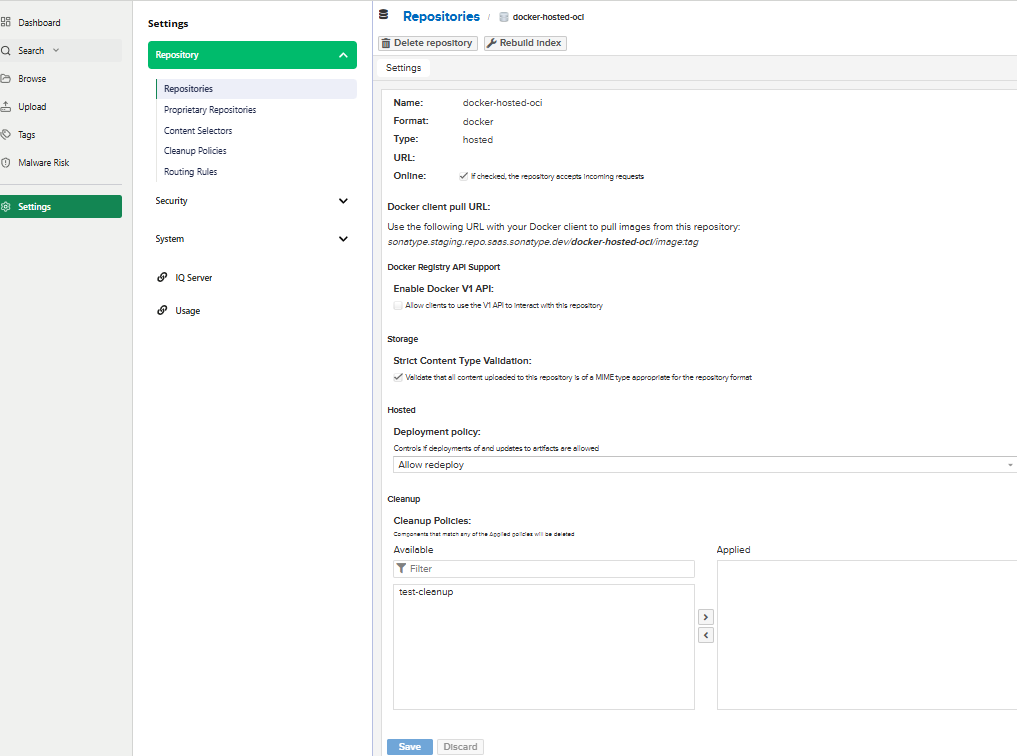
In the form that appears, complete the required fields.
Repository Name, for example docker-hosted-oci
Blob store
Complete the additional fields for configurations you wish to add for creating your repository. Available configurations differ by repository format and type. See Configurable Repository Fields for more details.
Select Create repository.
Tip
To enforce tag immutability, set the deployment policy to Disable redeploy so an existing tag cannot be overwritten with different content.
OCI Group Repository
Use Nexus group repository when you want to combine multiple other repositories (proxy, hosted, and other groups) and expose them through a single URL. To learn more, check Group Repositories.
Starting with 3.99, you can also push container images and OCI artifacts through the group by selecting an OCI hosted repository as its writable member. Nexus Repository directs content published through the group to the selected hosted repository.
Writable group repositories are available only for licensed deployments. An OCI group without a writable repository continues to support pulls but does not accept pushes.
To create an OCI group repository, complete the following steps:
Nexus One UI
Navigate to Settings → Repositories.
Select Create Repository.
From the Select Format section, select OCI.
From the Select Type section, select Group.
In the form that appears, complete the required fields.
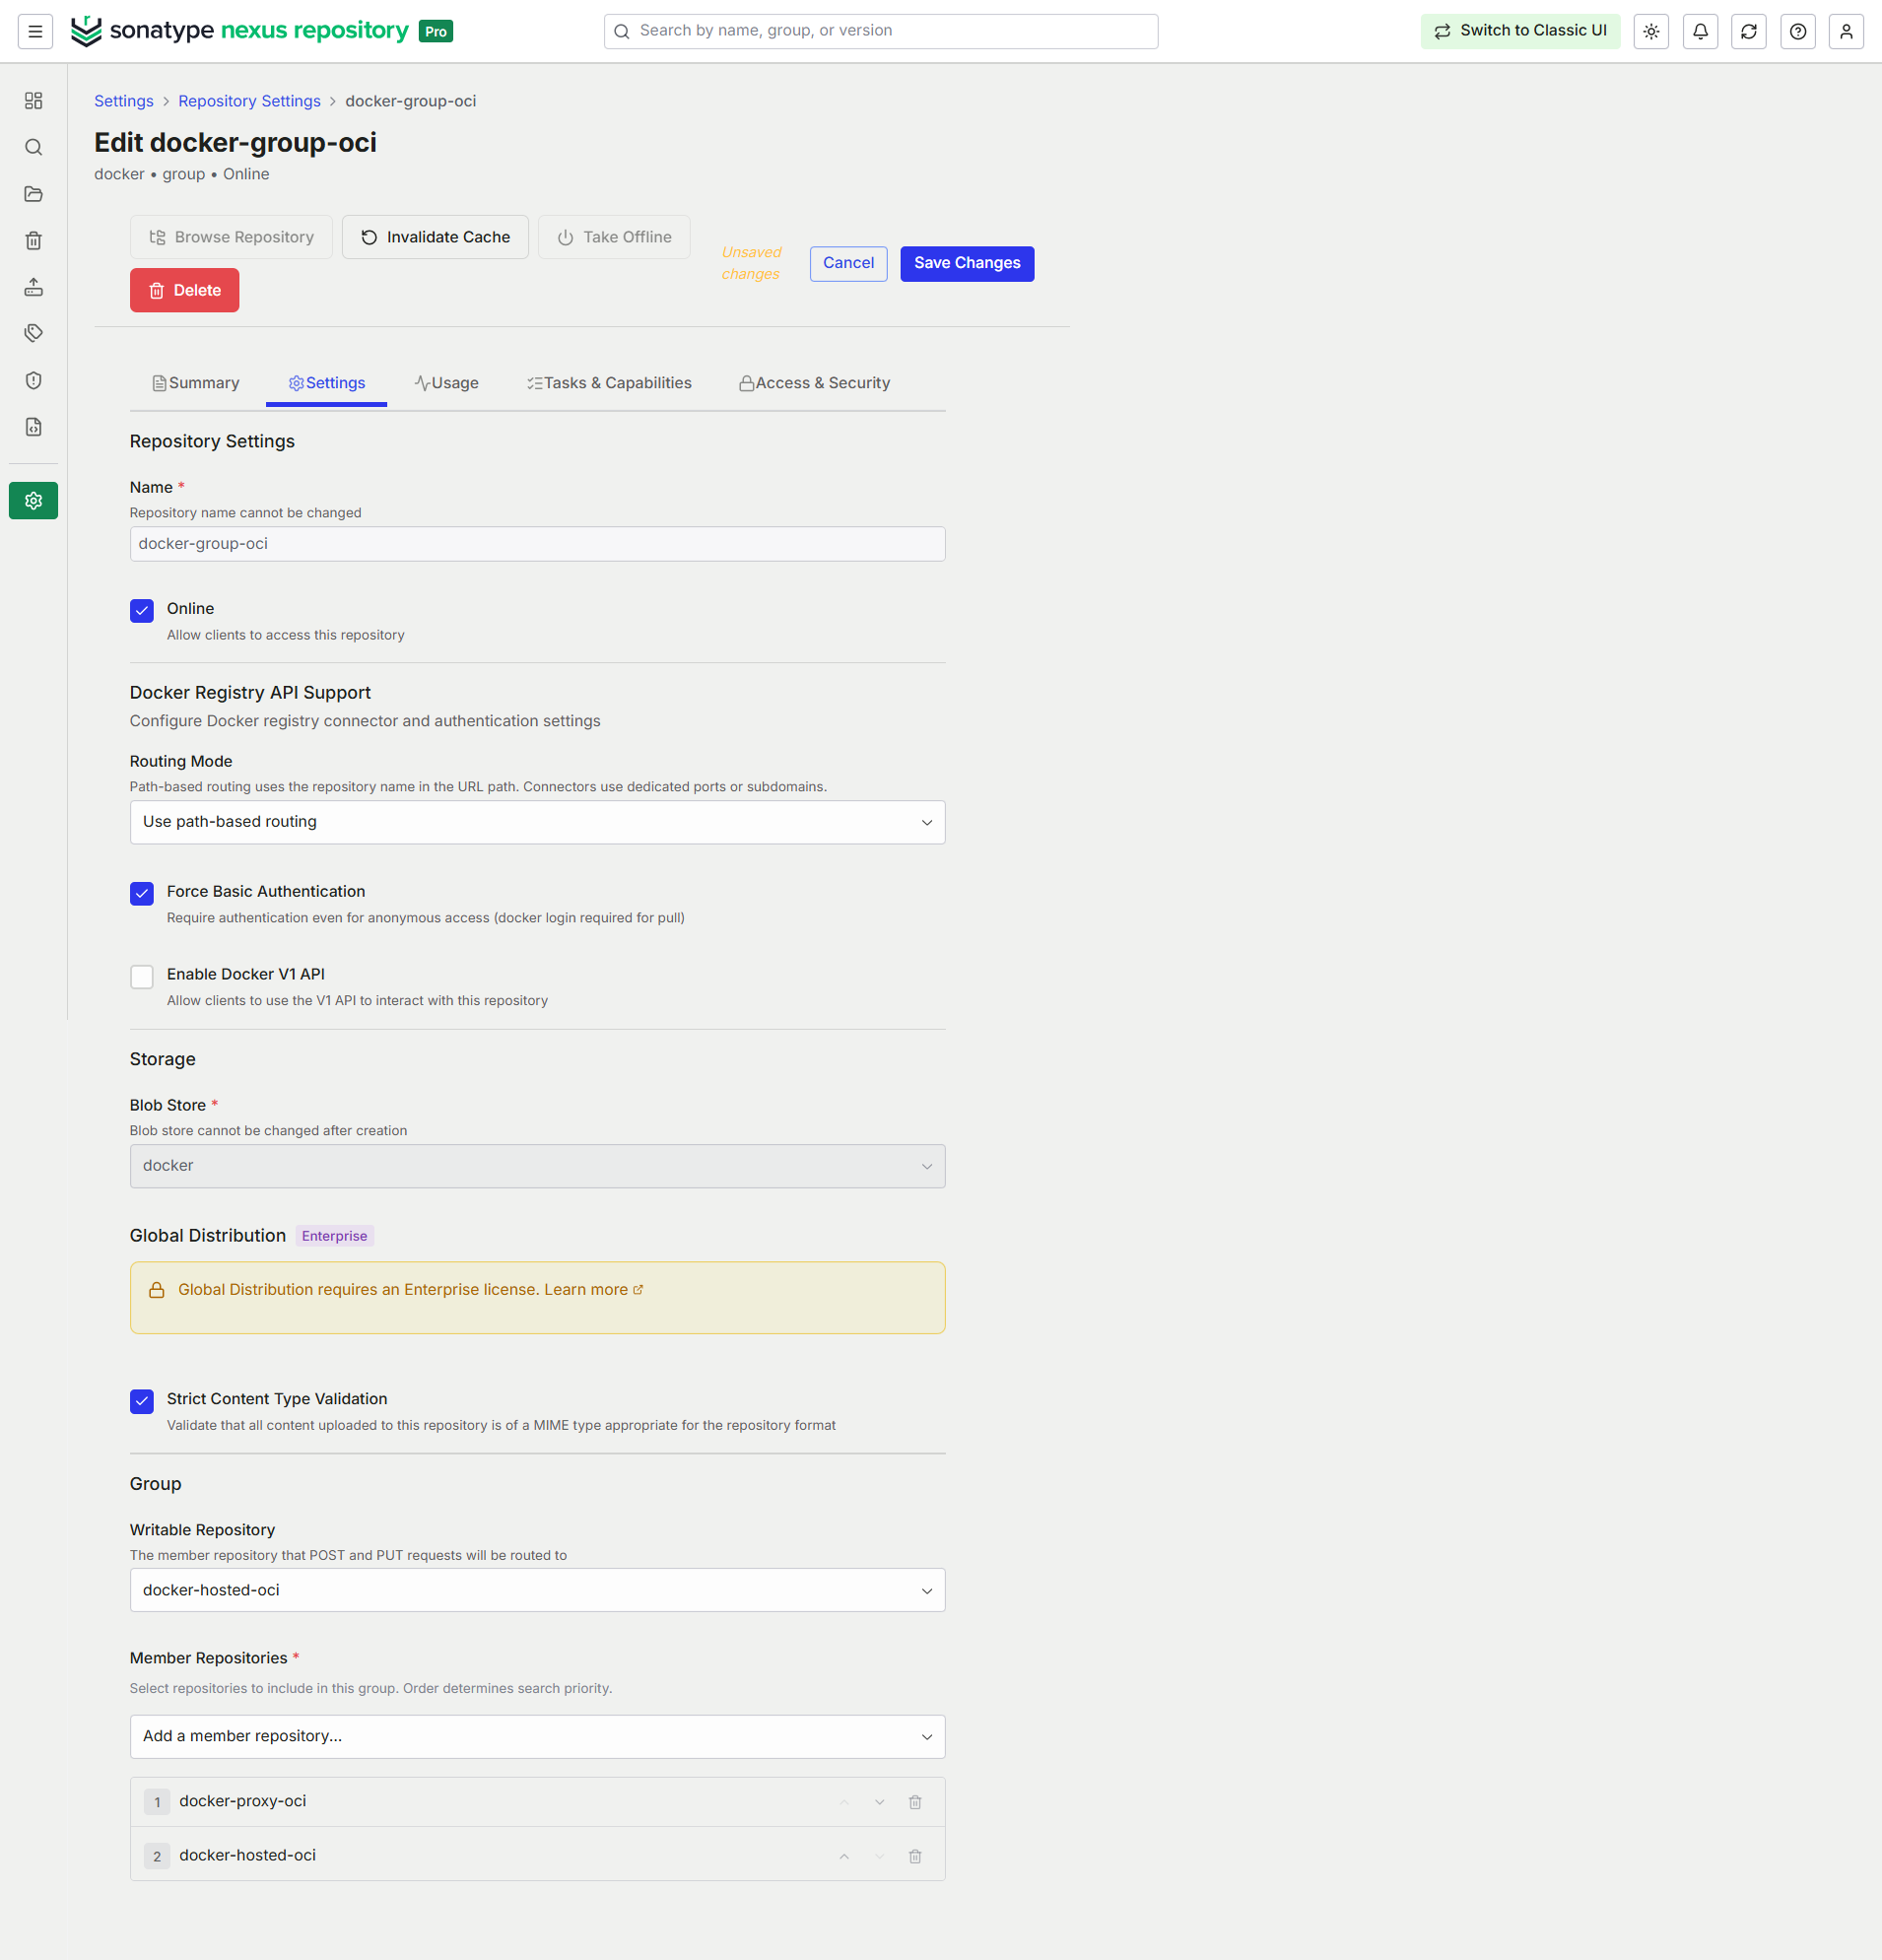
Name, for example docker-group-oci
Blob Store
Member Repositories in the desired order.
Optional: If your deployment supports Writable Repository, select a hosted repository from the drop-down list of Writable Repository field. Only OCI hosted repositories included in the group's member list are available for selection as the writable repository. You can select one writable repository per group.
Complete the additional fields for configurations you wish to add for creating your repository. Available configurations differ by repository format and type. See Configurable Repository Fields for more details.
Select Create Repository.
Classic UI
Go to Settings → Repository → Repositories.
Select Create repository.
From the list of recipes, select oci (group).
In the form that appears, complete the required fields.
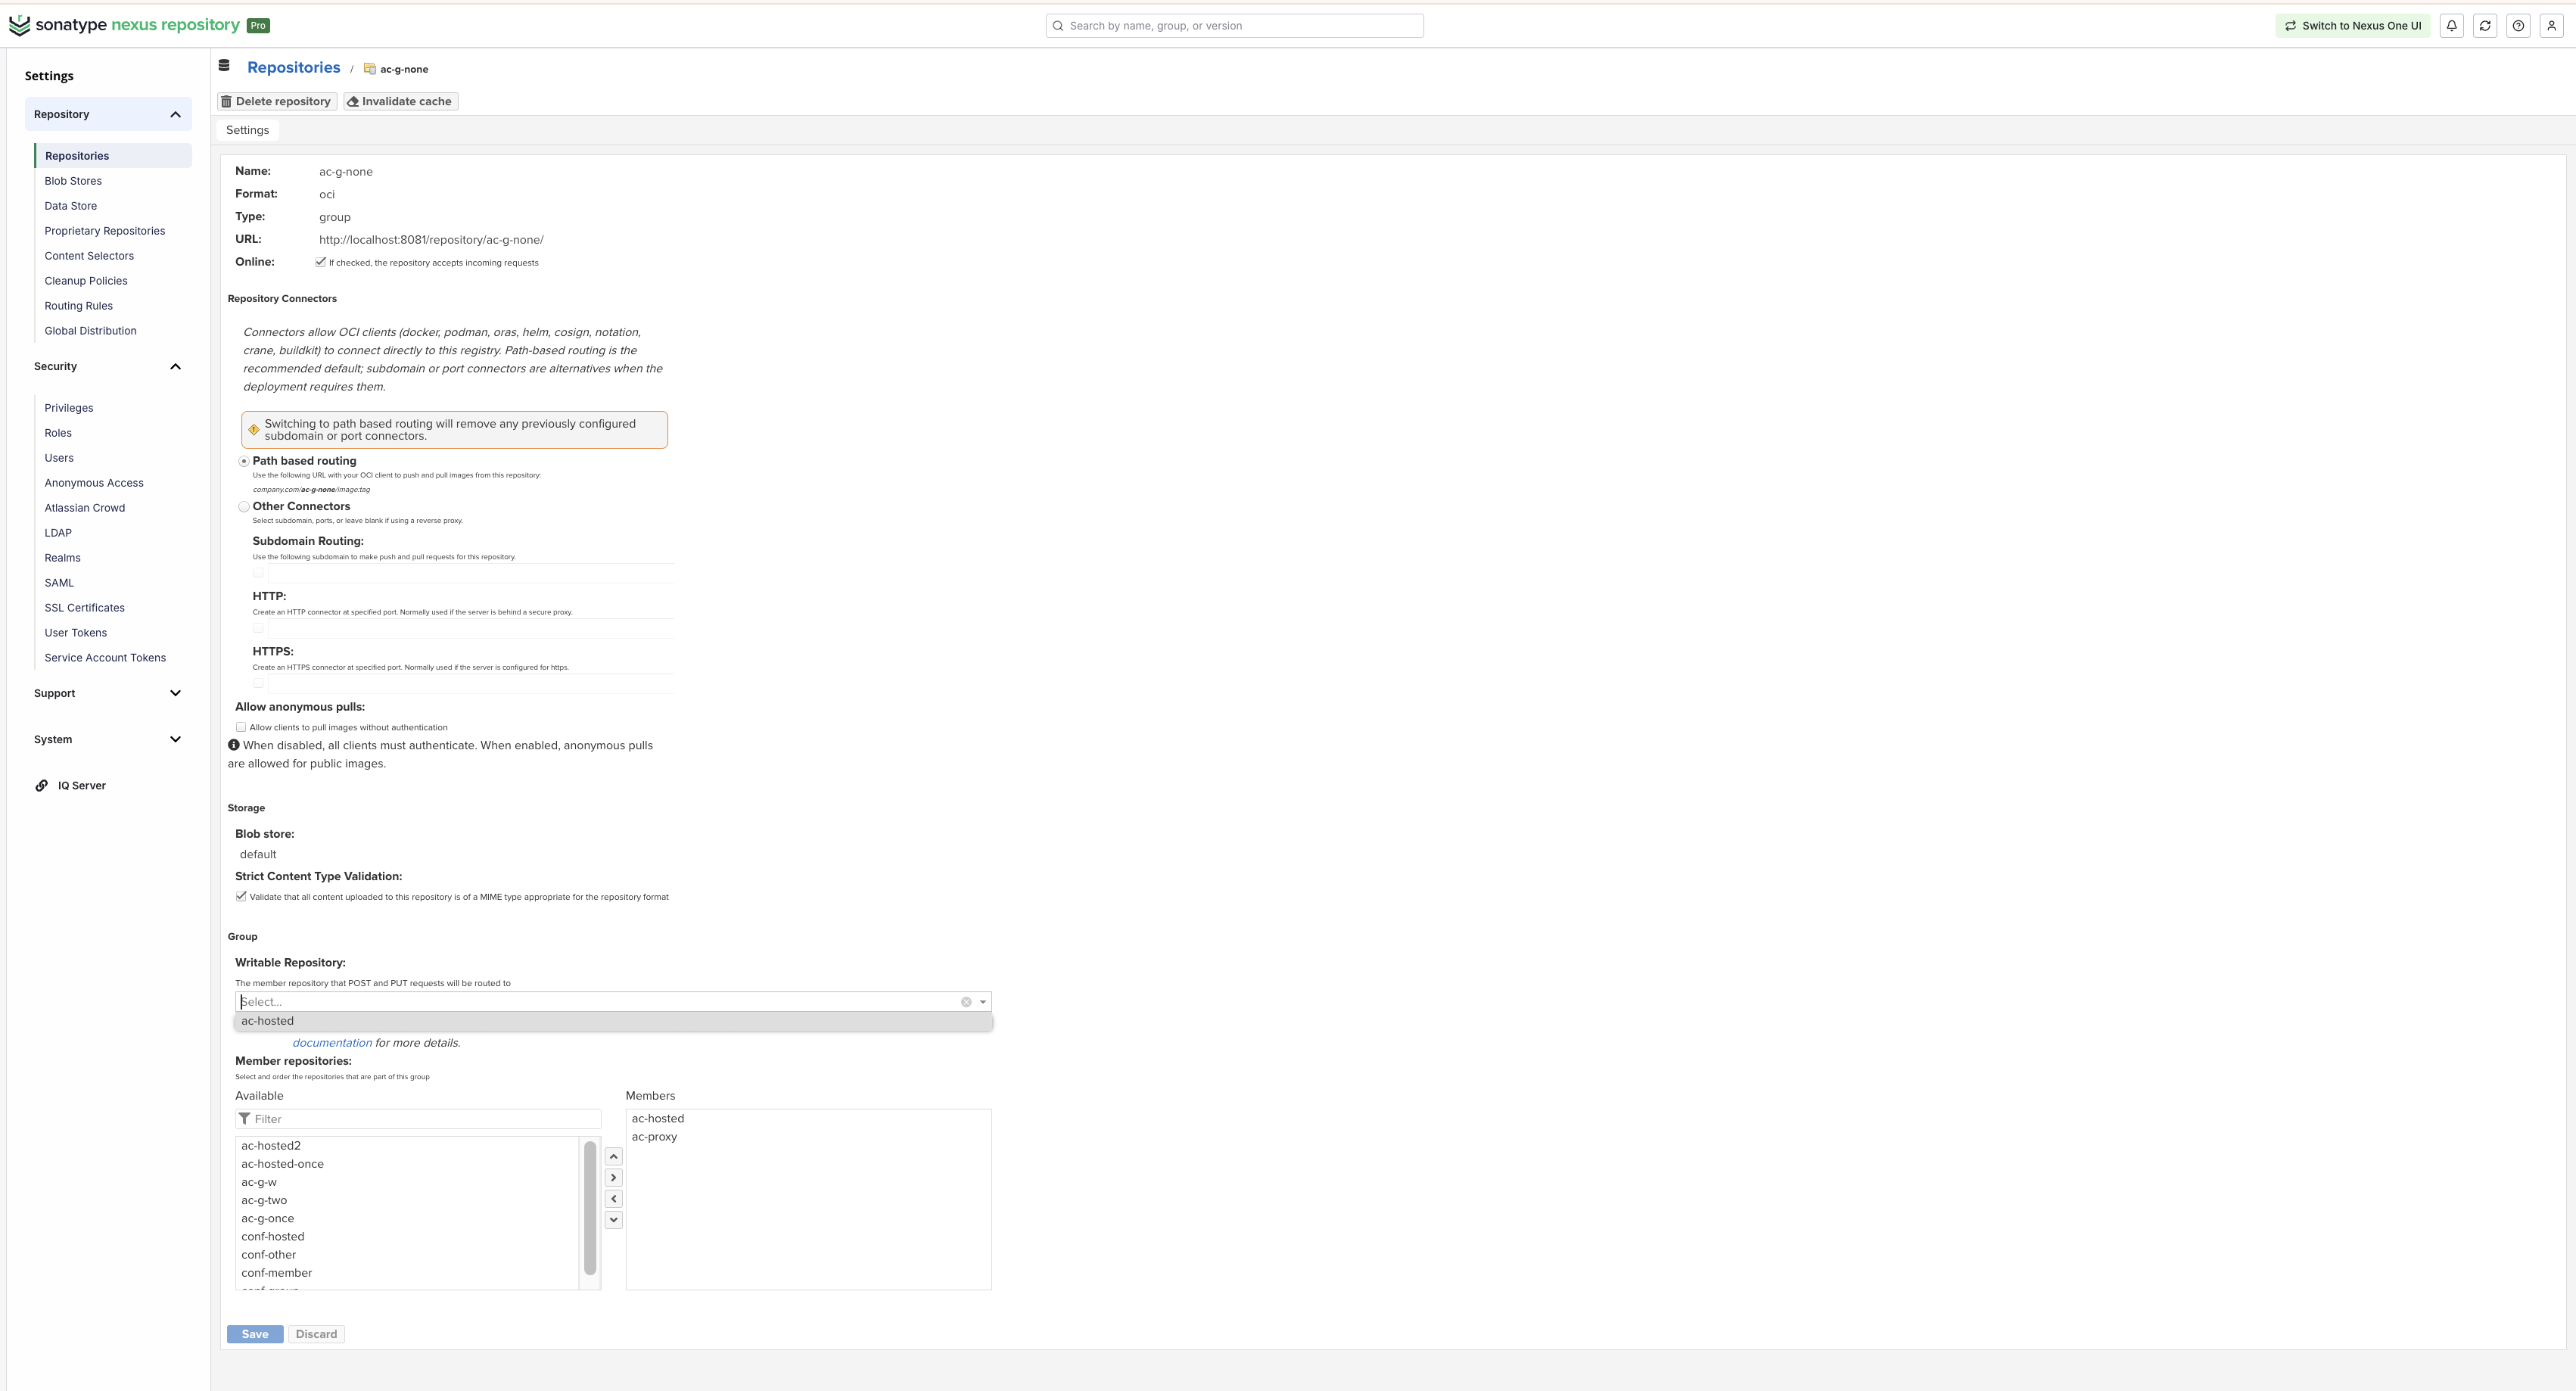
Repository Name, for example docker-group-oci
Blob store
Member repositories in the desired order.
Optional: If your deployment supports Writable Repository, select a hosted repository from the drop-down list of Writable Repository field.Only OCI hosted repositories included in the group's member list are available for selection as the writable repository. You can select one writable repository per group.
Complete the additional fields for configurations you wish to add for creating your repository. Available configurations differ by repository format and type. See Configurable Repository Fields for more details.
Select Create repository.
Note
When the same image path exists in more than one member repository, the group serves the image from the first member in the configured order.