Setting Up Organizations on my.sonatype.com
my.sonatype.com is a self-service hub for creating and configuring Organizations with Sonatype product licenses. You can add members and administrators, designate authorized contacts to open support tickets, access Cloud instances, and set up an Identity Provider (IdP).
Creating an Organization
Your company is identified as an Organization within my.sonatype.com. As the account Owner, you need to create an Organization to manage your Sonatype product licenses.
To create an organization:
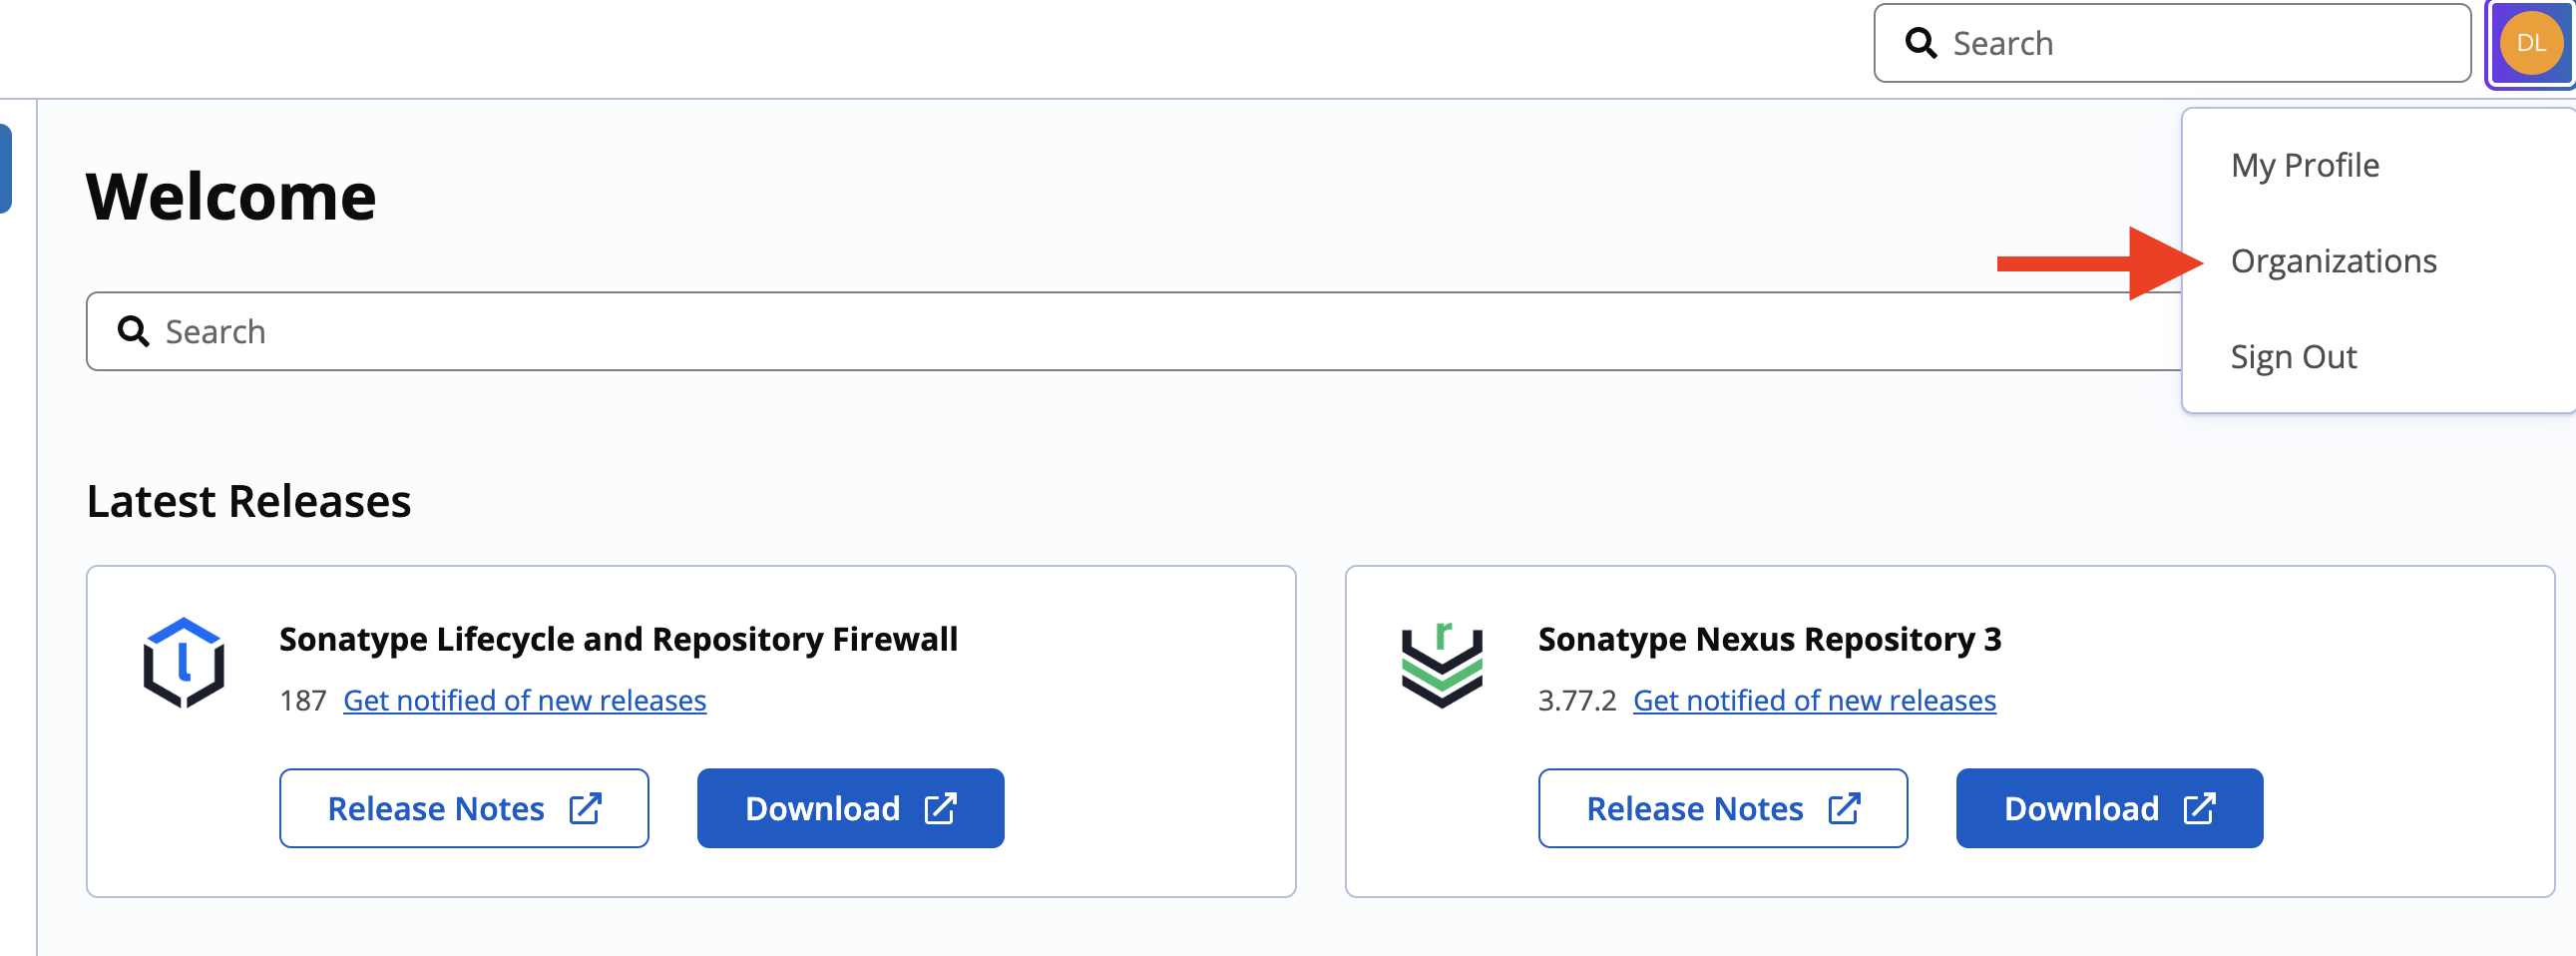
After signing in, click the profile drop-down menu in the top-right and select Organizations to open the page.
Click the Create Organization button and enter a name for the organization. You can also upload an image and provide a description in the respective fields. Click Next.
Enter the license fingerprint. Click Next.
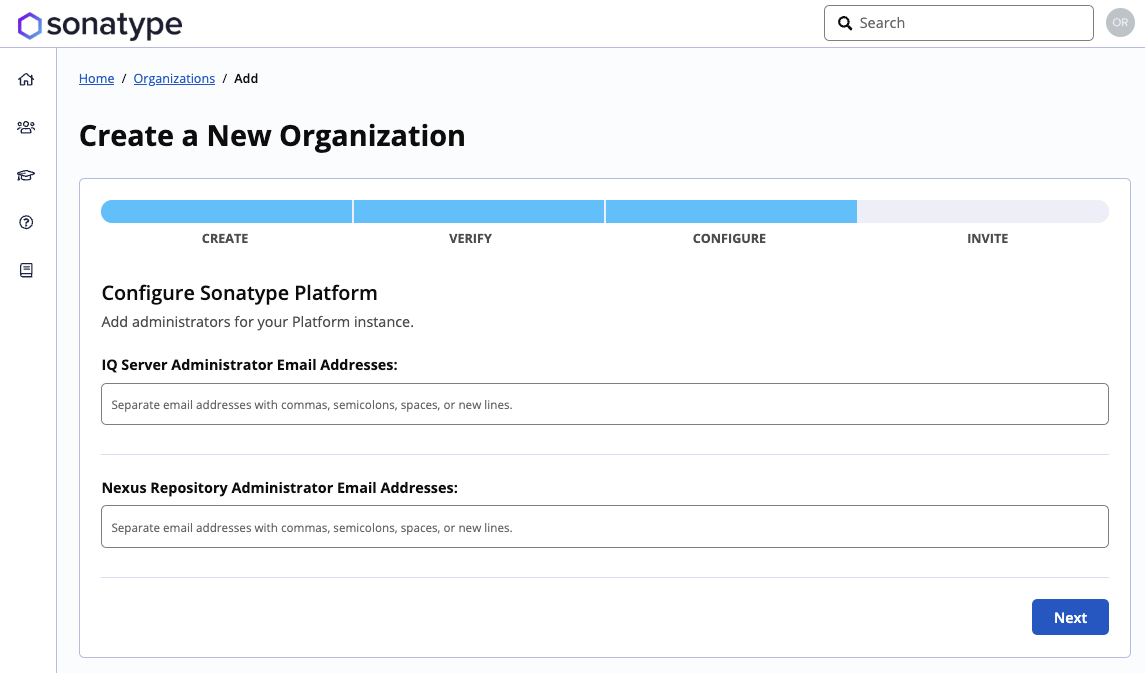
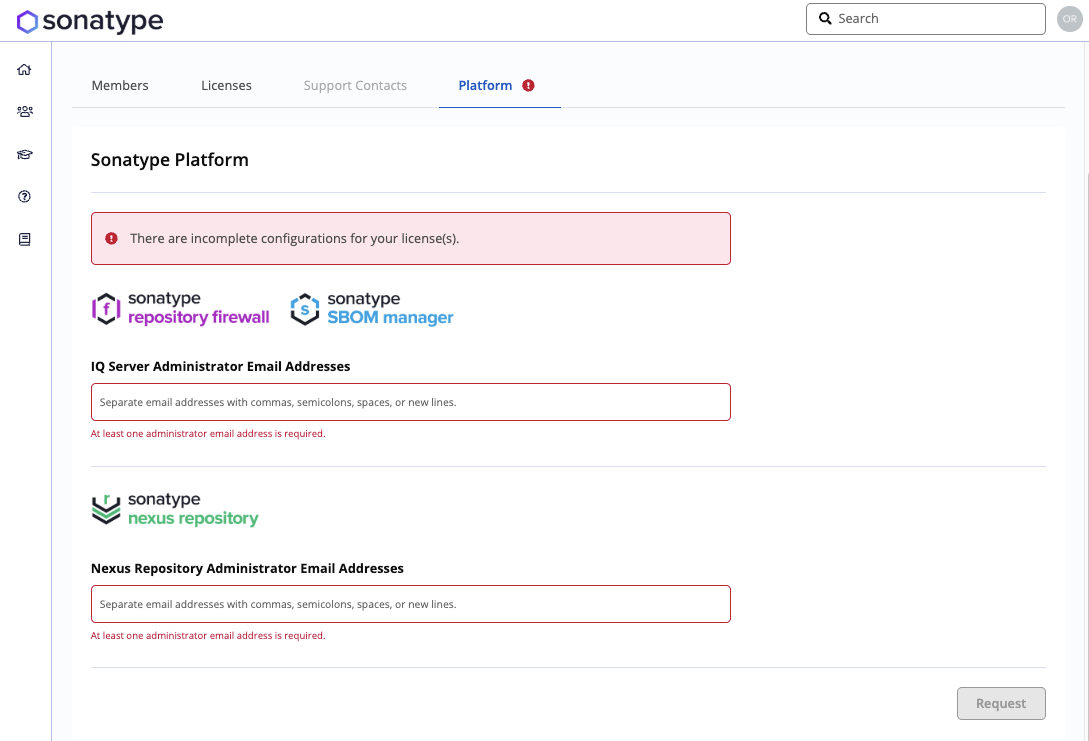
If your license applies to Sonatype Cloud products, you'll be prompted to enter the administrator email addresses for each platform instance. Click Next.
Add email addresses to send invitations to the members of the newly created organization. Click Finish.
Opening an Organization
After signing in, click the profile drop-down menu in the top-right and select Organizations to open the page.
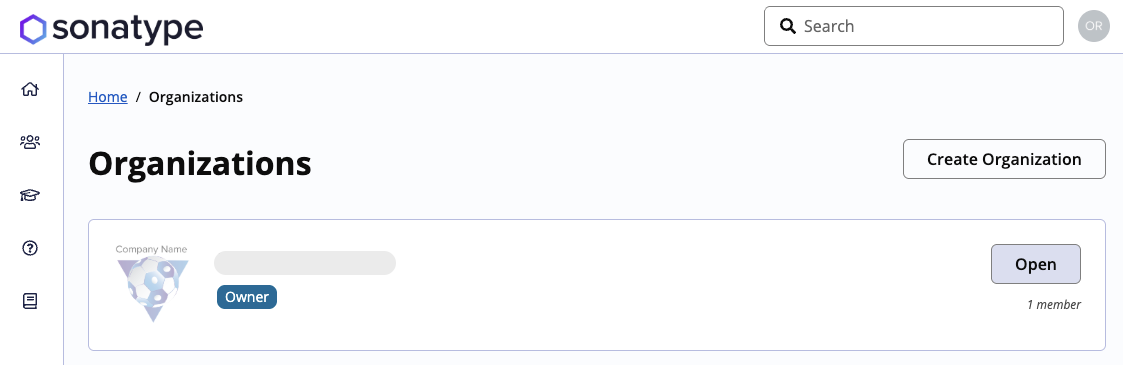
Click Open next to the organization.
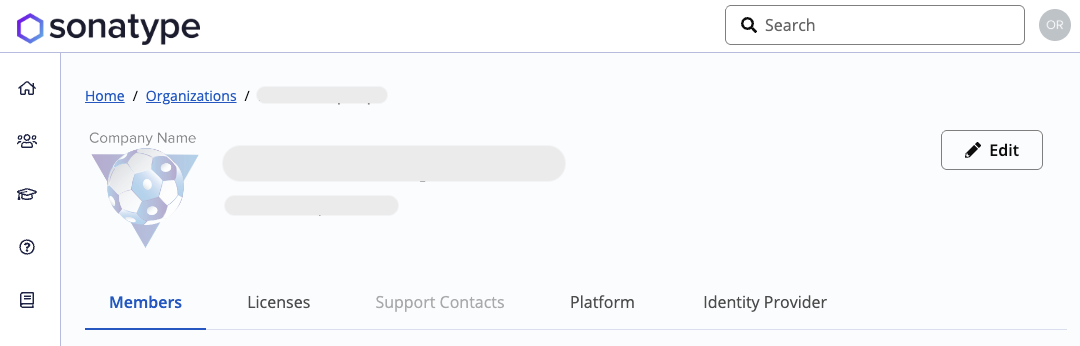
Once you’ve opened the organization, you can click the Edit button to change your organization's image, name, and description. Use the tabs to add or edit members, verify or download licenses, and add or modify support contacts. If you have a Cloud license, you can also view cloud instance details and configure an Identity Provider (IdP).
Verifying an Organization's License
You are required to verify your organization's license before you can designate your Support Contacts.
You'll be prompted to verify the license when you first create the organization. If you didn't verify it then, follow the steps below:
Open the organization you want to verify.
Click the Licenses tab.
If you haven't verified a license yet, click Verify Now.
Enter your license fingerprint into the text field. Owners and Admins can find the fingerprint from one of the following sources:
The email received when the license was created.
Lifecycle Self-Hosted: Open the System Preference cogwheel dropdown menu and select Product License.
Nexus Repository Self-Hosted: Open the Administration cogwheel and in the left menu and navigate to System → Licensing.
Click Verify License.
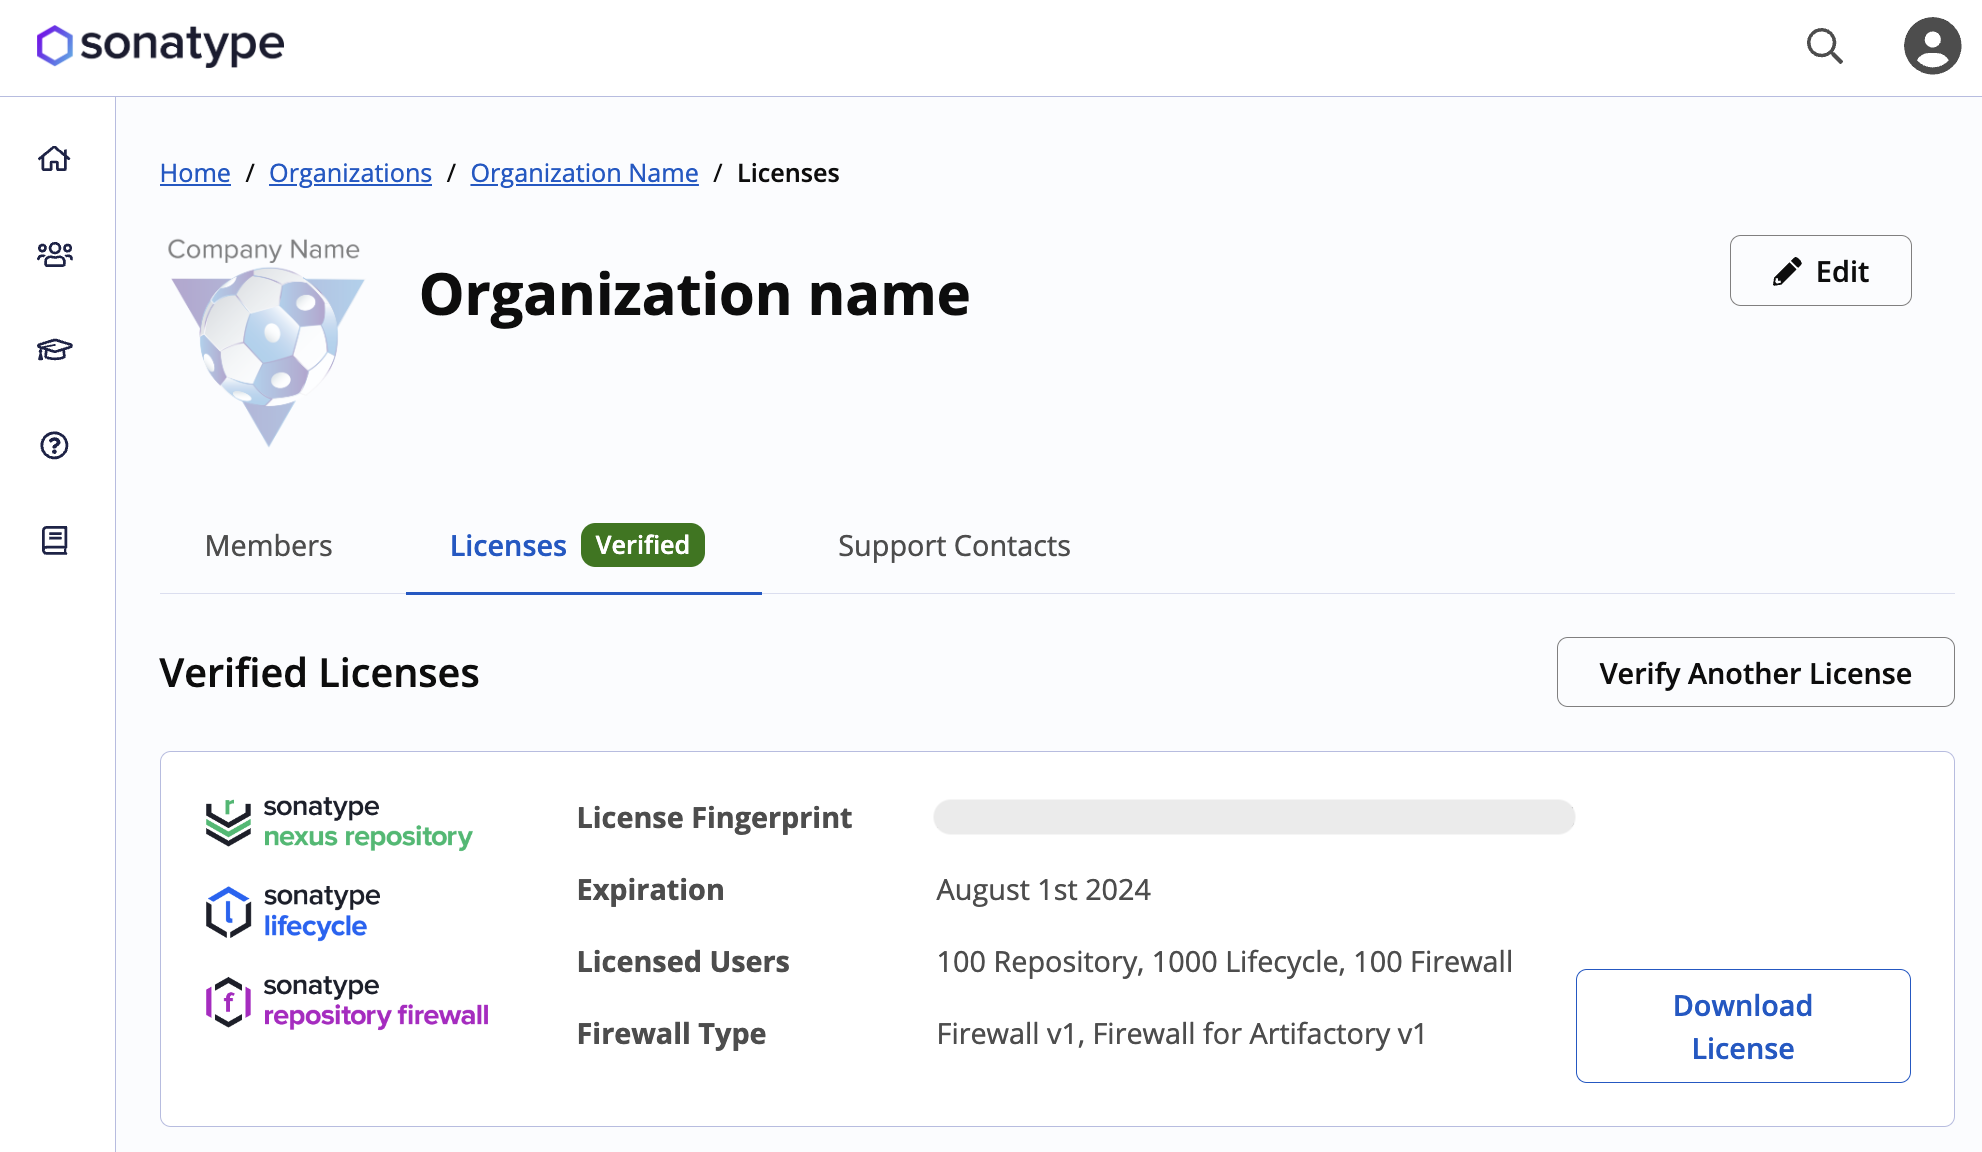
After a license is verified, you can view the list of products it covers in the Licenses section.
Downloading a License
Owners and Admins can download an existing license by following the steps below:
Open the organization whose license you want to download.
Click the Licenses tab.
Click the Download License button.
Adding Members to an Organization
Once you have an Organization, you can add members to it. When you verify your organization, we will try to integrate any existing members from our support case management system into the Organization you just created. However, you can also manually invite members into your Organization.
Open the organization where you want to add members.
Click the Members tab.
Click the Invite Members button.
Add the email addresses of the members you want to invite.
Click Send Invitations.
This will email instructions for signing up for my.sonatype.com. Once that person creates an account with the specified email address, they'll automatically be added to your Organization.
When members are invited to join an Organization, they default to the Member role. Owners and Admins can assign a role to each member by clicking the cogwheel to the right of their info in the Members section. Review the table below for more information about the available roles and their privileges:
Role | Description | Privileges |
|---|---|---|
Member | All users belonging to an organization have this role. This is the lowest privilege level. |
|
Admin | This role can be assigned to multiple Organization members. |
|
Owner | This is the role assigned to the user who first creates an organization. This is the highest privilege level. |
|
Assigning Support Contacts
Authorized support contacts are the people in your organization whom you assign to serve as the liaisons between your company and the Sonatype support team. They are chosen from the pool of existing members in your organization.
The number of members allowed to be support contacts is determined by the customer contract.
Being a member of an Organization does not automatically make them a support contact.
Only verified Organizations can have support contacts.
Individuals who have been invited to an Organization but haven't accepted the invite email cannot be designated a support contact.
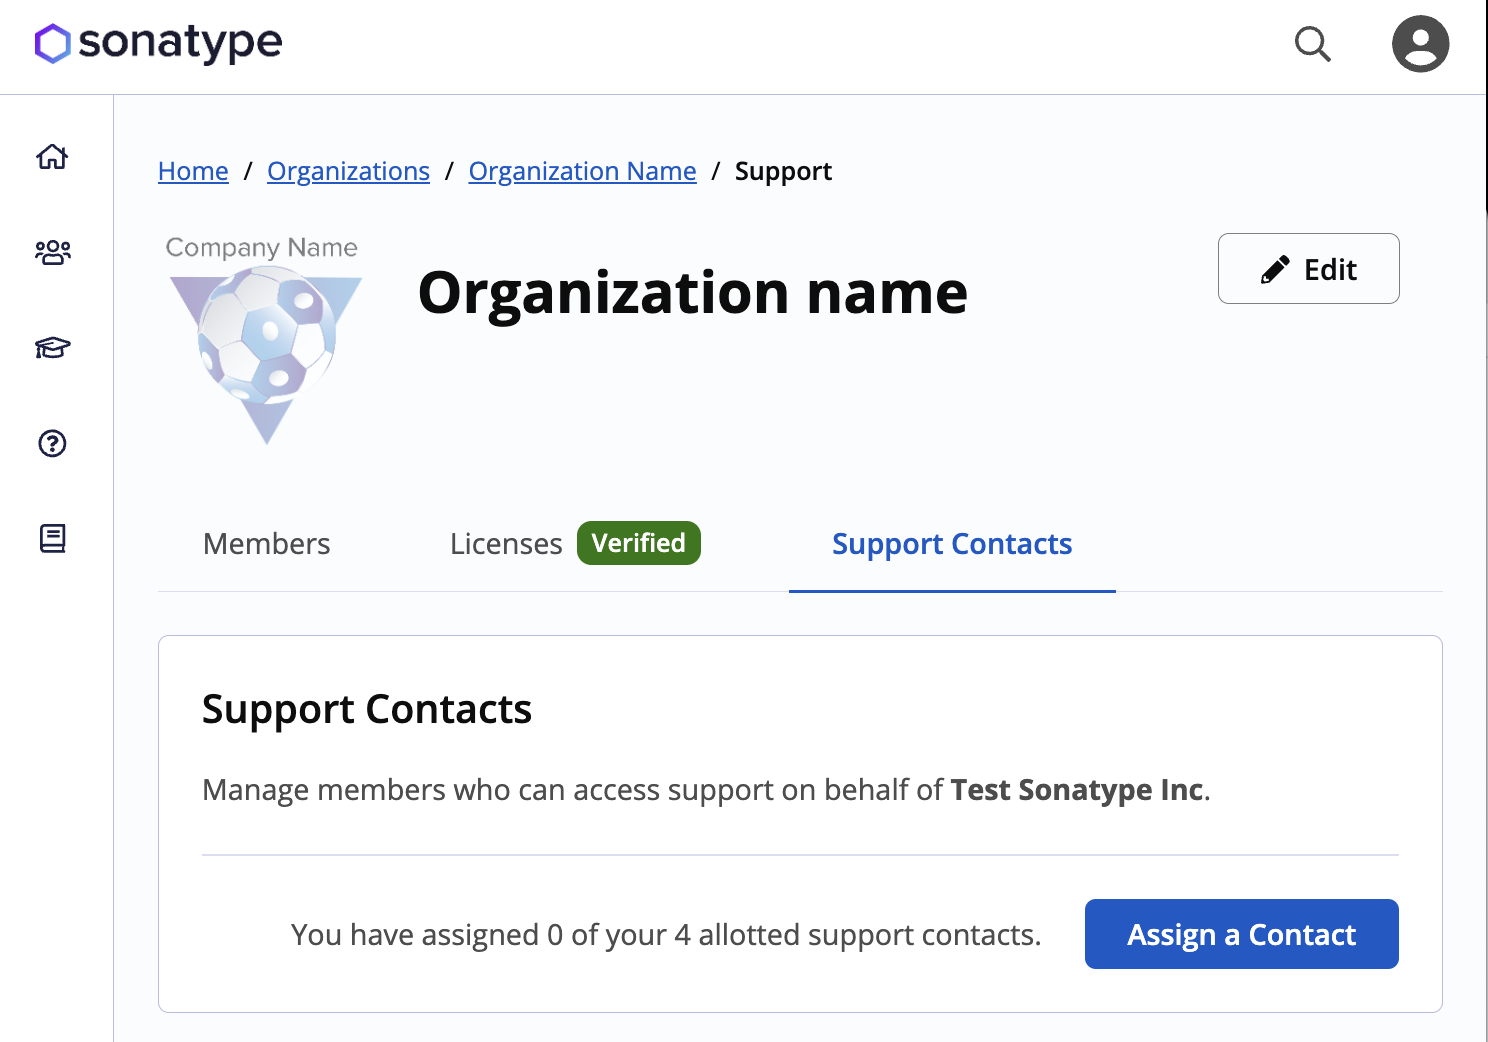
To assign support contacts:
Open the organization where you want to add support contacts.
Click the Support Contacts tab.
Click the Assign a Contact button.
Select the member to be assigned as a support contact.
Click the Assign Now button, and verify the action.
Accessing Cloud Instances
Note
This section is only available for Sonatype Cloud.
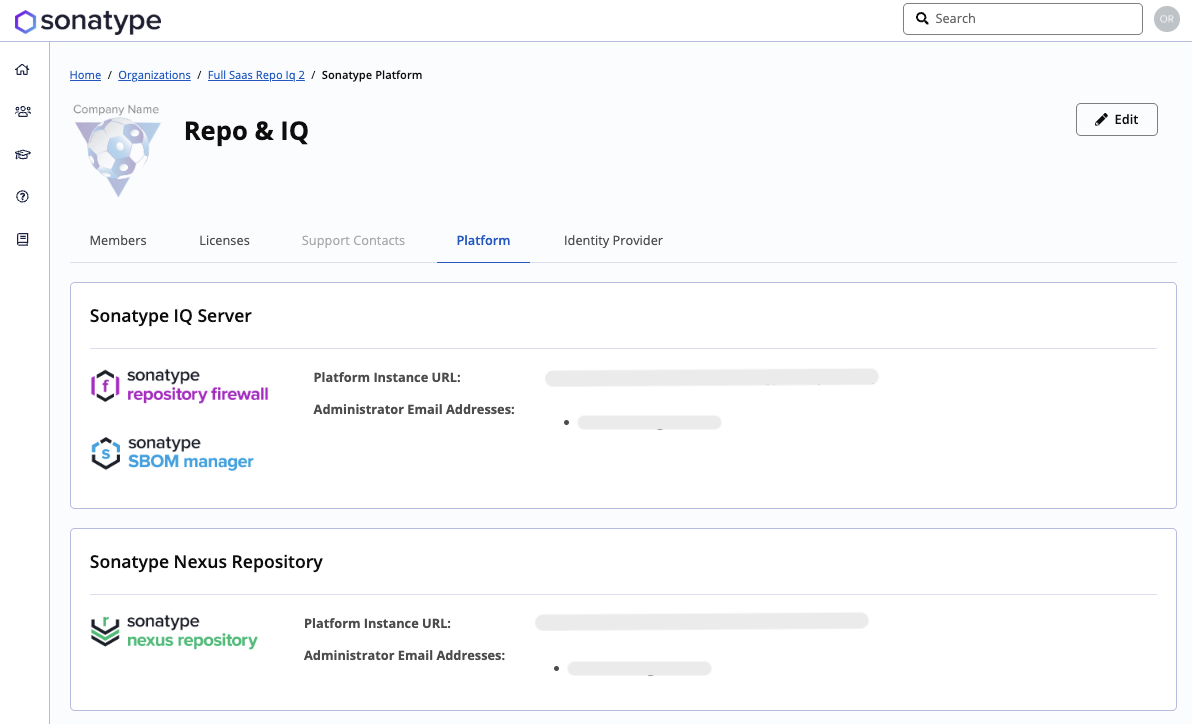
Open the organization where you want to view cloud instances information.
Click the Platform tab.
You’ll see each licensed Sonatype solution instance’s URL and administrator email. Instances are organized by product:
Sonatype IQ Server
Includes any instances for Lifecycle, Repository Firewall, SBOM Manager, and Developer.
Sonatype Nexus Repository
Lists all licensed Nexus Repository instances.
If you haven’t configured administrator emails yet, you should add them here.
Setting up an Identity Provider (IdP)
Note
This section is only available for Sonatype Cloud.
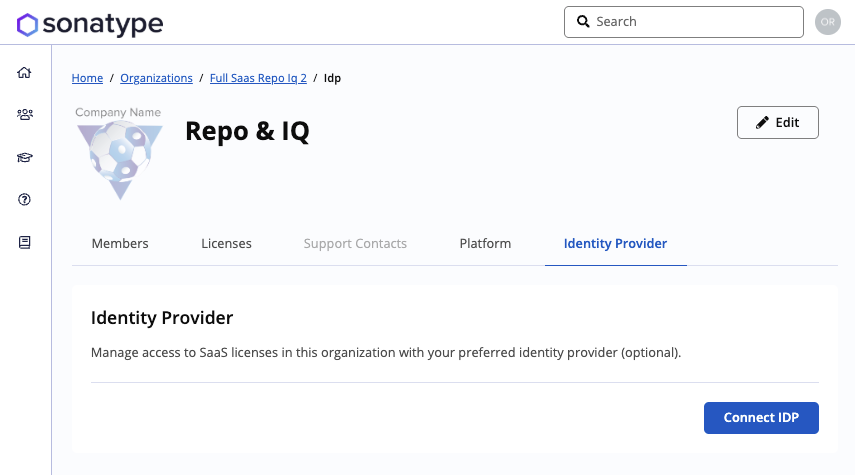
Open the organization to set up an IdP.
Click the Identity Provider tab.
Click the Connect IDP button and follow the on-screen instructions to link your instance’s URL to your IdP.
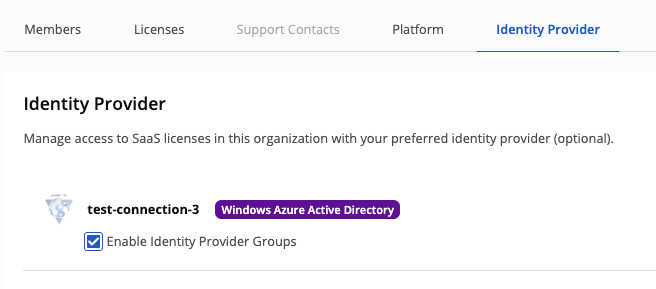
After setting up an IdP, you can remove it or edit it from this tab.
Select the Enable Identity Provider Groups checkbox to manage access via IdP groups rather than individual users.
Notes for Configuring Specific IdPs
As part of the onscreen setup you will be prompted to add Group Claims and Optional Claims. Refer to Microsoft Entra documentation for detailed guidance.
The Identity Provider Groups feature requires the following Entra ID configuration:
After selecting your application, go to Manage > API Permissions > Add a Permission to open the Request API Permissions drawer.
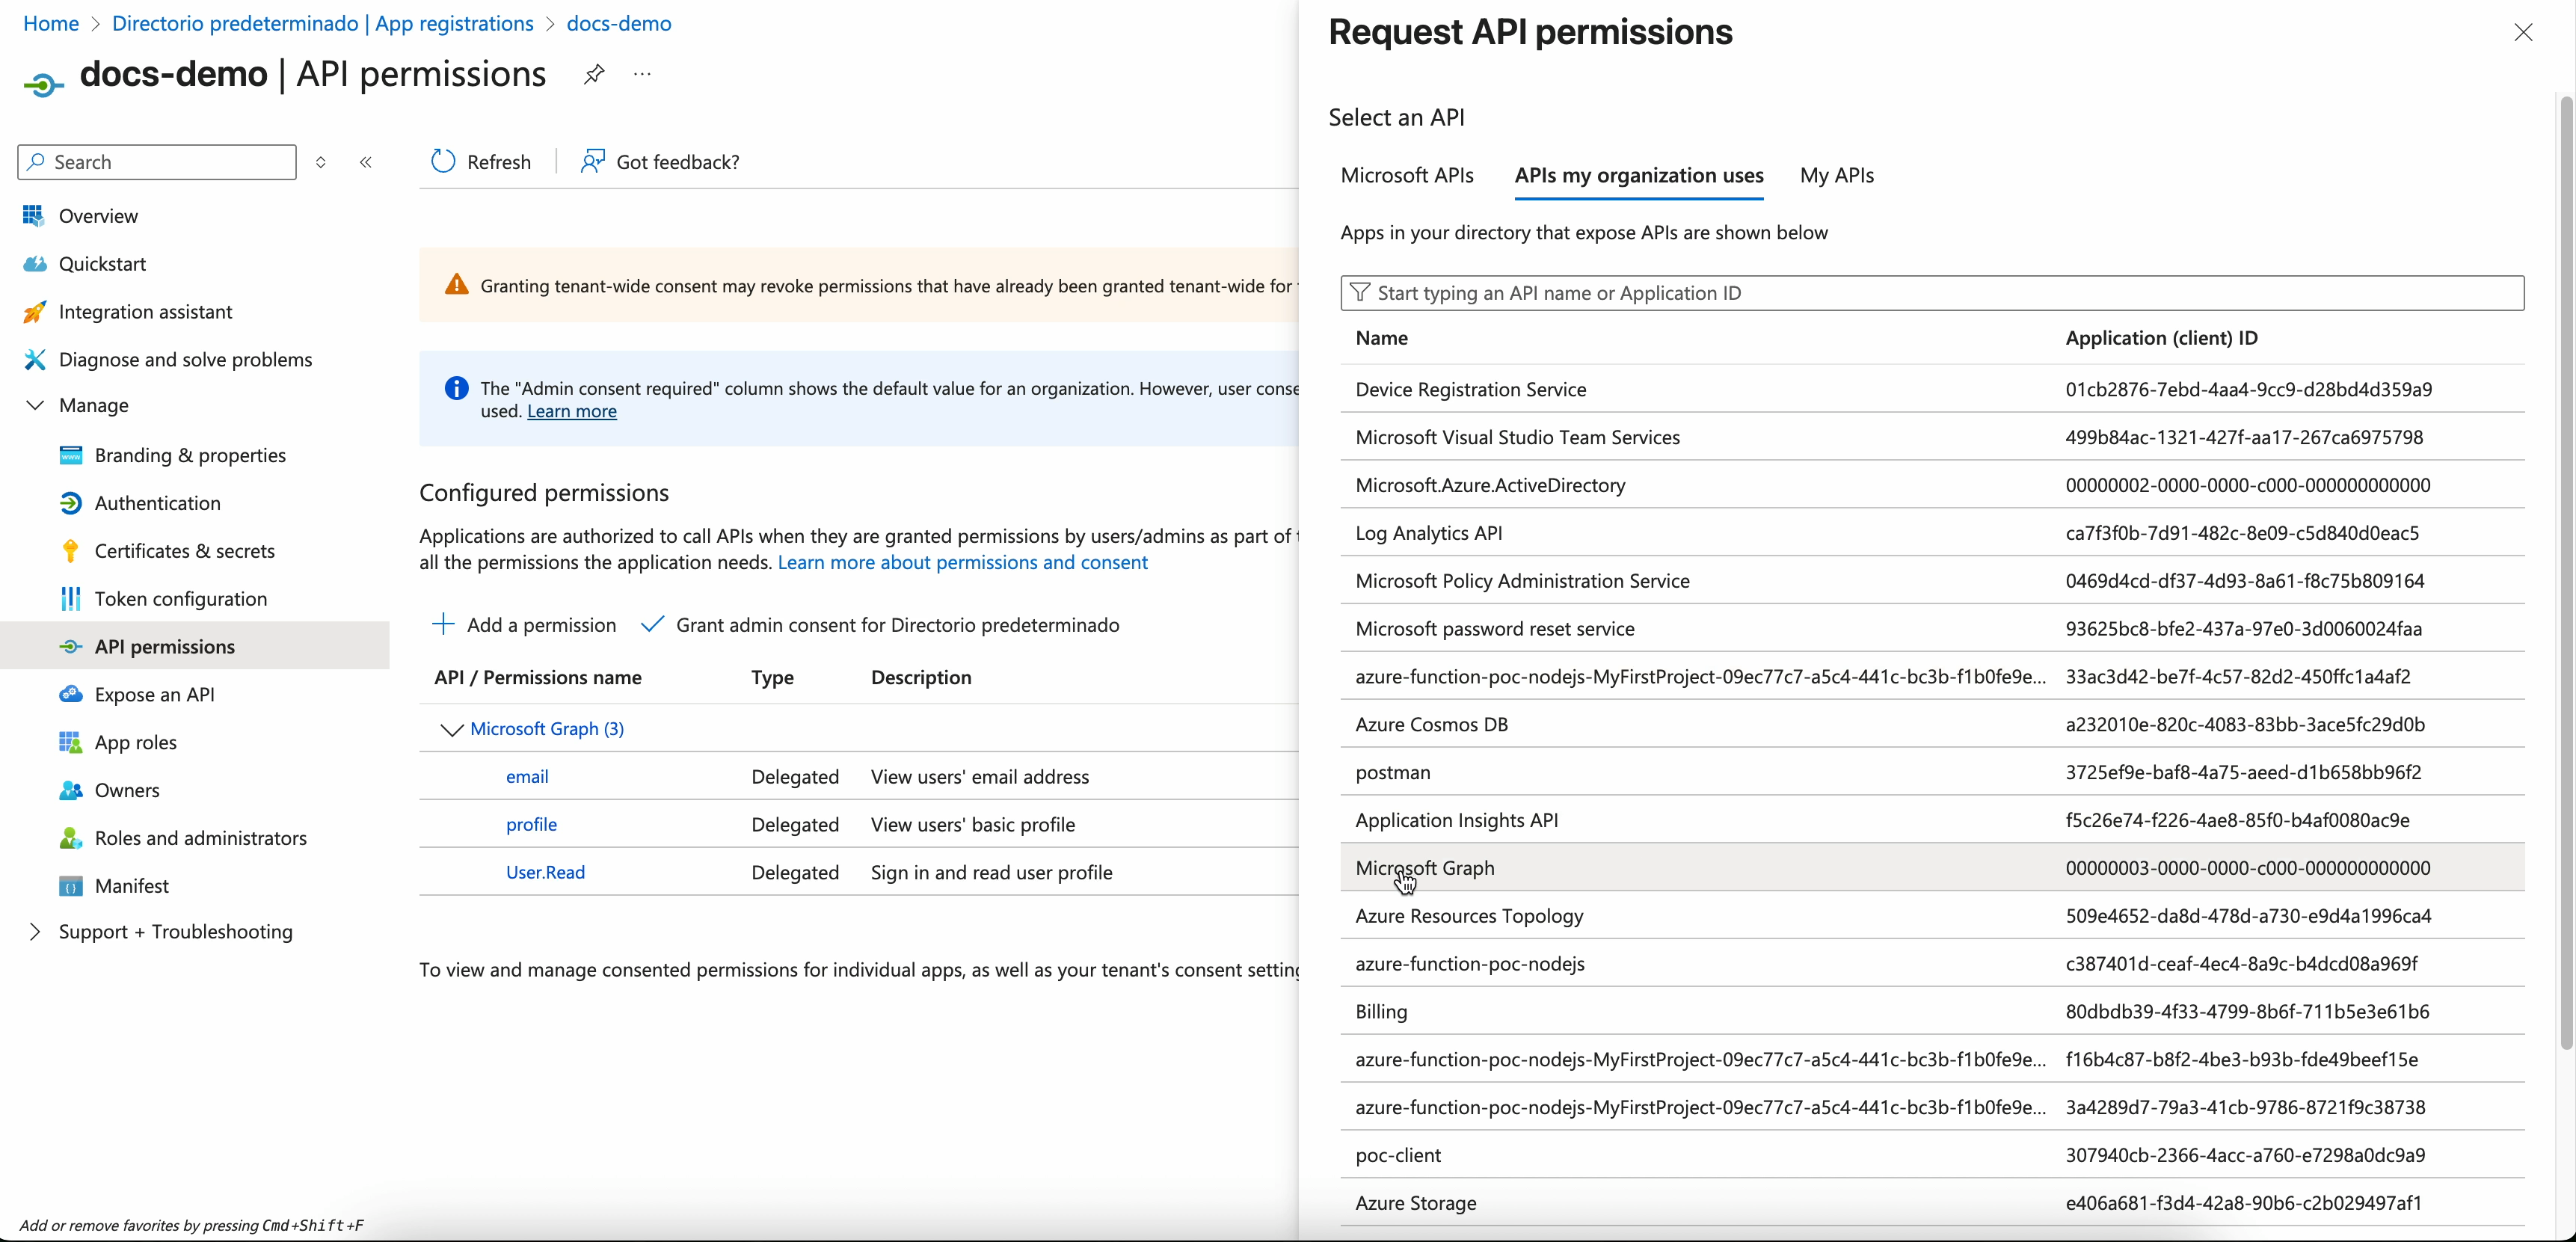
Under the APIs my organization uses tab, select Microsoft Graph
Select Delegated Permissions. In the Select Permissions search bar, type
Directory.Read.All. Then, expand the Directory section, check Directory.Read.All, and select Add permissions.
Note
After adding permissions, ensure your tenant admin grants consent if required by your organization’s policy.