Uploading Components
This section details uploading third-party or proprietary components to hosted repositories via the Nexus Repository user interface.
Requirements for Uploading Components
To upload components to Nexus Repository, the user account requires these privileges:
nx-component-upload
nx-repository-view-*-*-edit
Replace the stars with the format type and repository name to limit access to a specific repository.
The following privileges are required to view the results of the upload:
nx-repository-view-*-*-browse
nx-repository-view-*-*-read
You may only upload to a hosted repository.
The files must be a supported type for the intended repository's format.
Steps to Upload a Component
The steps below provide a basic outline for uploading a component to a hosted repository in Nexus Repository. However, note that available form fields differ between formats:
From the Browse view in Nexus Repository, navigate to either the Upload or Browse screen.
Select the hosted repository to which you would like to upload a component.
When performing this action from the Browse table of repositories, you need to select Upload Component.
When performing this action from the Upload section, you are taken directly to the upload form.
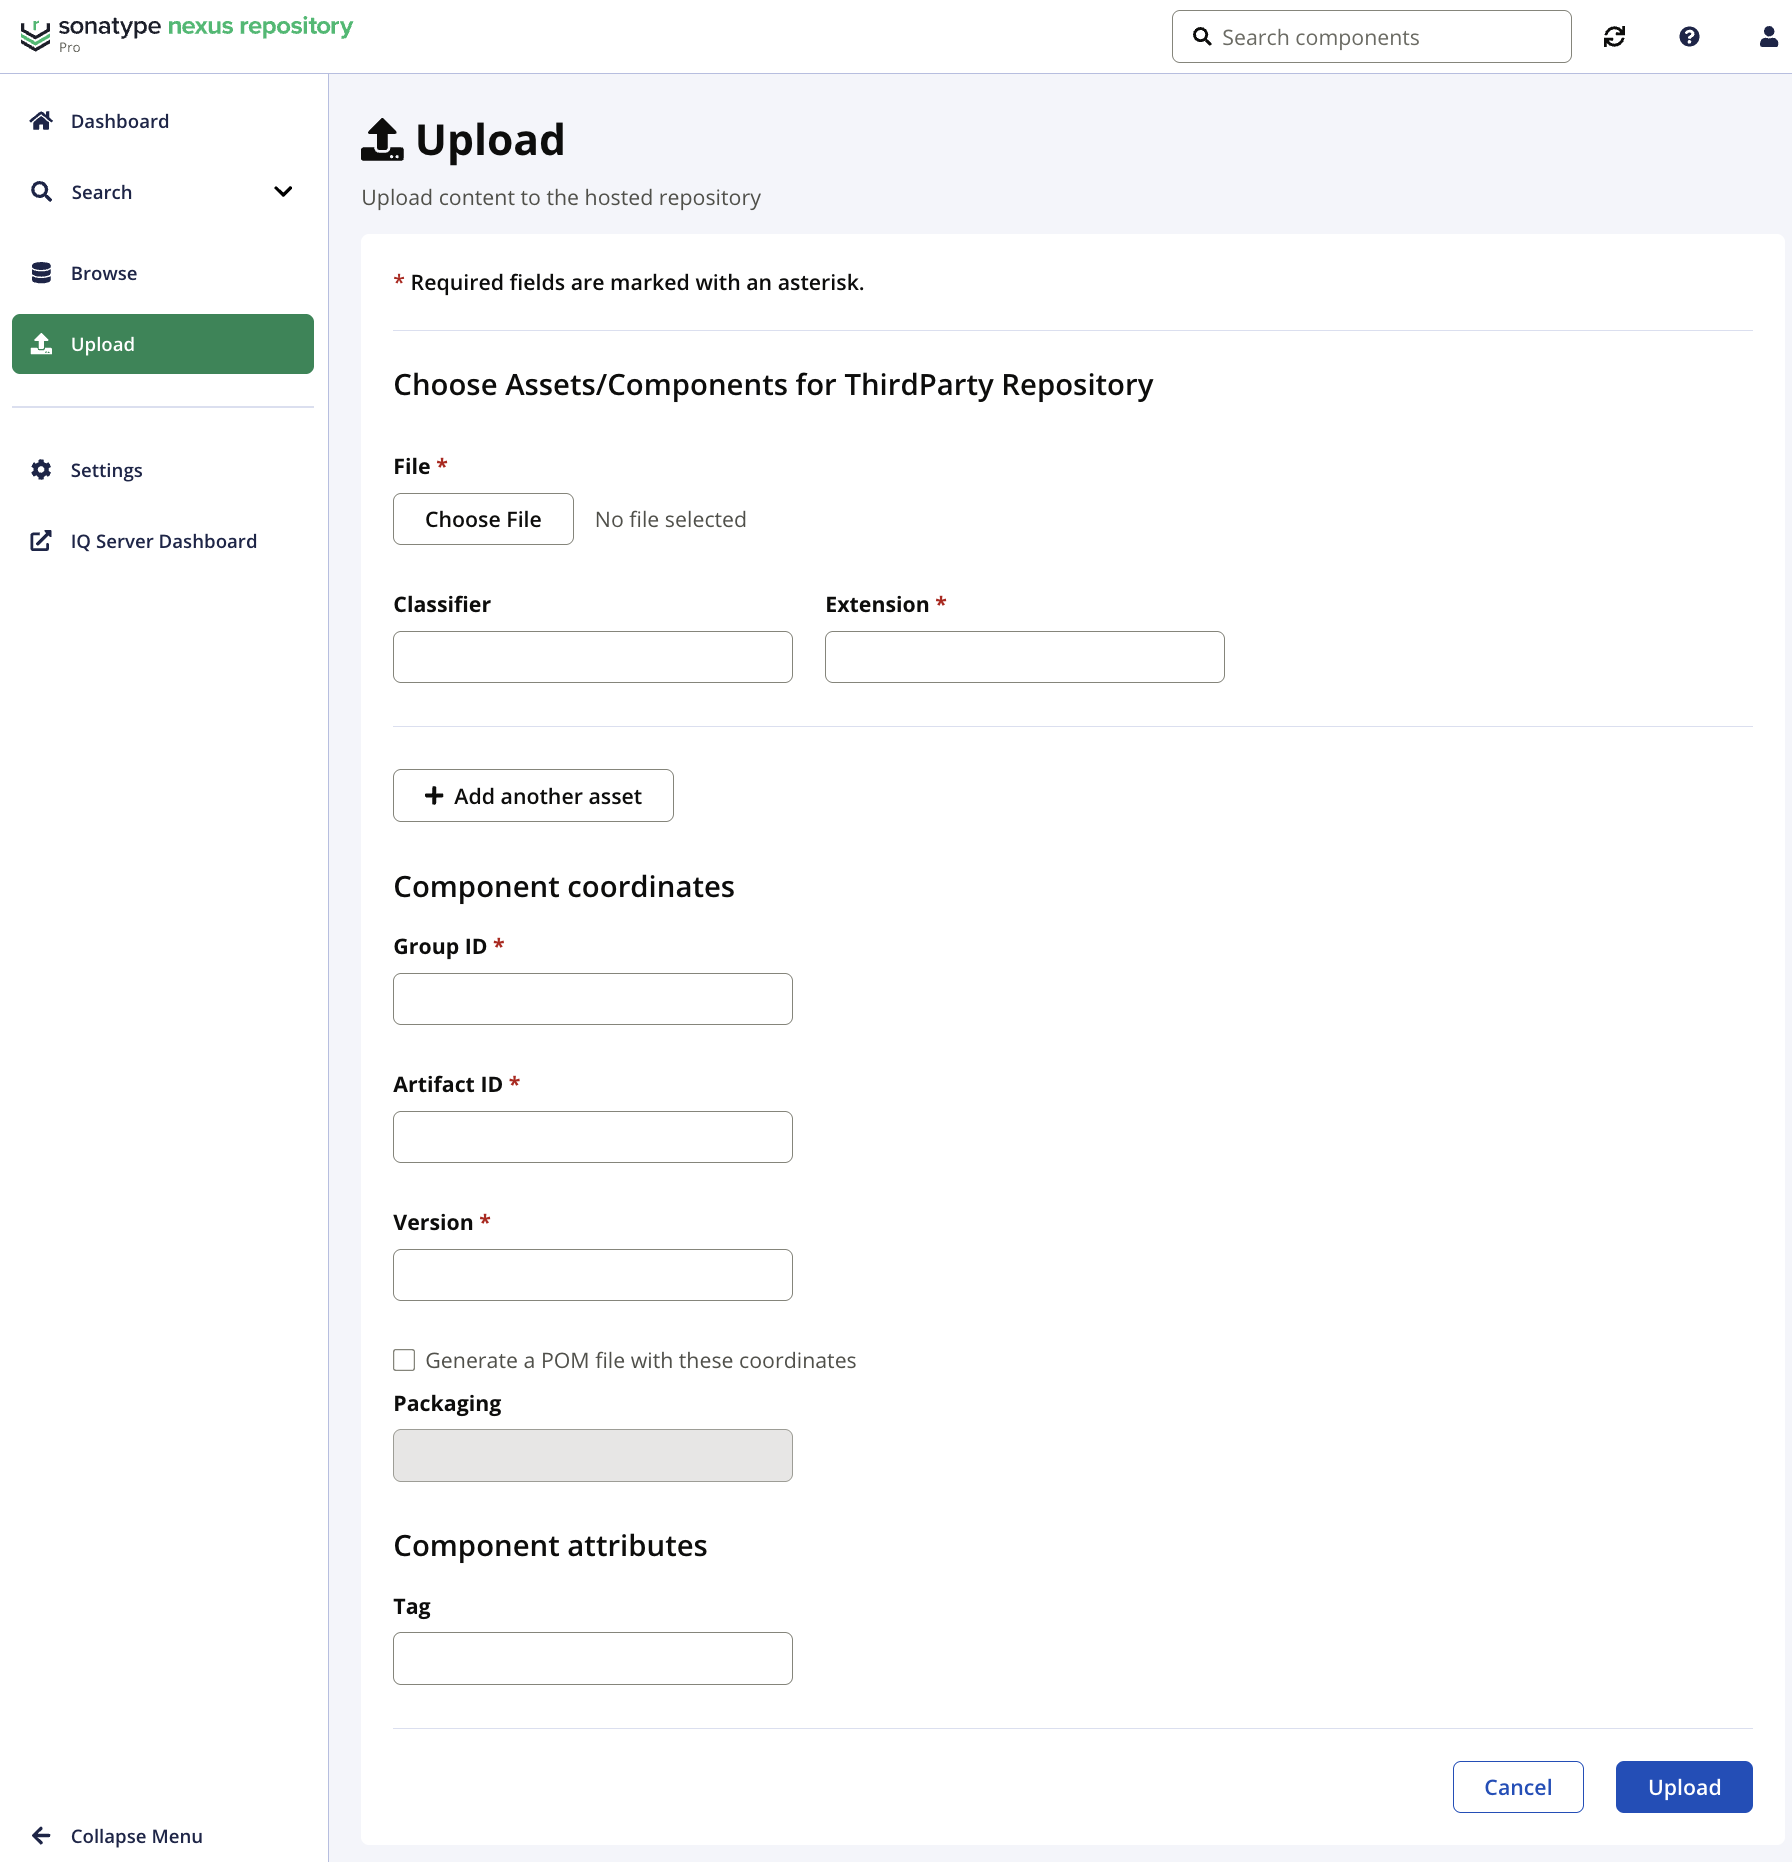
Select the Choose File button; then, select the file you would like to upload.
Provide details in the form for the given repository format. For example, the Maven format requires component coordinates.
Add any desired Tags to the component. The Tags must exist in the Nexus Repository to add them during the component upload.
See Tagging
Select Upload at the bottom of the form.
When the upload is successful, you are taken to search results for the path to the uploaded component.
Uploading a Pom File to a Maven Repository
When a pom file is uploaded to a Maven repository, Nexus Repository extracts the coordinates from the file. The extracted coordinates include the other artifacts uploaded at the same time.
The table below details the properties of component coordinates:
Field | Description |
|---|---|
Group ID | A group identifier represents the reserved namespace by the stakeholders for their components. Groups often reflect the organization under which the software component is produced. |
Artifact ID | The artifact identifier is the descriptive name for a software component. The combination of a group identifier and artifact identifier must be unique. |
Version | The version of a project in semantic versioning. Versions may include alphanumeric qualifiers to denote the release status such as "1.2.3-BETA". |
Packaging | The packaging describes the binary software format, such as;
|
Valid File Types for Each Format
Repository format | Valid file types |
|---|---|
Apt |
|
Helm |
|
Maven | No restrictions
Supports Multiple Uploads |
npm |
|
NuGet |
|
PyPI |
|
R |
|
Raw | No restrictions Supports Multiple Uploads |
RubyGems |
|
Yum | None with a permissive policy
|
The following formats do not support uploading through the user interface:
Bower, CocoaPods, Composer, Conan, Conda, Cargo, Docker, Git LFS, GO Lang, Hugging Face, P2