The Nexus Repository user interface is accessed with a web browser. When anonymous access is enabled, a limited user experience is provided to search for components, browse repositories, and download components. Once logged in, additional features are available depending on the user’s privileges.
The user interface is separated into several different sections.
The top of the page contains the header with several elements starting on the left with the logo:
Logo
The logo and the version label inform what version you are accessing at a glance.
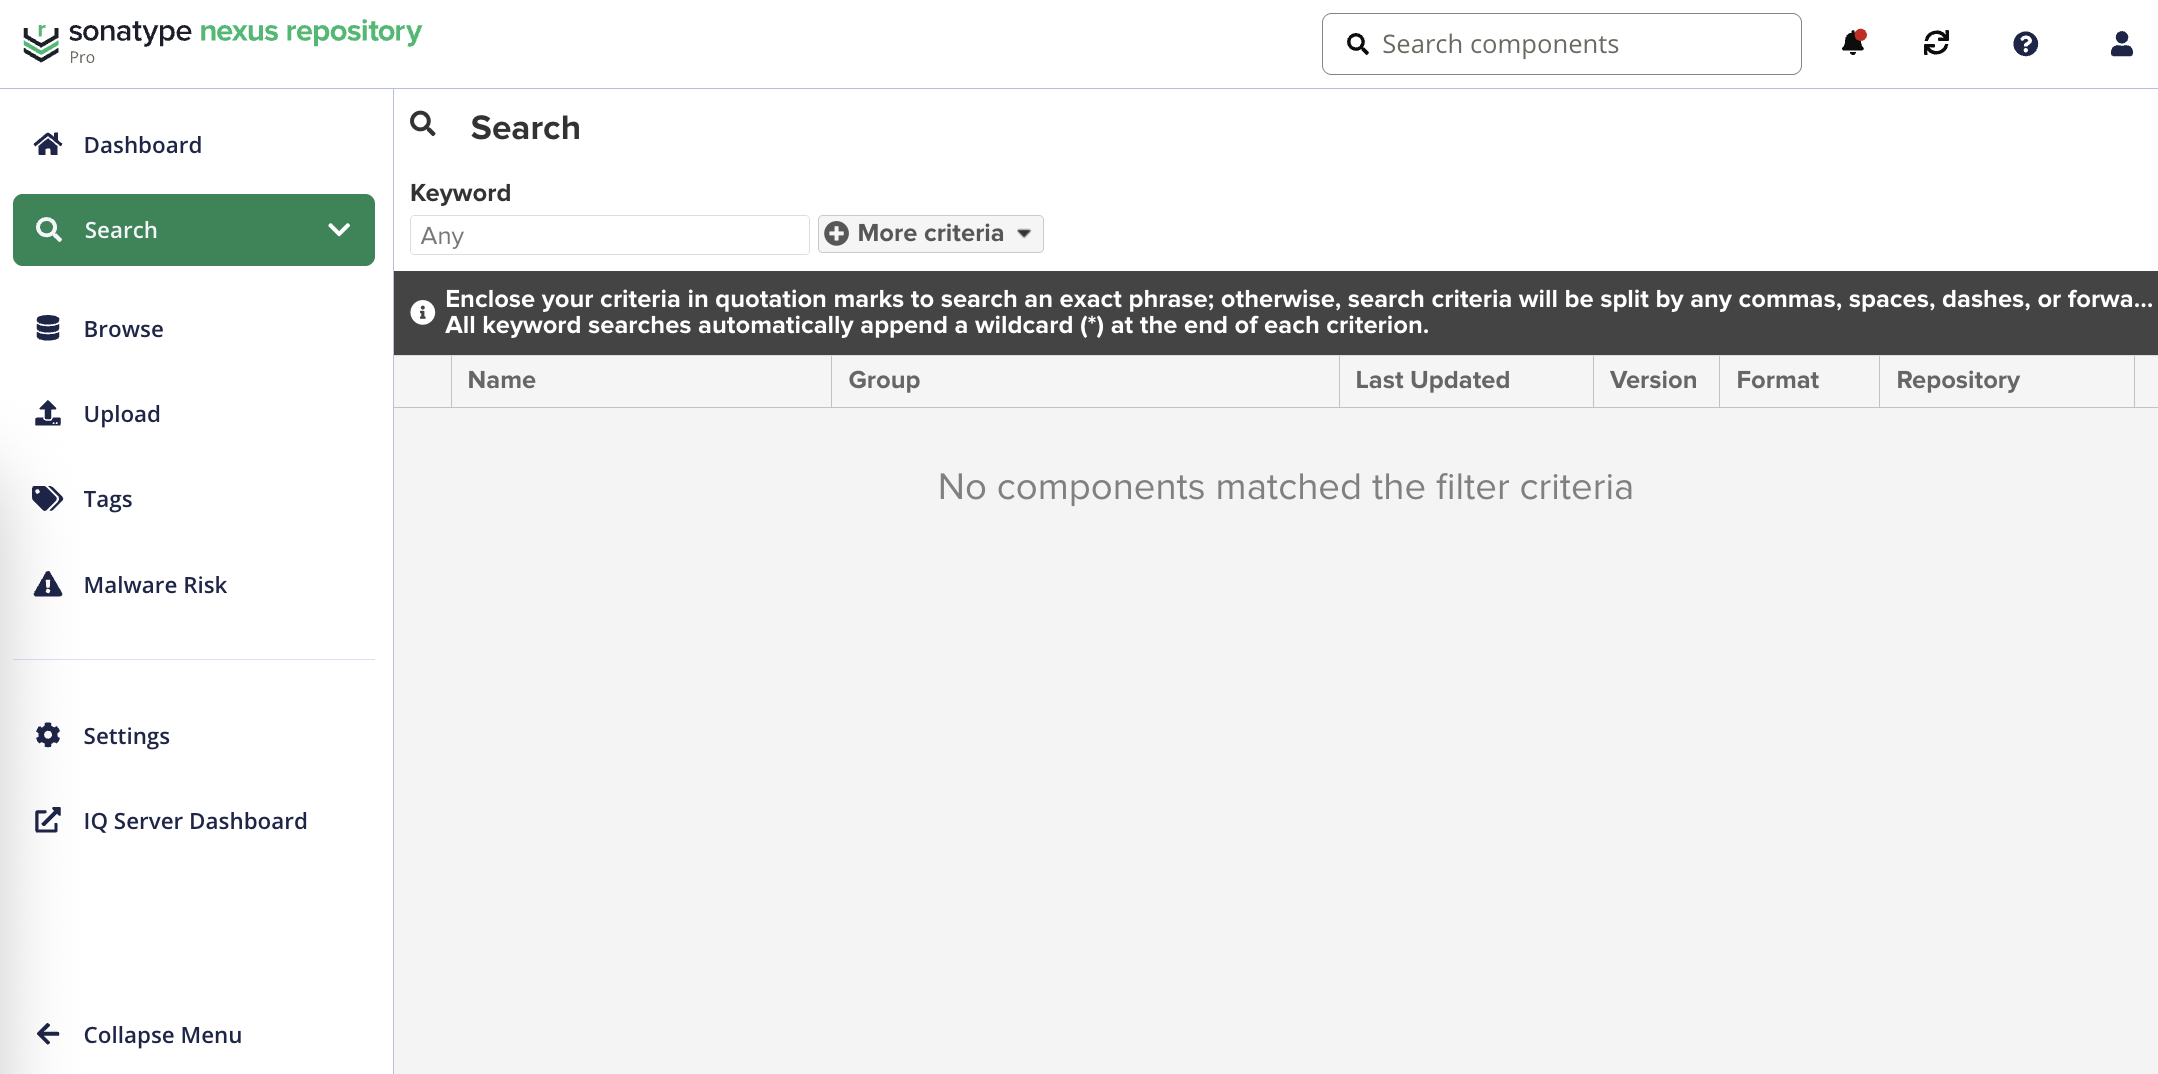
Search
Use the search input box to start a keyword search. The results are displayed in the feature view panel.
Refresh
A global refresh button for all views in the user interface.
Help
Opens the help menu specific to the active feature view. The About item displays a dialog with details about the version as well as license and copyright information. The Documentation, Knowledge base, Community, Issue tracker, and Support items link to the respective pages on the Sonatype websites.
Sign In or Account
Provide credentials sign in as a specific user. Once authenticated this item accesses the the user account feature view.
The main menu on the left contains the Dashboard, Search, Browse, Upload, Tags, Malware Risk and Settings menu. The exact list of available menu items depends on the current user’s assigned privileges.
The panel may horizontally collapse and be expanded.
Submenus vertically collapsed and expand with the buttons beside the title for each submenu.
Selecting a menu item triggers the display of the respective feature view in the feature view panel.
The feature view in the center of the user interface changes based on your selected views. The following stardards for navigation are implemented for most views in the application.
Selecting table rows
Selecting on a row in the list switches the feature view to a specific display for the item in the row.
Selecting column headers
Sort the order of the table in ascending or descending order. Some columns may be enabled or removed from some table.
Breadcrumbs
The top-level links navigate back to the primary views when viewing a specific item.
Form actions
Located at the bottom left for forms to Cancel, Save, Delete, or Test configuration.
Filter input
Tables include a filter input box to limit the results of long tables.