Roles
Roles aggregate privileges into a related context and can, in turn, be grouped to create more complex roles.
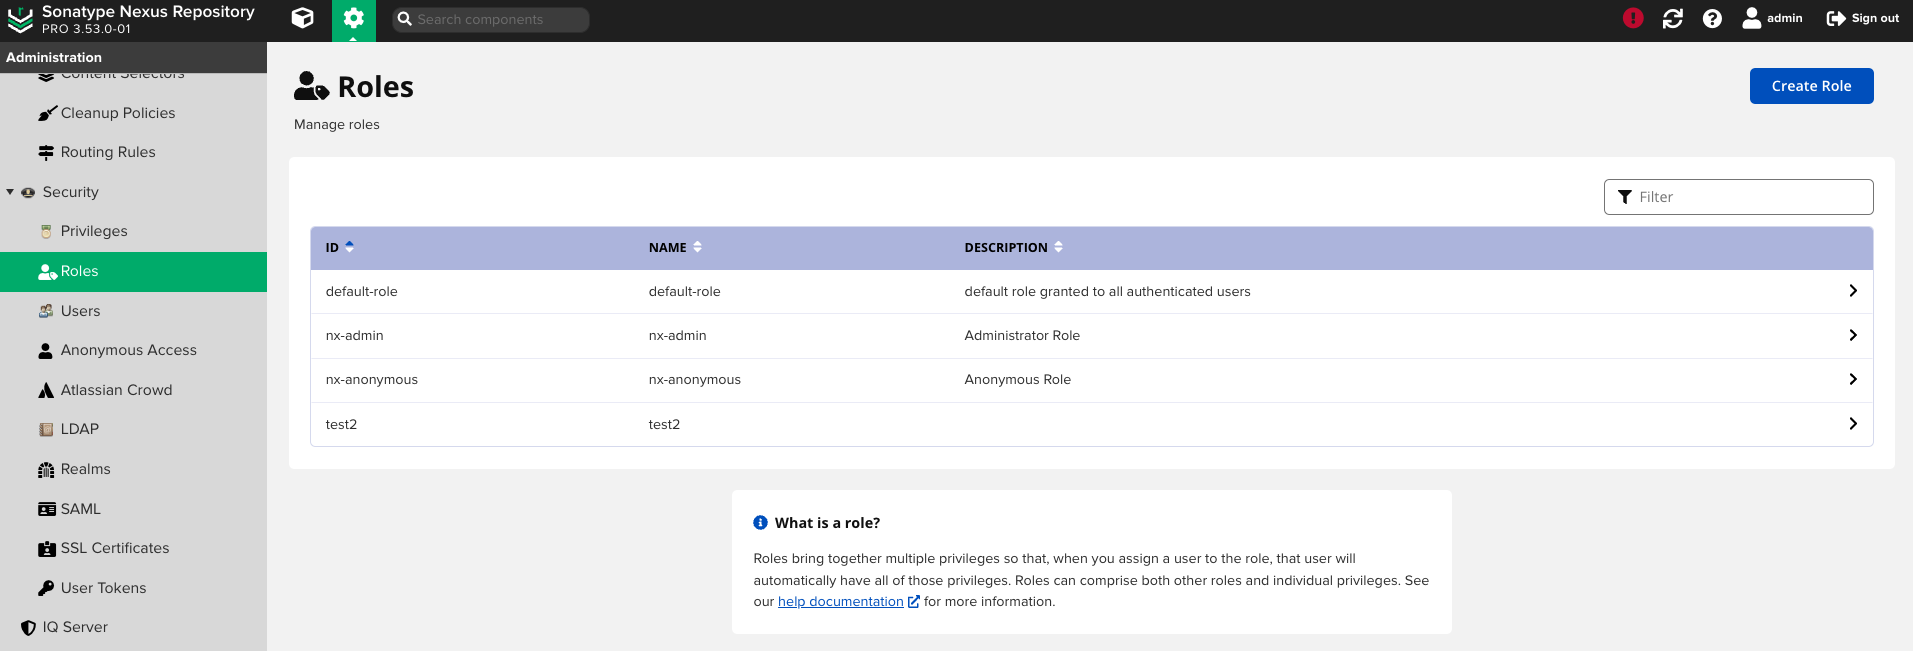
To create and manage roles, navigate to Settings → Security → Roles.
You must have the nx-roles or nx-all privilege to access the Roles screen.
To create, edit, or delete roles, you must have the nx-privilege-read or nx-all privilege.
Nexus Repository ships with defined admin and anonymous roles which may not be edited or deleted.
Creating Roles
To create a new role, take the following steps:
Select the Create role button in the Roles page.
Select the appropriate option from the Role Type drop-down menu; typically, this will be Nexus role for any role you are creating manually.
In the Role Setup form, provide a Role ID and Role Name. Optionally, provide a description for the role.
In Applied Privileges, select the Modify Applied Privileges to manage the role's applied privileges.
A modal appears where you can select and de-select privileges given to this role. You can also use a filter to search for privileges to apply. You can see all the selected privileges by sorting by the checkbox Select column. After selecting privileges to apply to this role, select the Confirm button.
If you wish to apply an existing role to this new role, select the Modify Applied Roles button in the Applied Roles section. A modal appears where you can select and de-select other roles to apply to this new role. You can also use a filter to search for other roles to apply.
After selecting roles to apply to this role, select the Confirm button.
Select the Save button to save the new role.
Managing Roles
To manage an existing role, take the following steps:
Select the role you wish to edit from the list on the main Roles page.
You may edit the Role Name and description; however, you will not be able to modify the Role ID.
In Applied Privileges, select the Modify Applied Privileges to manage the role's applied privileges. A modal appears where you can select and de-select privileges given to this role. You can also use a filter to search for privileges to apply.
After making changes to applied privileges, select the Confirm button.
If you wish to modify which other roles are applied to this role, select the Modify Applied Roles button in the Applied Roles section. A modal appears where you can select and de-select other roles to apply to this new role. You can also use a filter to search for other roles to apply.
After selecting roles to apply to this role, select the Confirm button.
Select the Save button to save the changes you've made to this role.
Deleting Roles
To delete a role, take the following steps:
Select the role you wish to delete from the list on the main Roles page.
At the bottom of the form, select the Delete button. A modal appears asking you to confirm that you wish to delete the role.
Select Confirm to confirm deletion.
Mapping External Groups to Nexus Repository Roles
The Create role button allows creating External role mapping to an external authorization system such as an identity provider (IdP). Use this to grant members of an externally managed group from your IdP privileges in the repository manager.
Note
Nexus Repository matches user groups to your IDP groups with the same name automatically.
Prerequisites
Configure the Nexus Repository Realms to include your IdP's realm
Create an IdP connection with user and group configuration set
Test the connection by selecting the
Verify connectionbutton on the configuration screenTo test the user and group settings, use the
Verify user mappingbuttonSearch for an external user and make sure the user groups are displayed
In the Settings menu under Security, select Users
Change the source to the IdP
Search for a known user identifier from the IdP
Select the user and verify the
External Rolesare populated with the IdP's group the user belongs
Note
Check the user and group configuration when you do not see groups listed for the user.
Create an LDAP External Role Mapping
Use the following steps to create a role mapping:
Select
Rolesfrom the Settings menu underSecuritySelect the
Create rolebutton andExternal Role Mappingfor your IdPThe
Mapped Roledrop-down is populated with groups in your IdP domain. Choose the group to mapProvide a name for the role
Assign roles and privileges
Select
Createrole
Troubleshooting
Switch on debug logging to obtain more information about the source of IdP-related problems.
Select
Loggingfrom the Settings menu underSupport.Locate the logger for your IdP under org.sonatype.nexus.<IdP> and set the logging level to
DEBUG.
These logs contain more information about the cause of a problem. When opening support tickets, setting this logging after reproducing the problem but before generating a support zip, helps track down the issue.