Create a Conda Repository
This guide describes how to create Conda proxy, hosted and group repositories in Nexus Repository. Check out Nexus Repository Management and Repository Types to learn more.
Conda Proxy Repository
Use Nexus proxy repository when you want to download packages and centralize package caching of external dependencies. To learn more, check Proxy Repositories.
To create a new Conda proxy repository, take the following steps:
Nexus One UI
Navigate to Settings → Repositories.
Select Create Repository.
From the Select Format section, select Conda.
From the Select Type section, select Proxy.
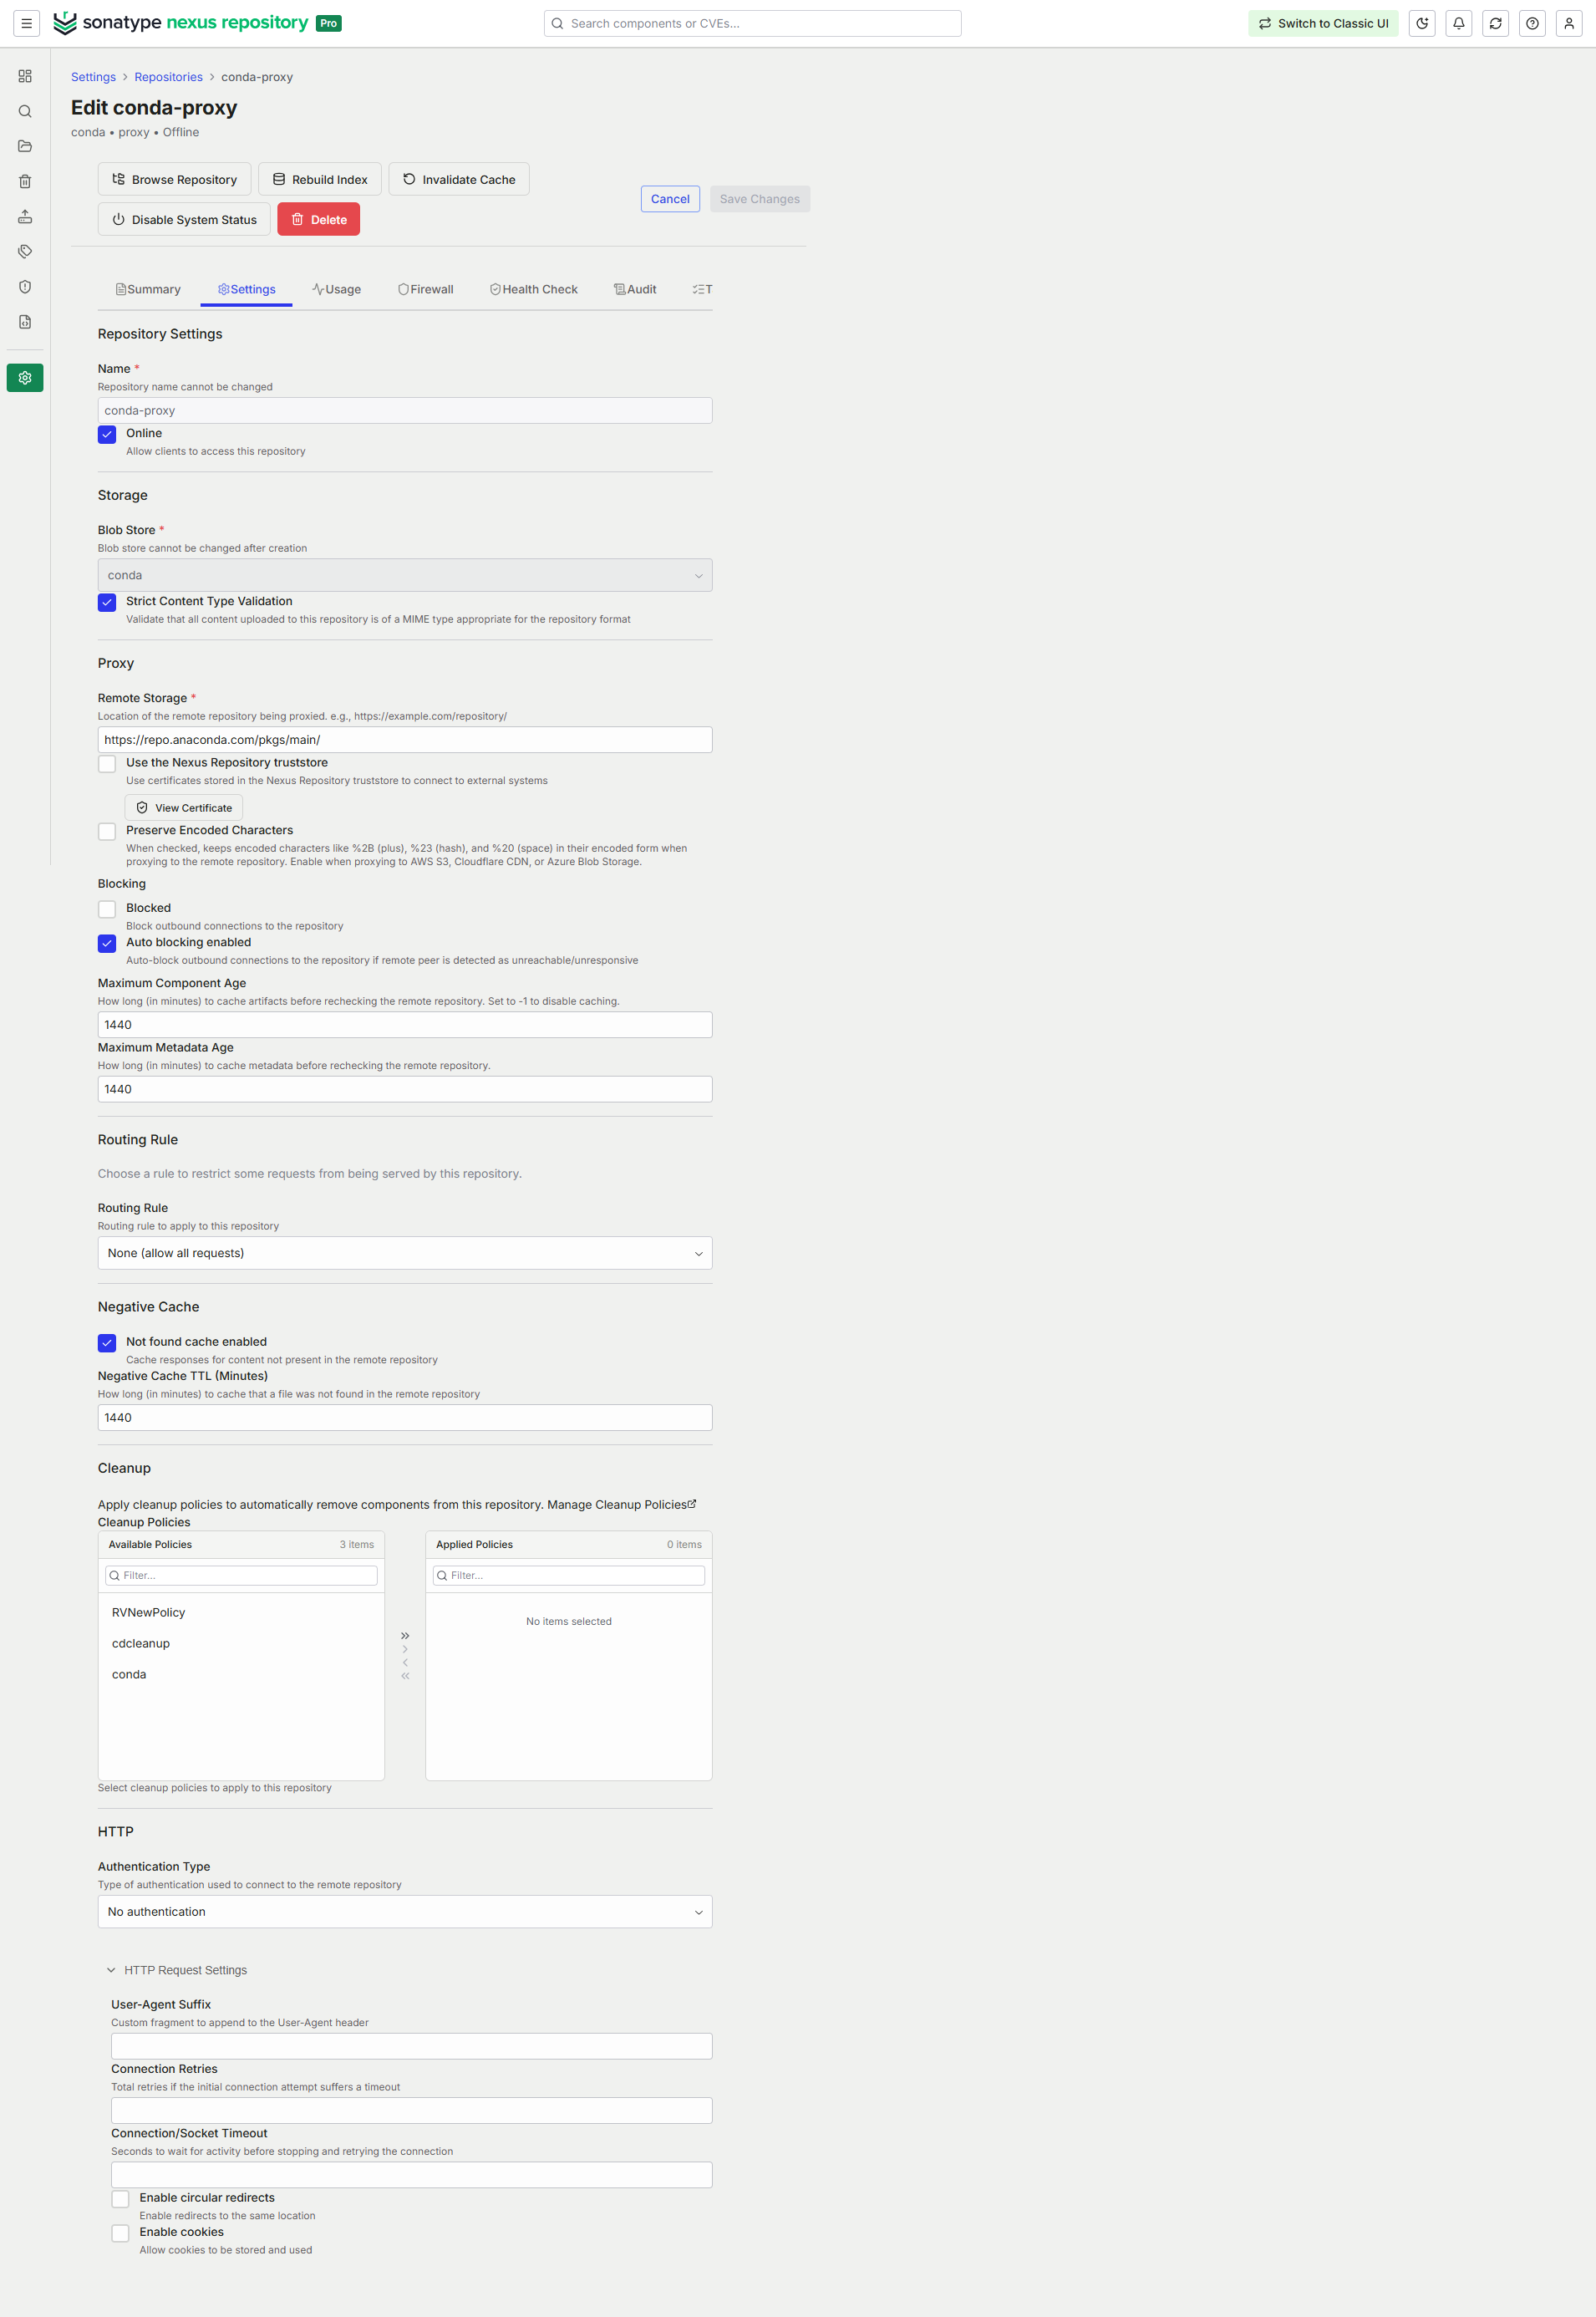
In the form that appears, complete the required fields.
Name, for example, conda-proxy
Remote storage URL, for example https://repo.anaconda.com/pkgs/main. Supported registries are
https://repo.anaconda.com/pkgs/<Channel>/
Channelcan bemain,r,msys2and so on.
To connect to Cloud or private channel using a token, include the token in the repository's URL. For example,
https://repo.anaconda.cloud/t/<TOKEN>/<CHANNEL>
Blob Store
Complete the additional fields for configurations you wish to add for creating your repository. Available configurations differ by repository format and type. See Configurable Repository Fields for more details. Click Continue.
In the Enable Firewall section, select one of the following options:
Select Skip to leave Repository Firewall disabled.
Select Audit to monitor policy violations and malware.
Select Quarantine to block download of components.
The firewall options aren't available if your firewall isn't configured. To configure Sonatype Firewall with Nexus Repository, follow the instructions in Nexus Repository 3 Pro Setup.
In the Enable RHC section, turn on Enable Repository Health Check to analyze components for security vulnerabilities and license issues. Leave it disabled to configure it later.
Select Create repository.
Classic UI
Navigate to Settings → Repository → Repositories.
Select the Create repository button.
From the list of Recipes, select conda (proxy).
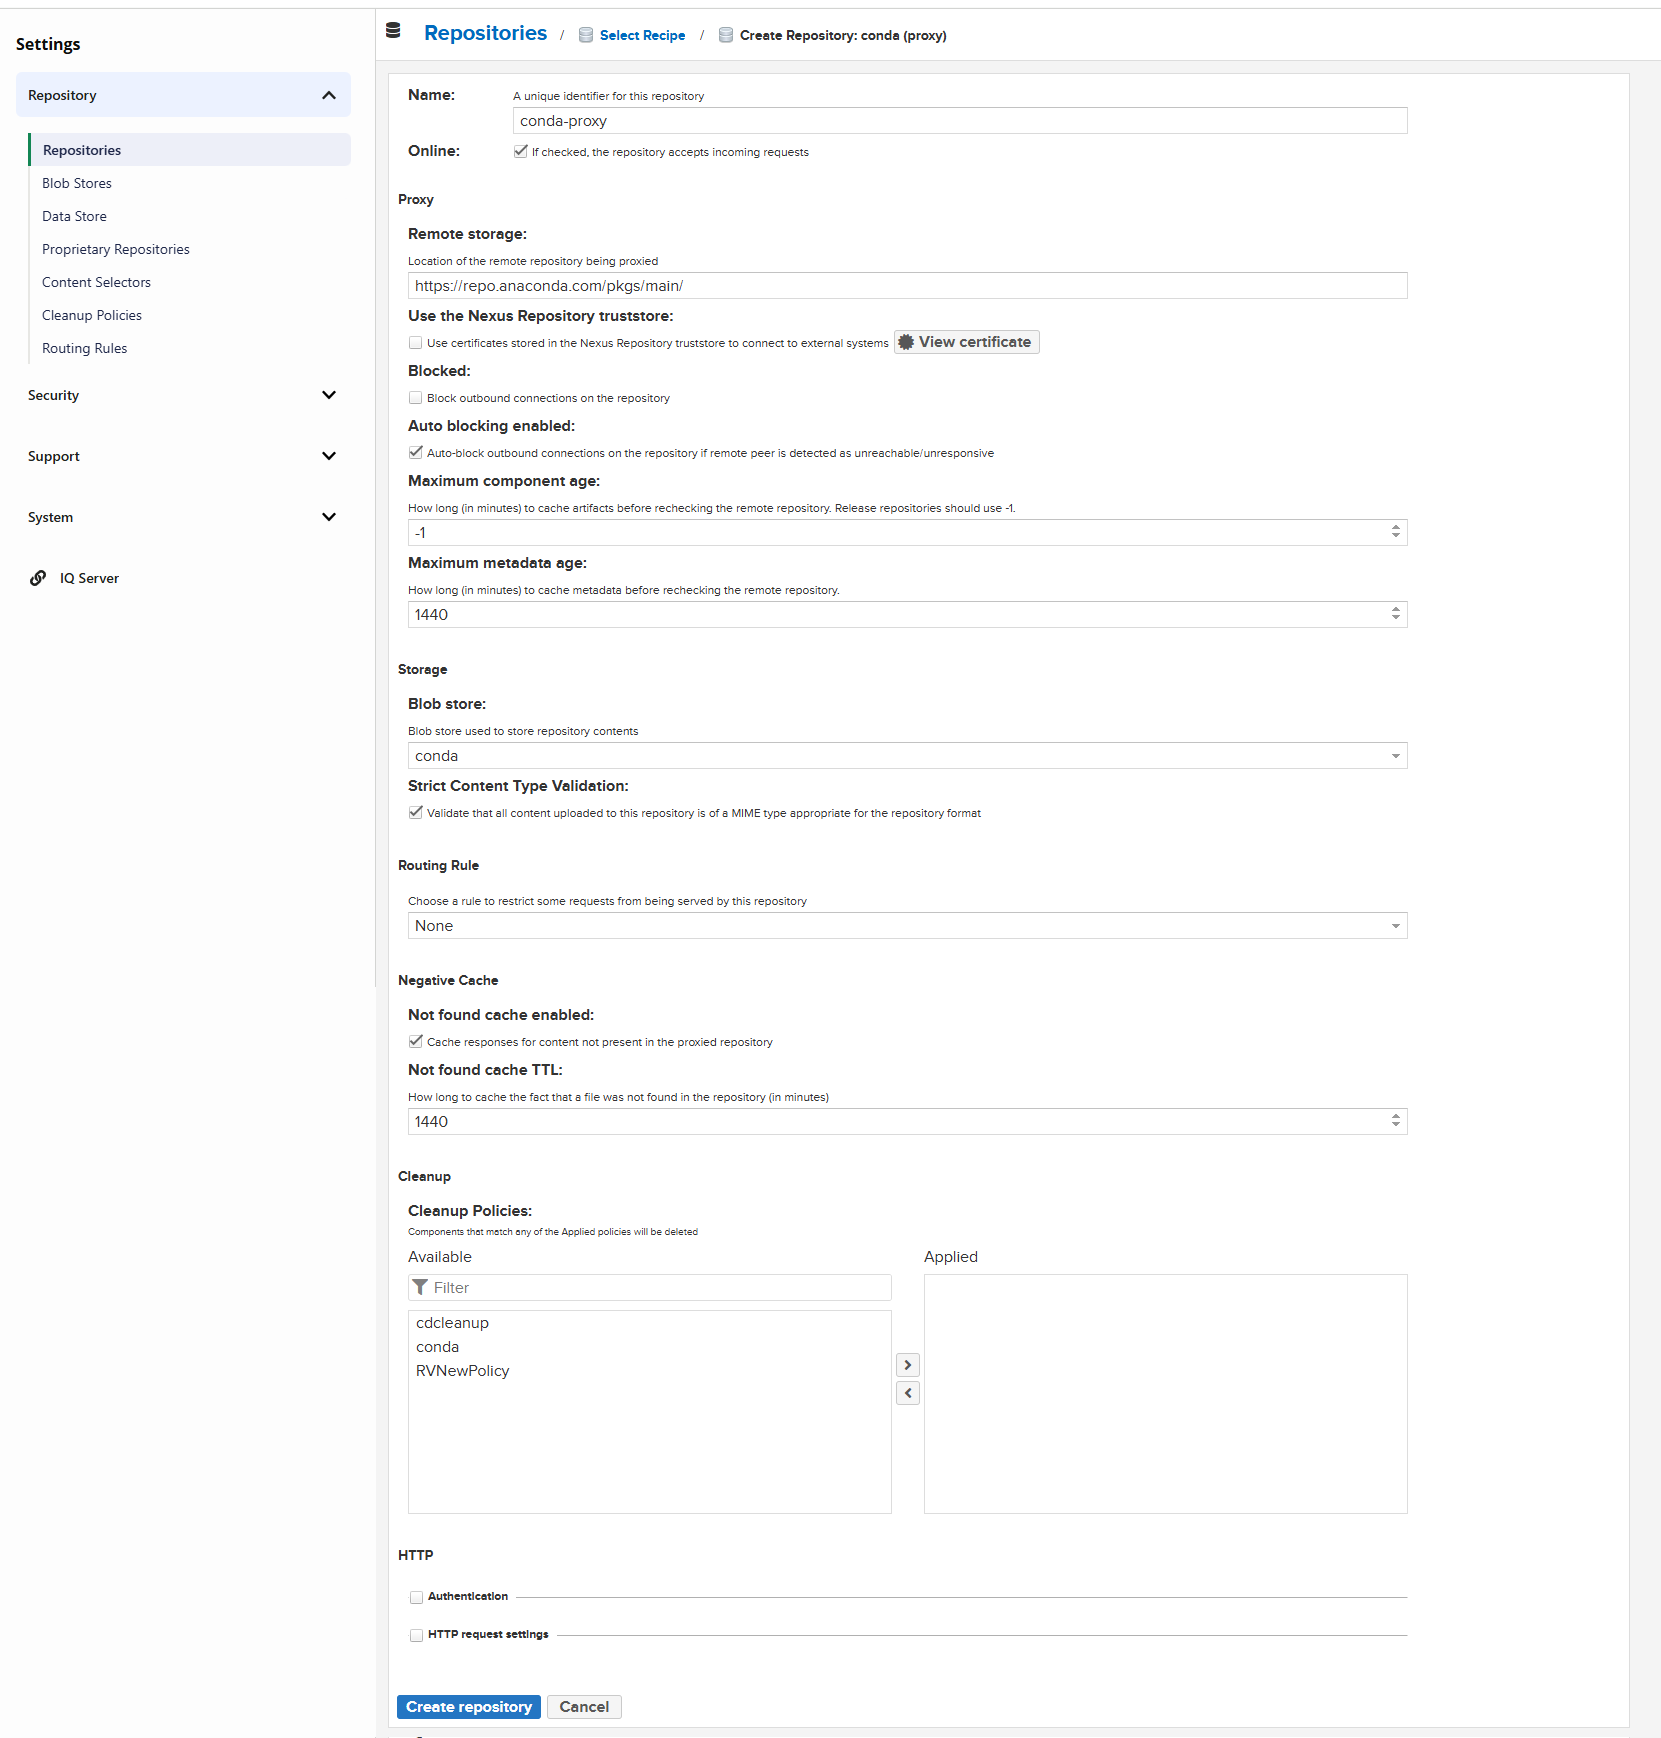
In the form that appears, complete the required fields:
Repository Name , for example, conda-proxy
Remote storage URL, for example https://repo.anaconda.com/pkgs/main. Supported registries are
https://repo.anaconda.com/pkgs/<Channel>/
Channelcan bemain,r,msys2and so on.
To connect to Cloud or private channel using a token, include the token in the repository's URL. For example,
https://repo.anaconda.cloud/t/<TOKEN>/<CHANNEL>
Blob store
Complete the additional fields for configurations you wish to add for creating your repository. Available configurations differ by repository format and type. See Configurable Repository Fields for more details.
Select Create repository.
Conda Hosted Repository
Use Nexus hosted repository when you want to publish and store your own internal artifacts and third party components, so they can be consumed via Nexus. To learn more, check Hosted Repositories.
To create a new Conda hosted repository, take the following steps:
Nexus One UI
Navigate to Settings → Repositories.
Select Create Repository.
From the Select Format section, select Conda.
From the Select Type section, select Hosted.
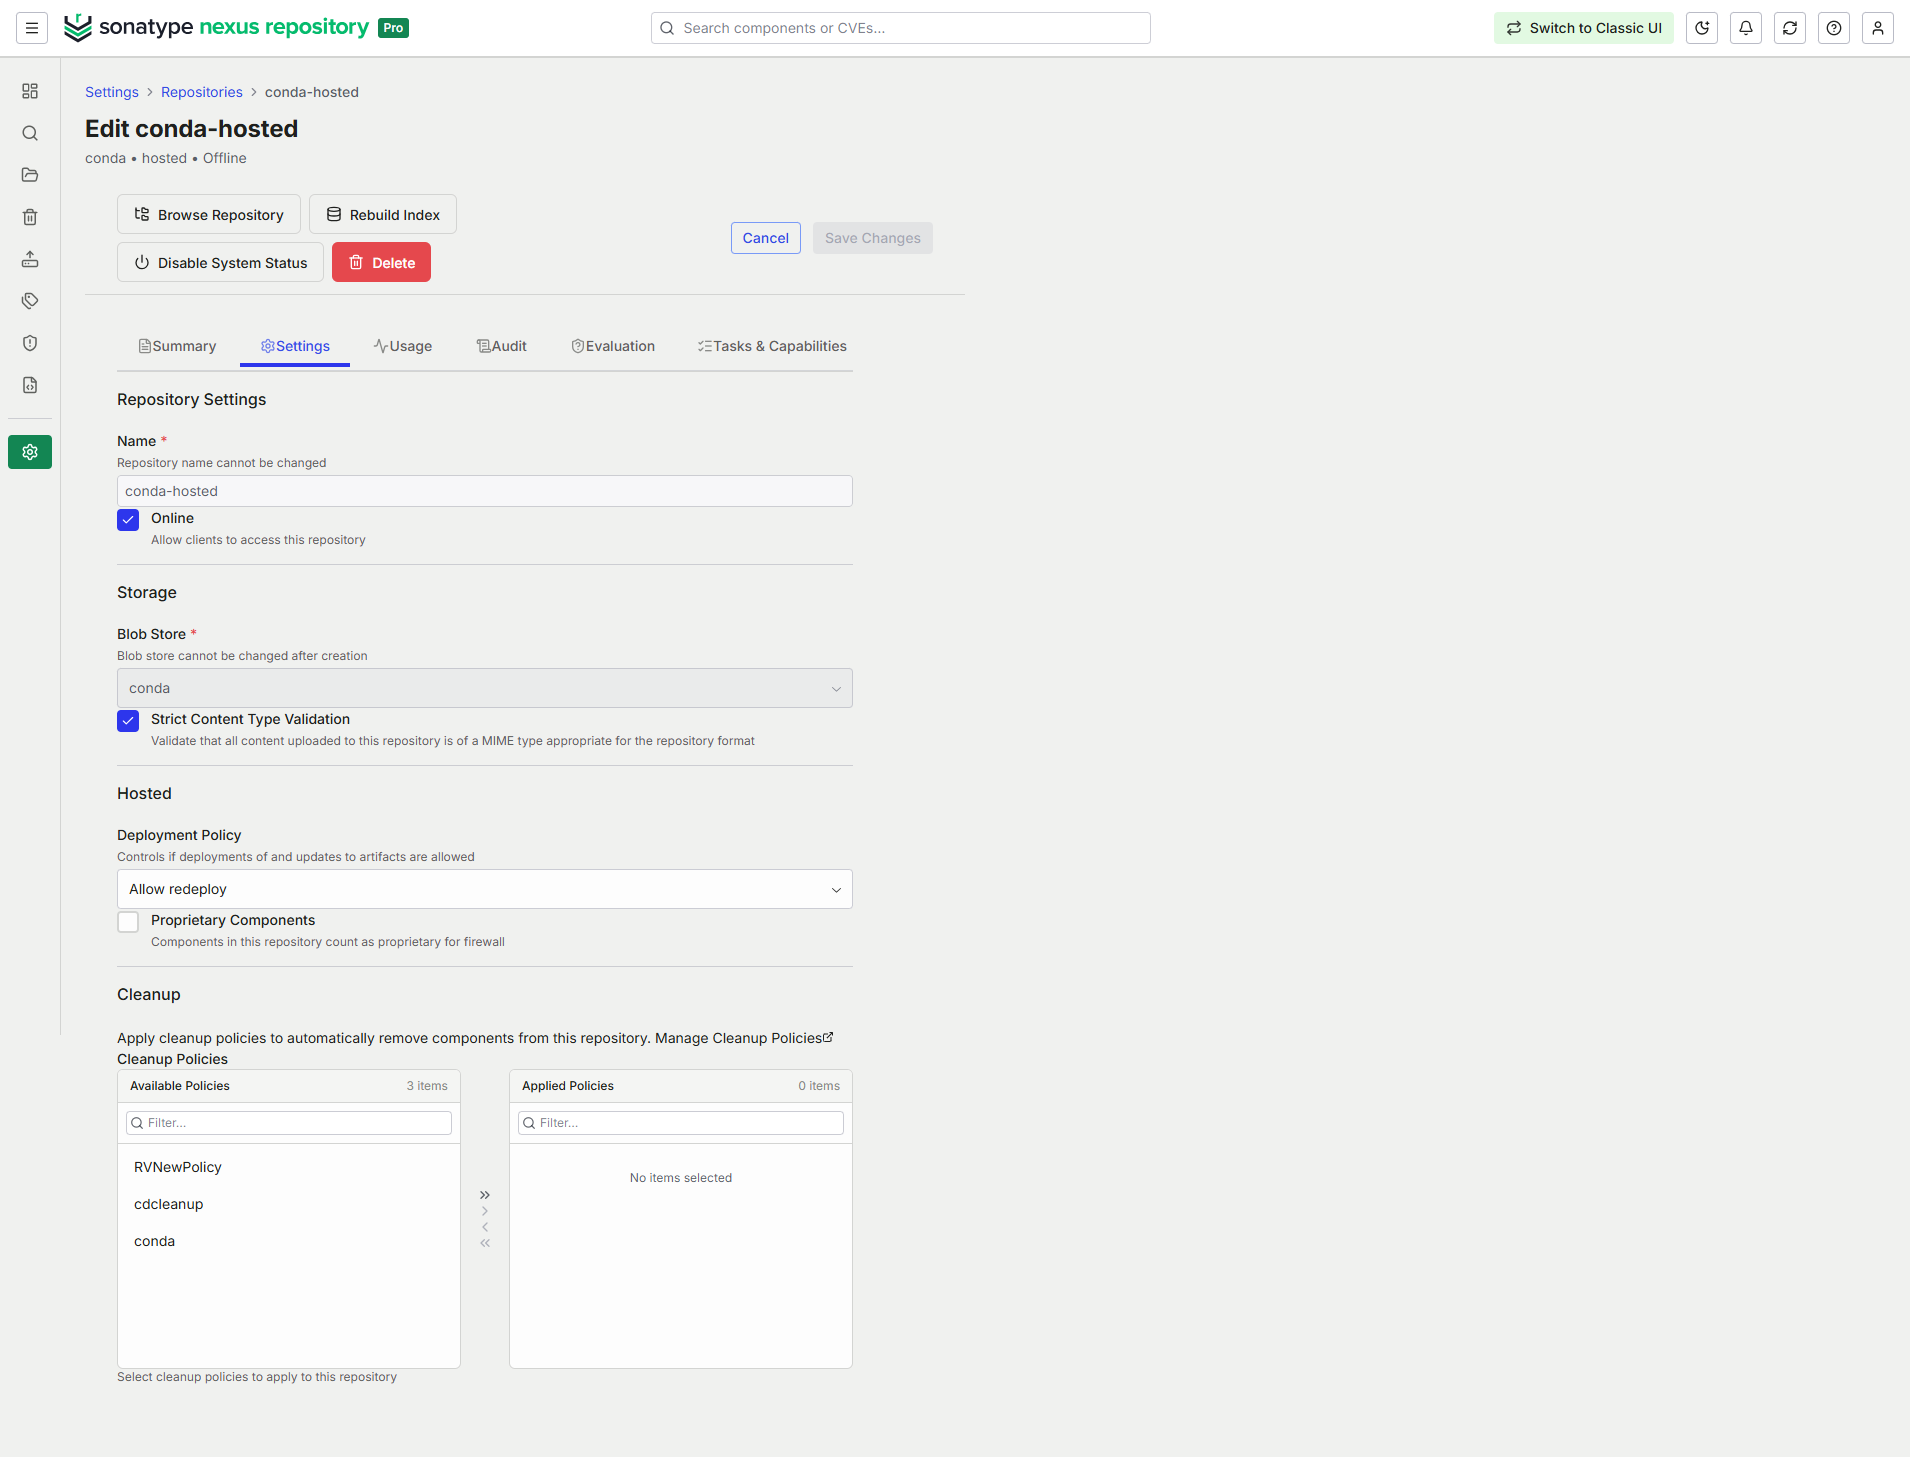
In the form that appears, complete the required fields.
Name, for example conda-hosted
Blob Store
Complete the additional fields for configurations you wish to add for creating your repository. Available configurations differ by repository format and type. See Configurable Repository Fields for more details.
Select Create repository.
Classic UI
Navigate to Settings → Repository → Repositories.
Select the Create repository button.
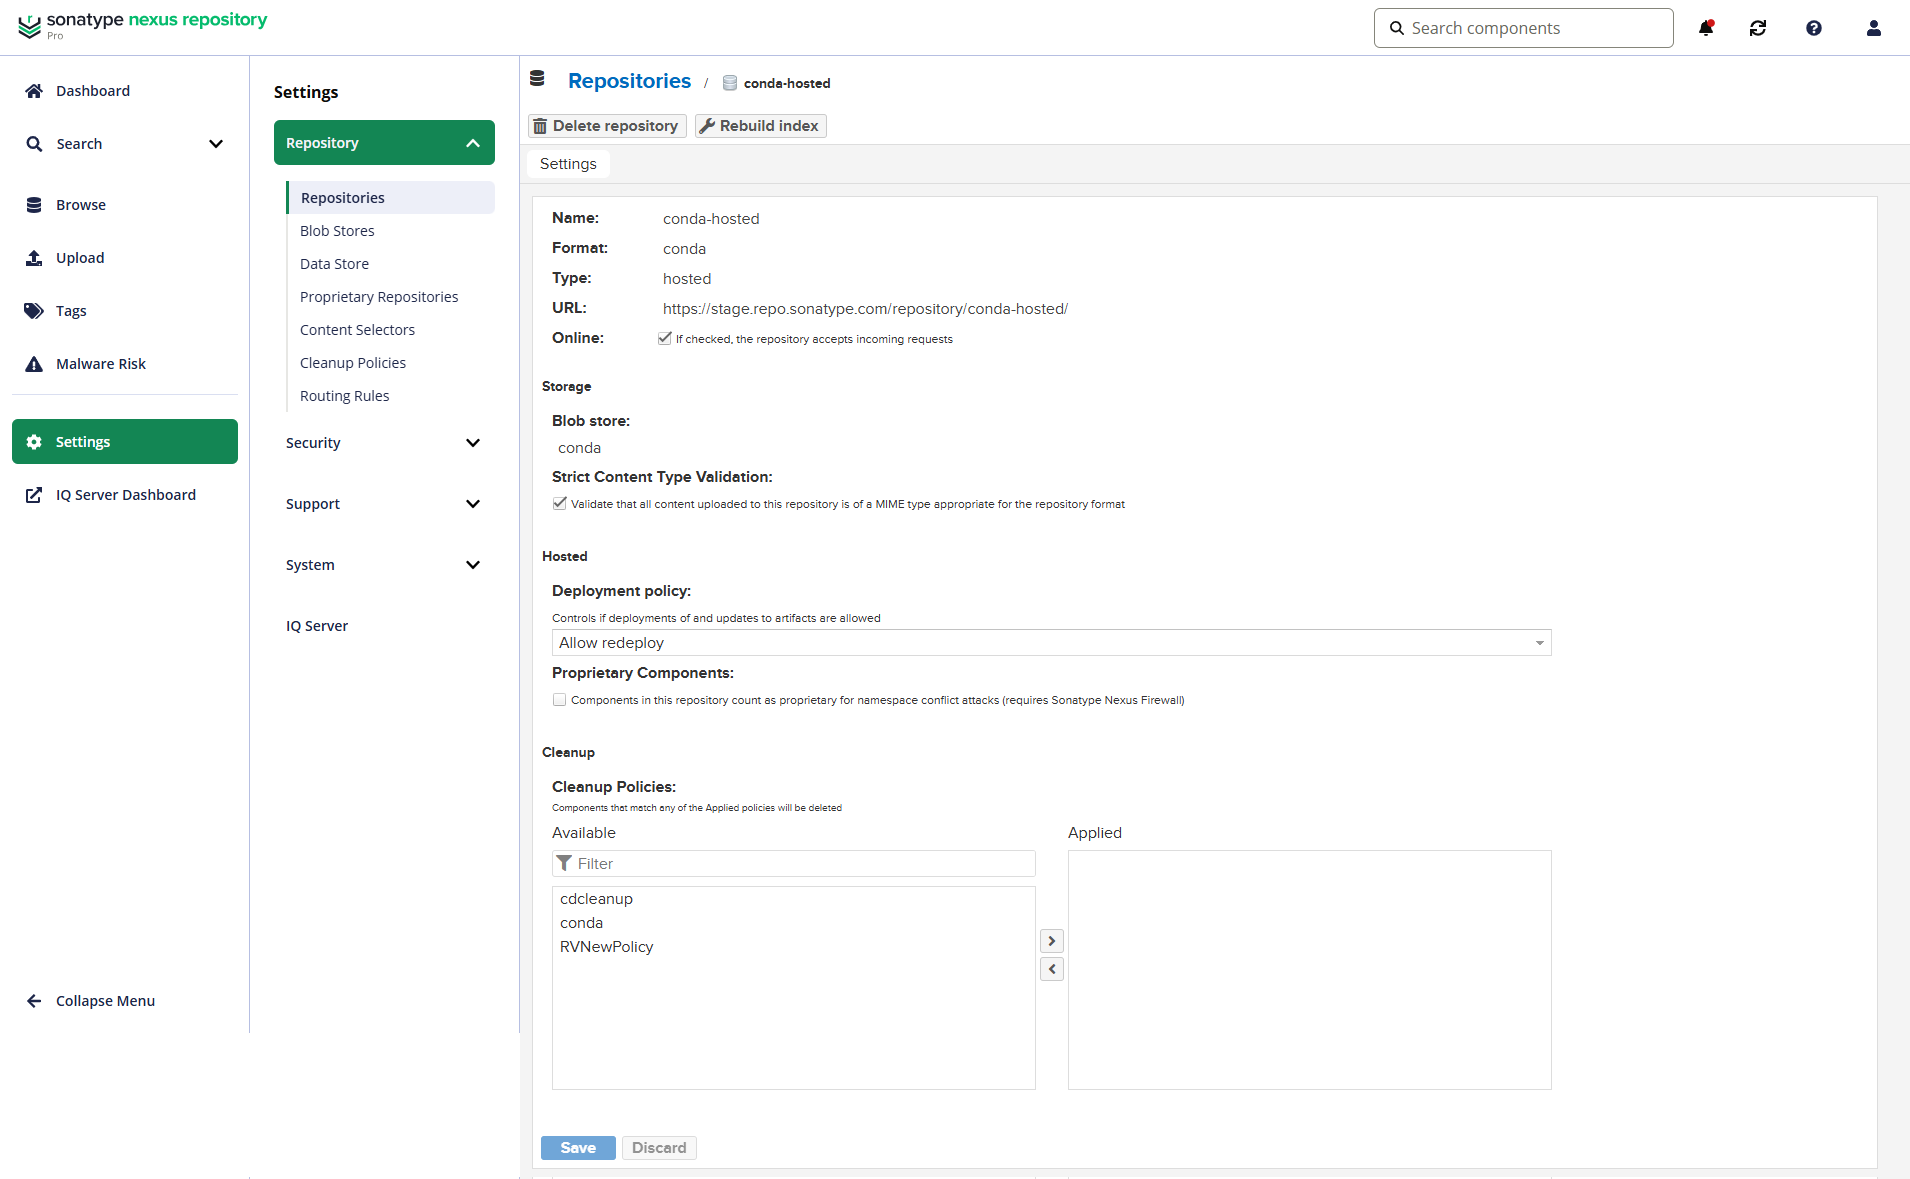
From the list of Recipes, select conda (hosted).
In the form that appears, complete the required fields.
Repository Name, for example conda-hosted
Blob store
Complete the additional fields for configurations you wish to add for creating your repository. Available configurations differ by repository format and type. See Configurable Repository Fields for more details.
Select Create repository.
Tip
To upload packages using the UI, see Uploading Components.
Conda Group Repository
Use Nexus group repository when you want to combine multiple other repositories (proxy, hosted, and other groups) and expose them through a single URL. To learn more, check Group Repositories.
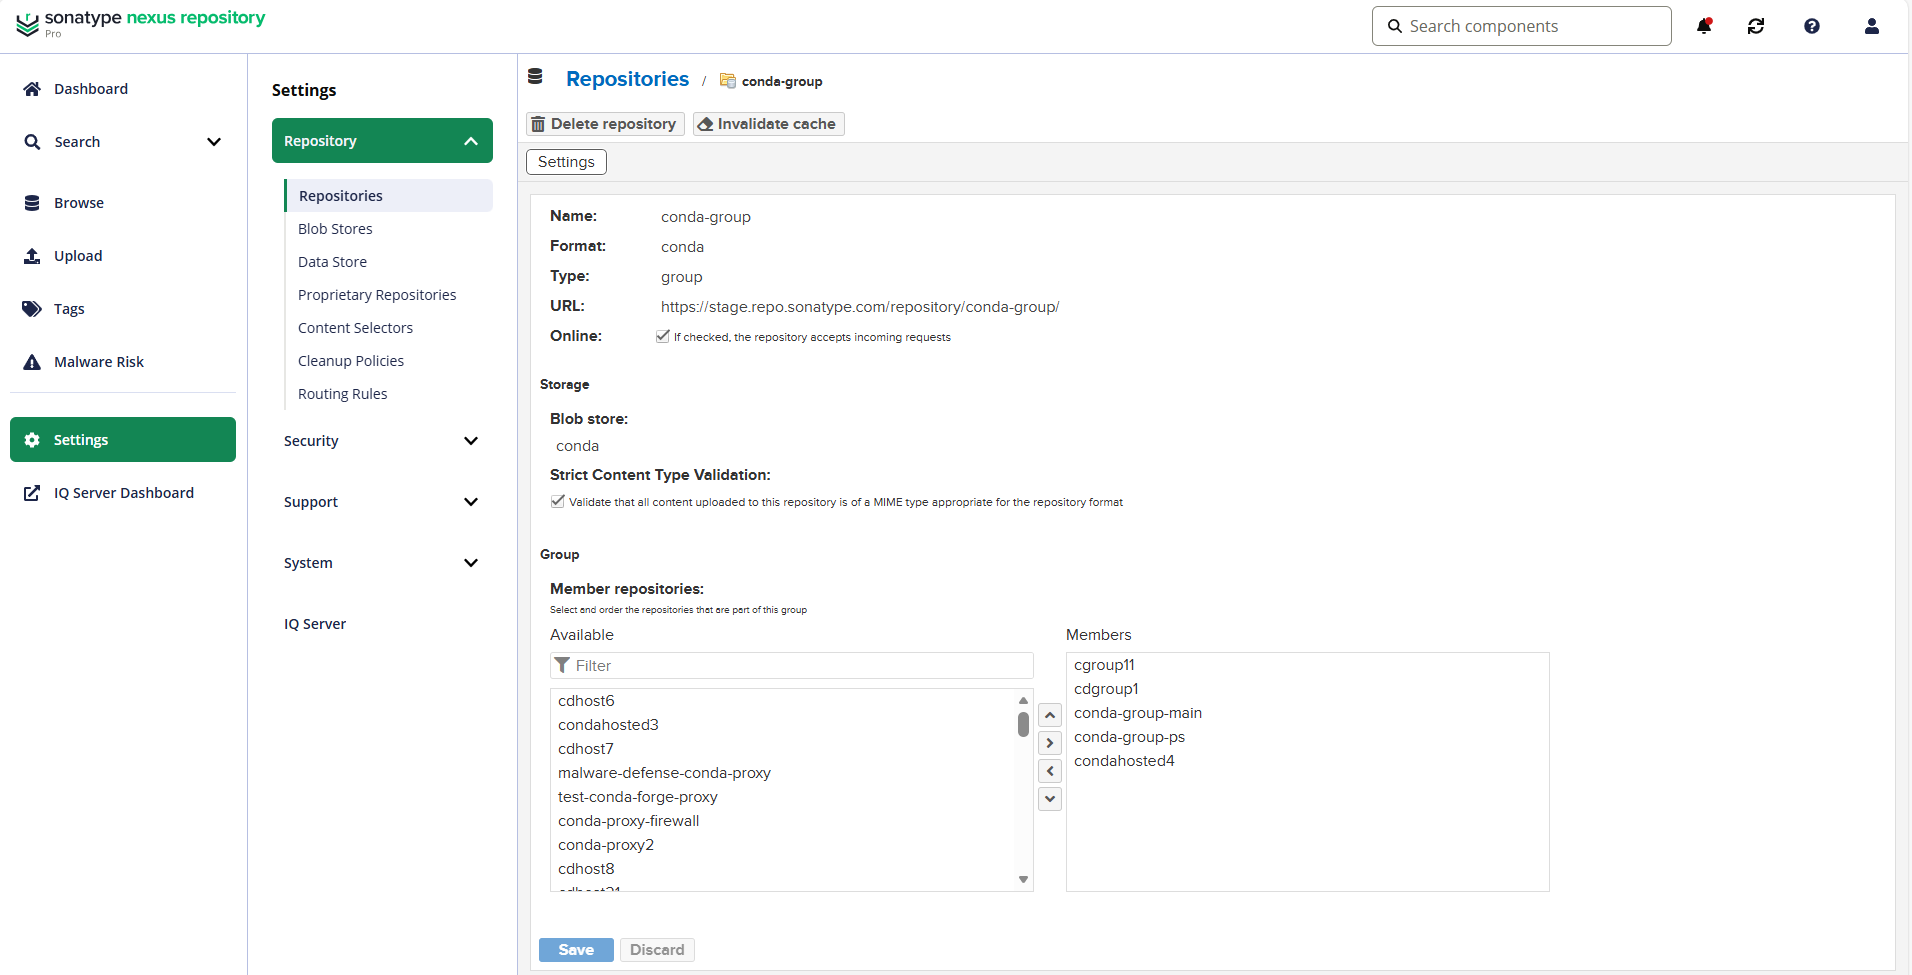
To create a new Conda group repository, take the following steps:
Nexus One UI
Navigate to Settings → Repositories.
Select Create Repository.
From the Select Format section, select Conda.
From the Select Type section, select Group.
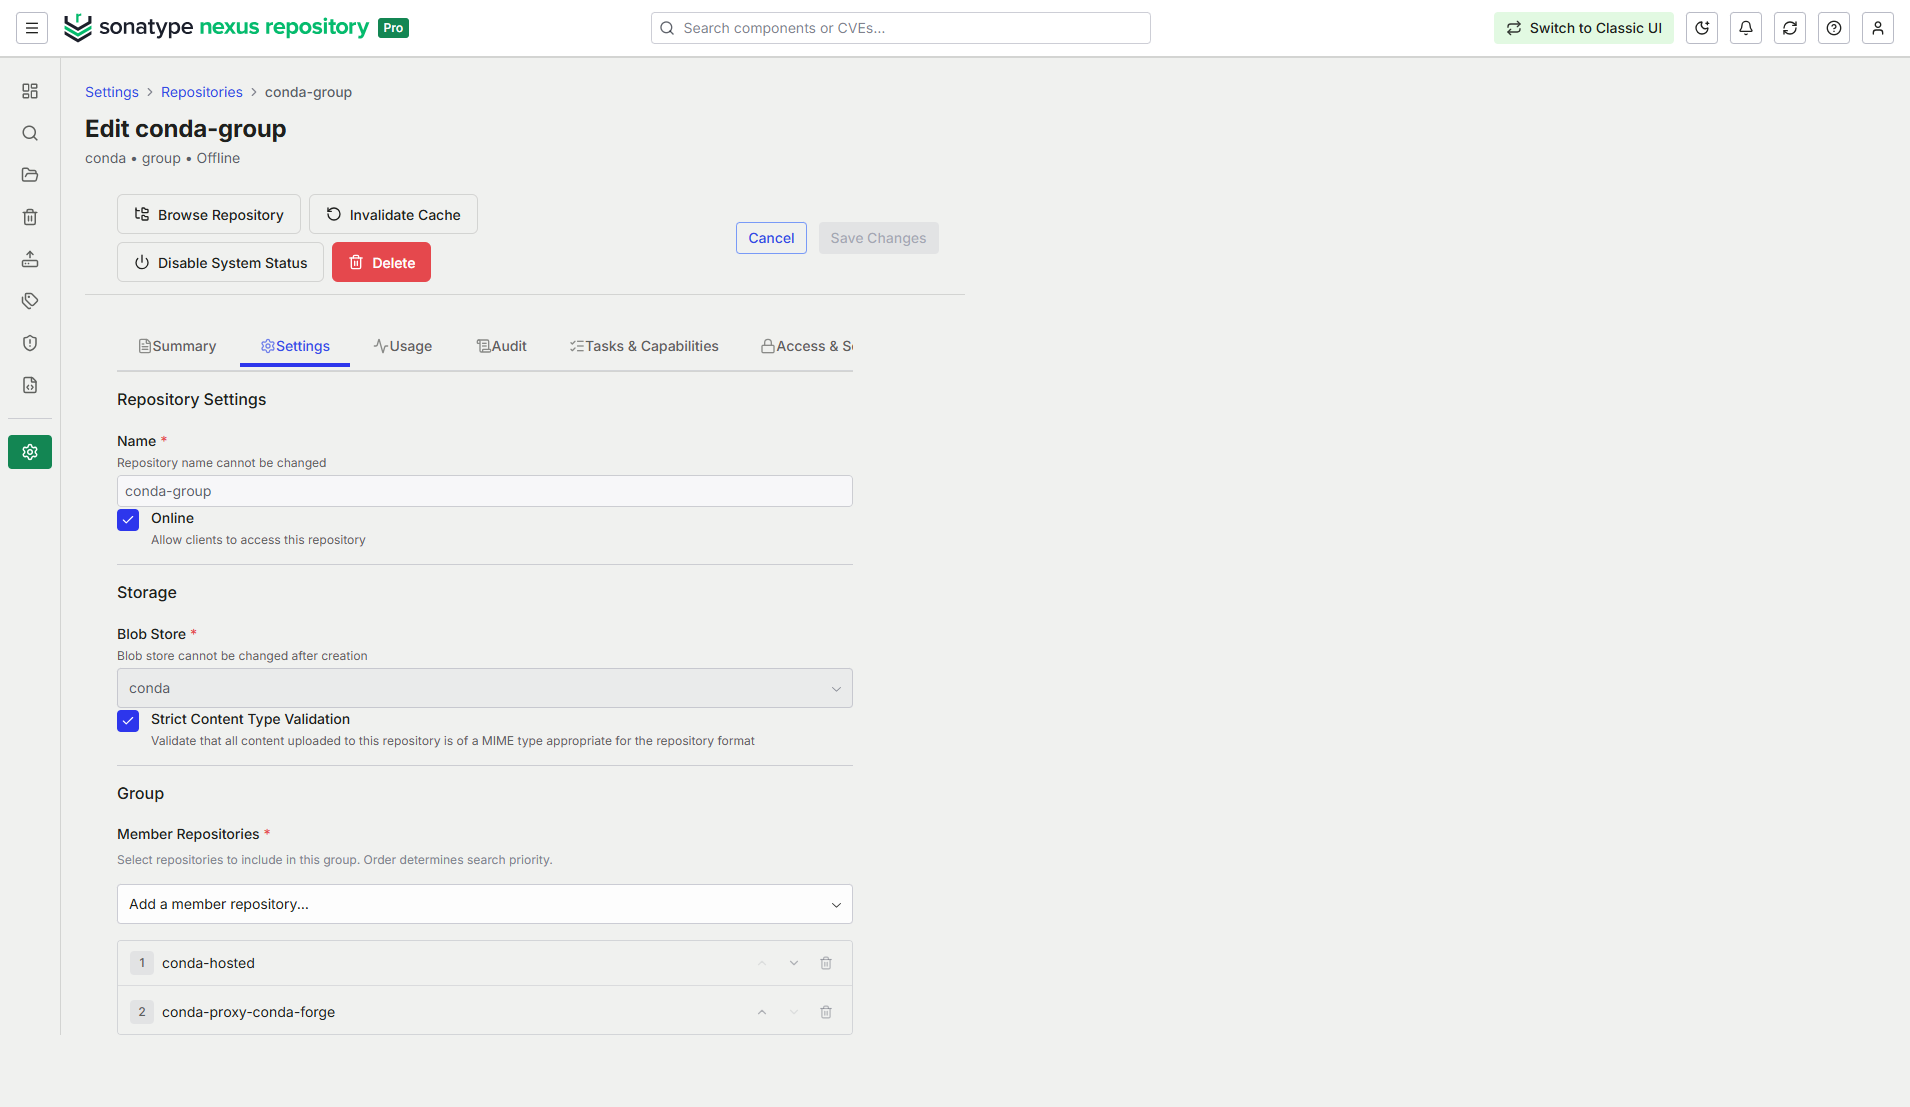
In the form that appears, complete the required fields.
Name, for example conda-group
Blob Store
Member Repositories in the desired order
Complete the additional fields for configurations you wish to add for creating your repository. Available configurations differ by repository format and type. See Configurable Repository Fields for more details.
Select Create repository.
Classic UI
Navigate to Settings → Repository → Repositories.
Select the Create repository button.
From the list of Recipes, select conda (group).
In the form that appears, complete the required fields.
Repository Name, for example conda-group
Blob store
Member repositories in the desired order
Complete the additional fields for configurations you wish to add for creating your repository. Available configurations differ by repository format and type. See Configurable Repository Fields for more details.
Select Create repository.