CloudFormation - Nexus Repository
The following describes the process for deploying Nexus Repository on Amazon Web Services using CloudFormation templates.
Requirements
An Amazon Web Services account
You have subscribed to the CentOS 7 image in the AWS Marketplace
An AWS key pair for SSH access to the EC2 instances. This is required to access the Nexus Repository password. For instructions on creating your key pair please refer to the AWS Key Pair documentation. Please note that key pairs are per region.
Optional
A Nexus Repository license file
An S3 Bucket to upload the Nexus Repository license to
Subscribe to the CentOS 7 Image
If you have not already subscribed to the CentOS 7 image, do the following:
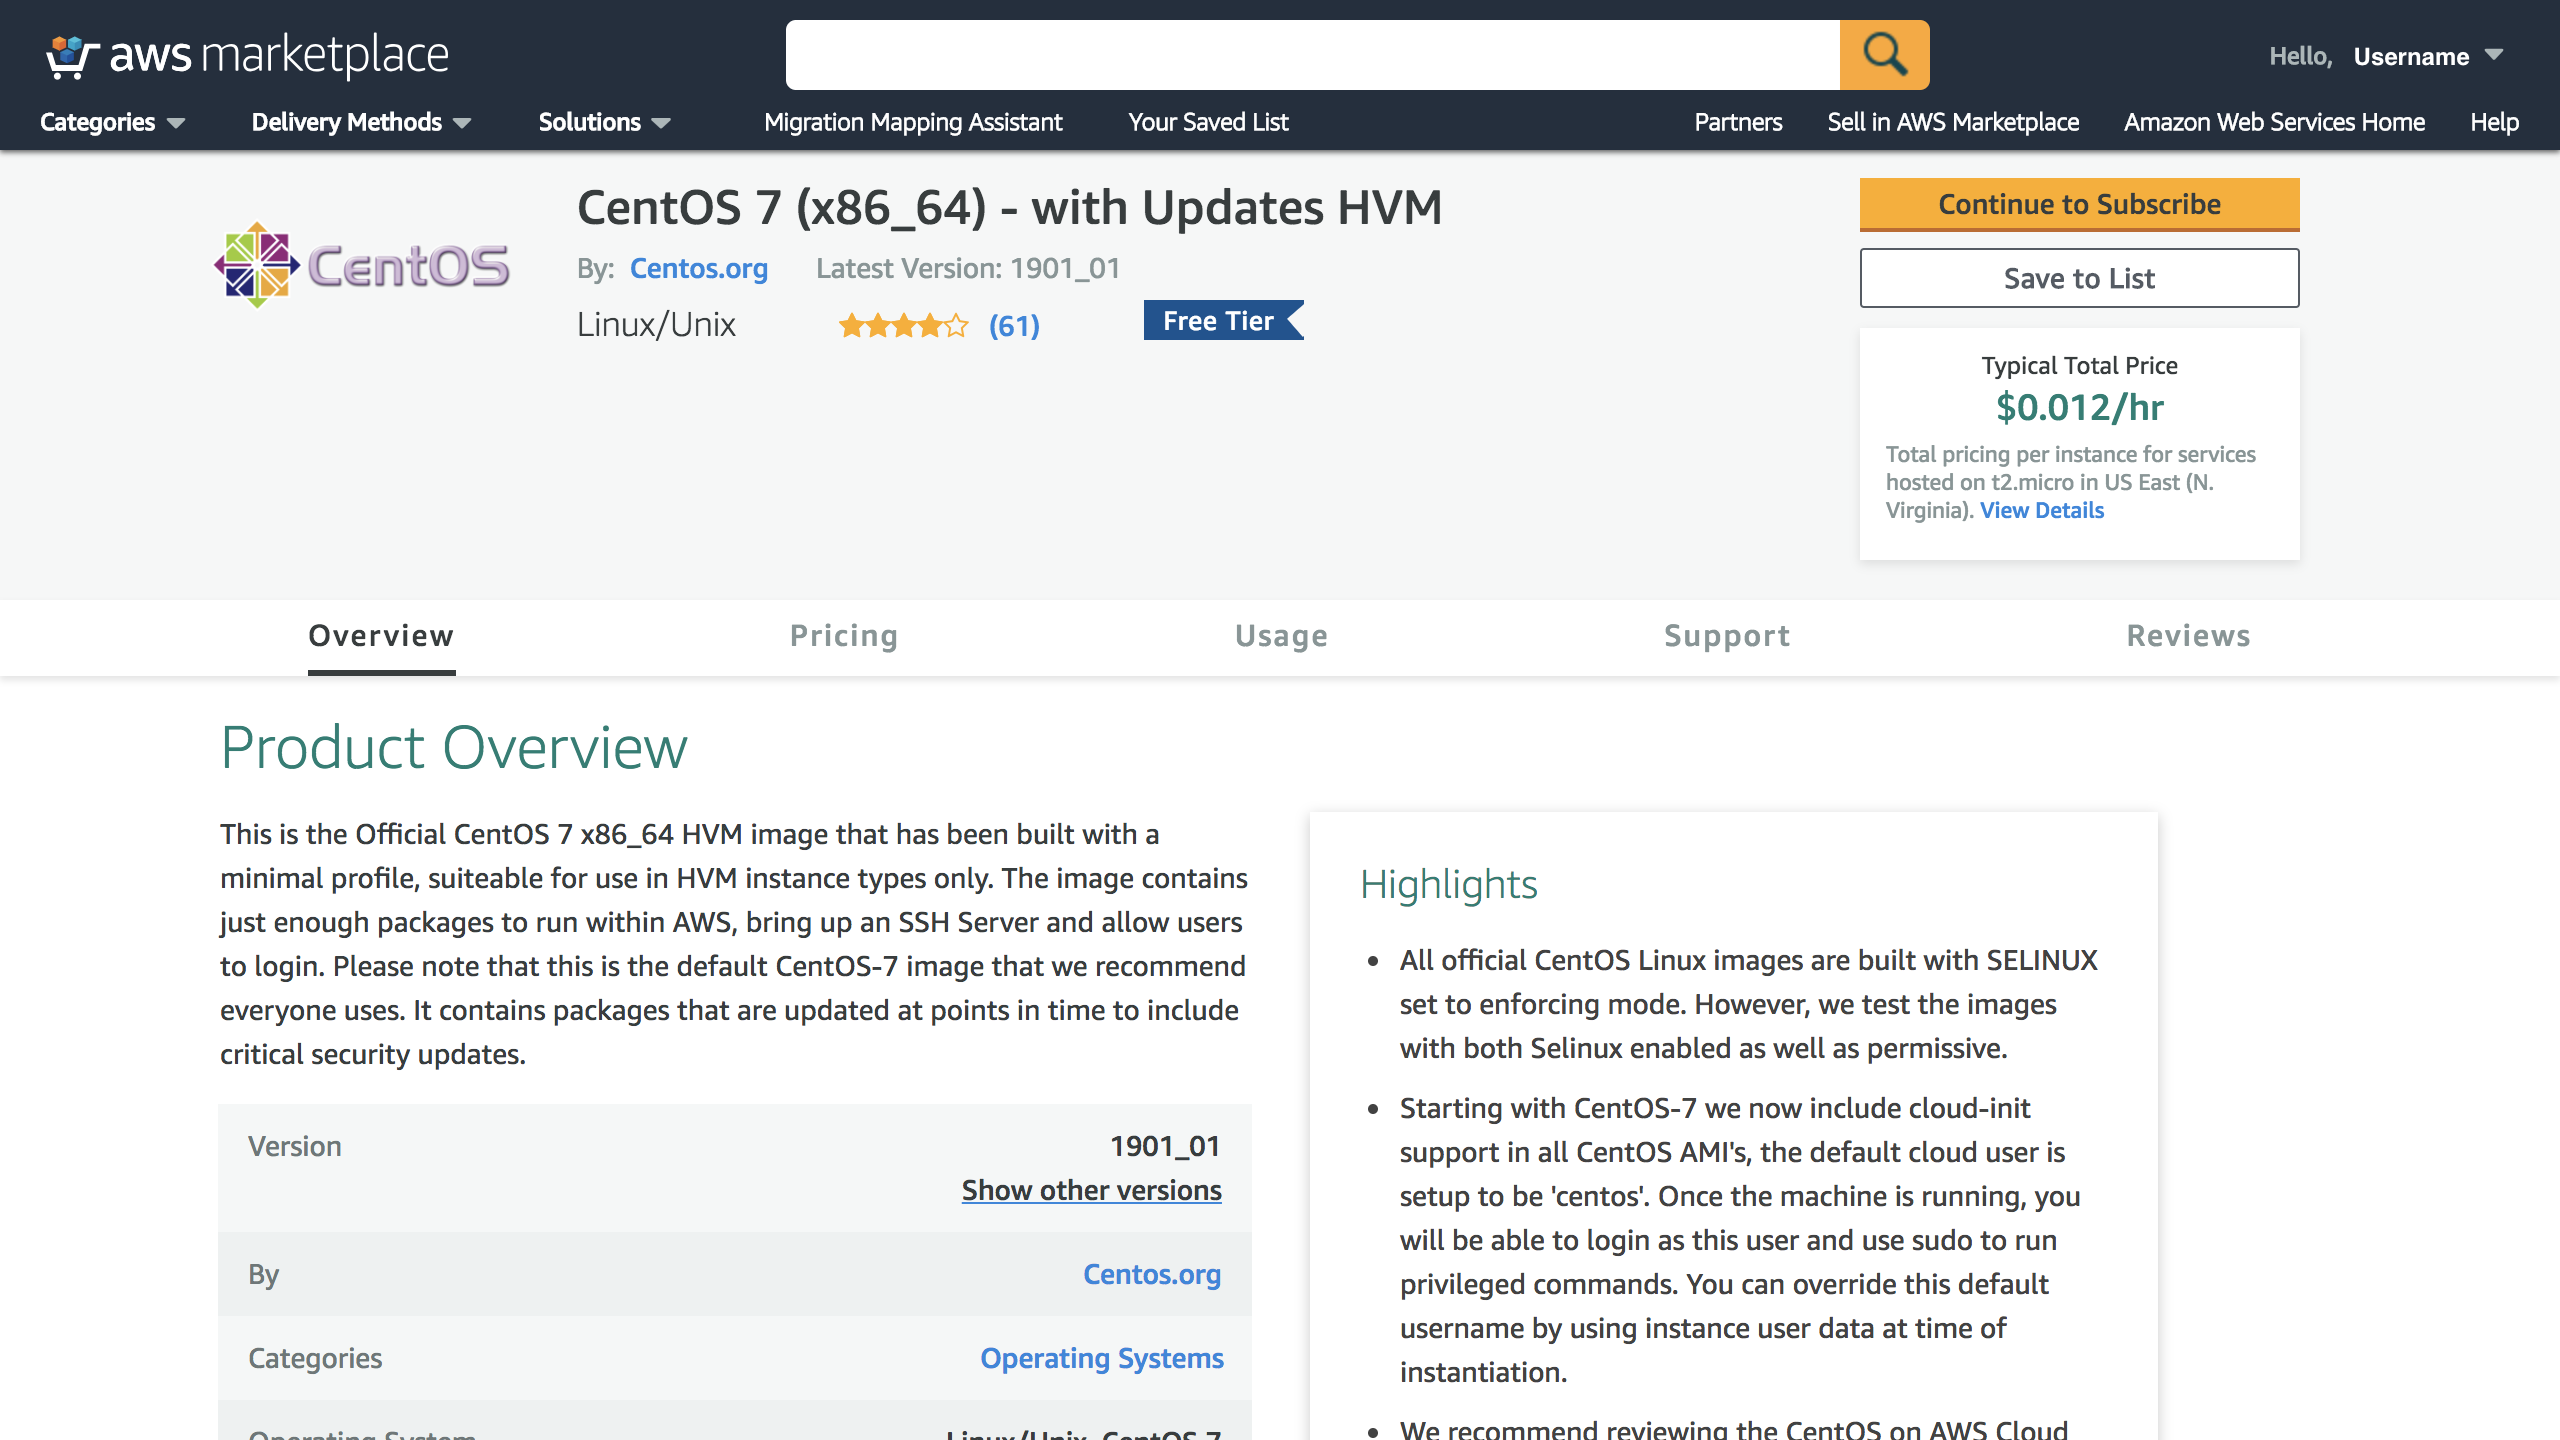
Navigate your browser to https://aws.amazon.com/marketplace/pp/B00O7WM7QW and sign in to your AWS account
Click the Continue to Subscribe button
 |
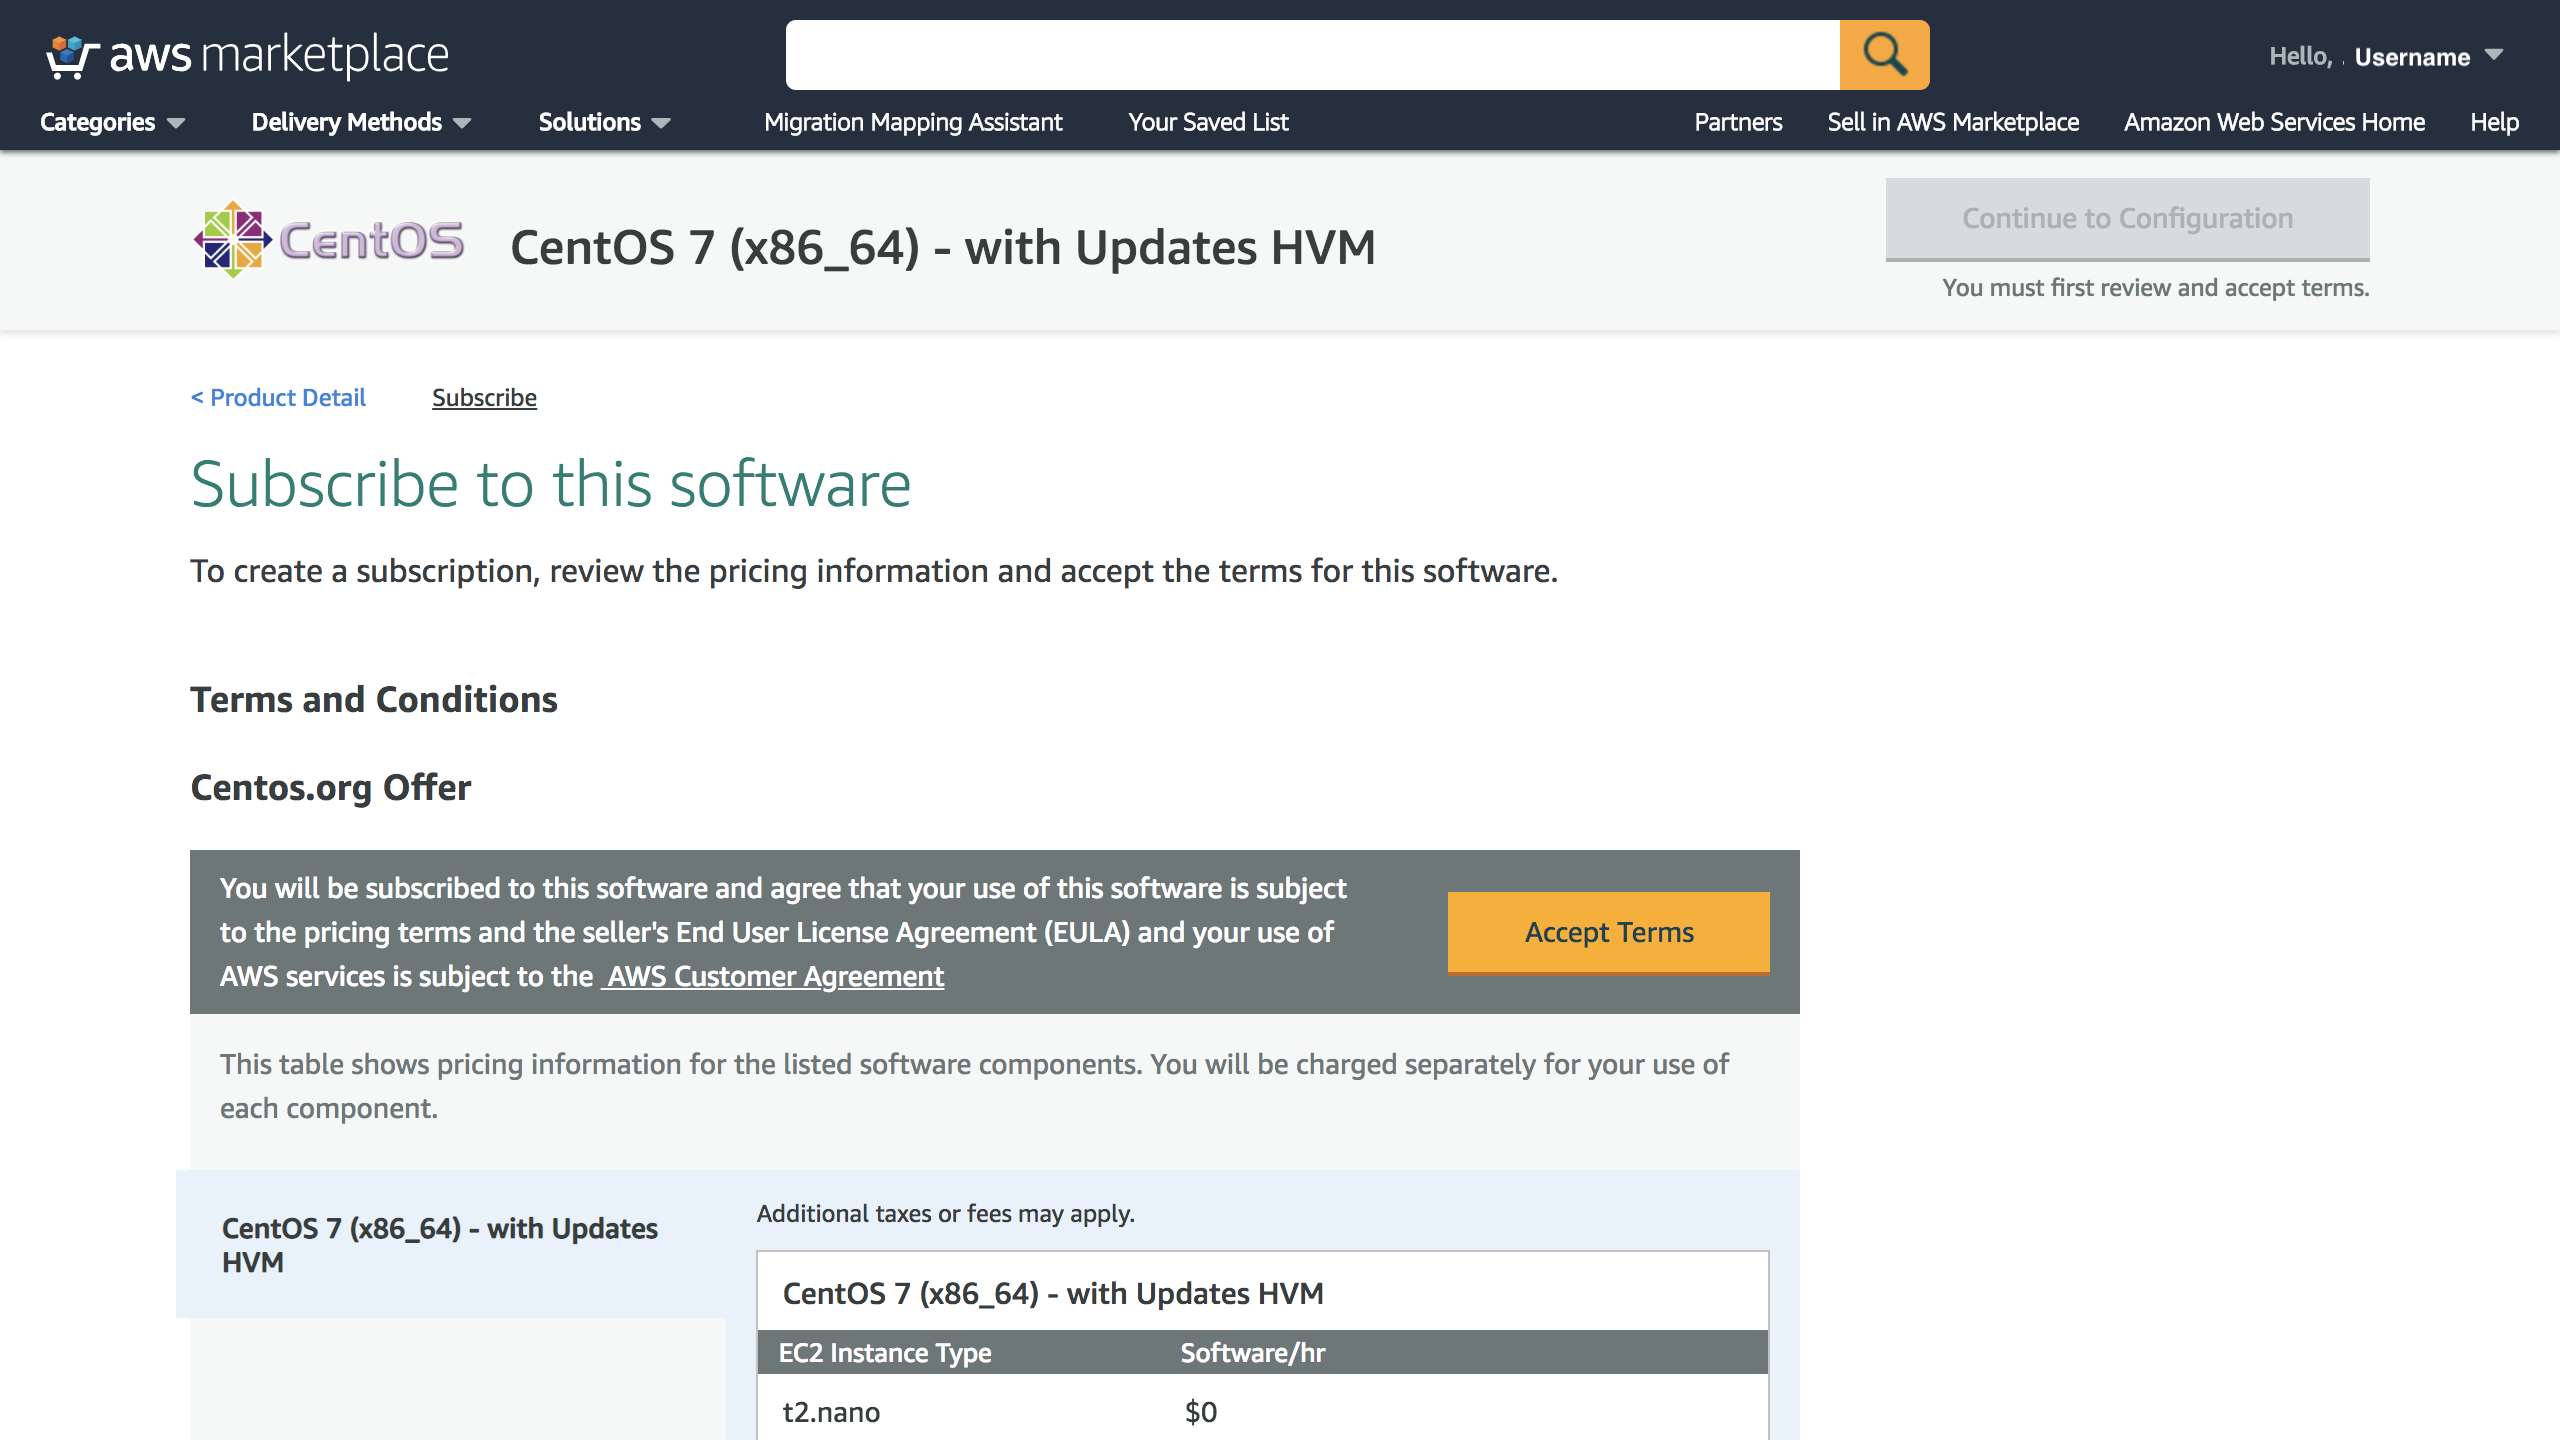
To create the subscription, review the pricing information and accept the terms.
 |
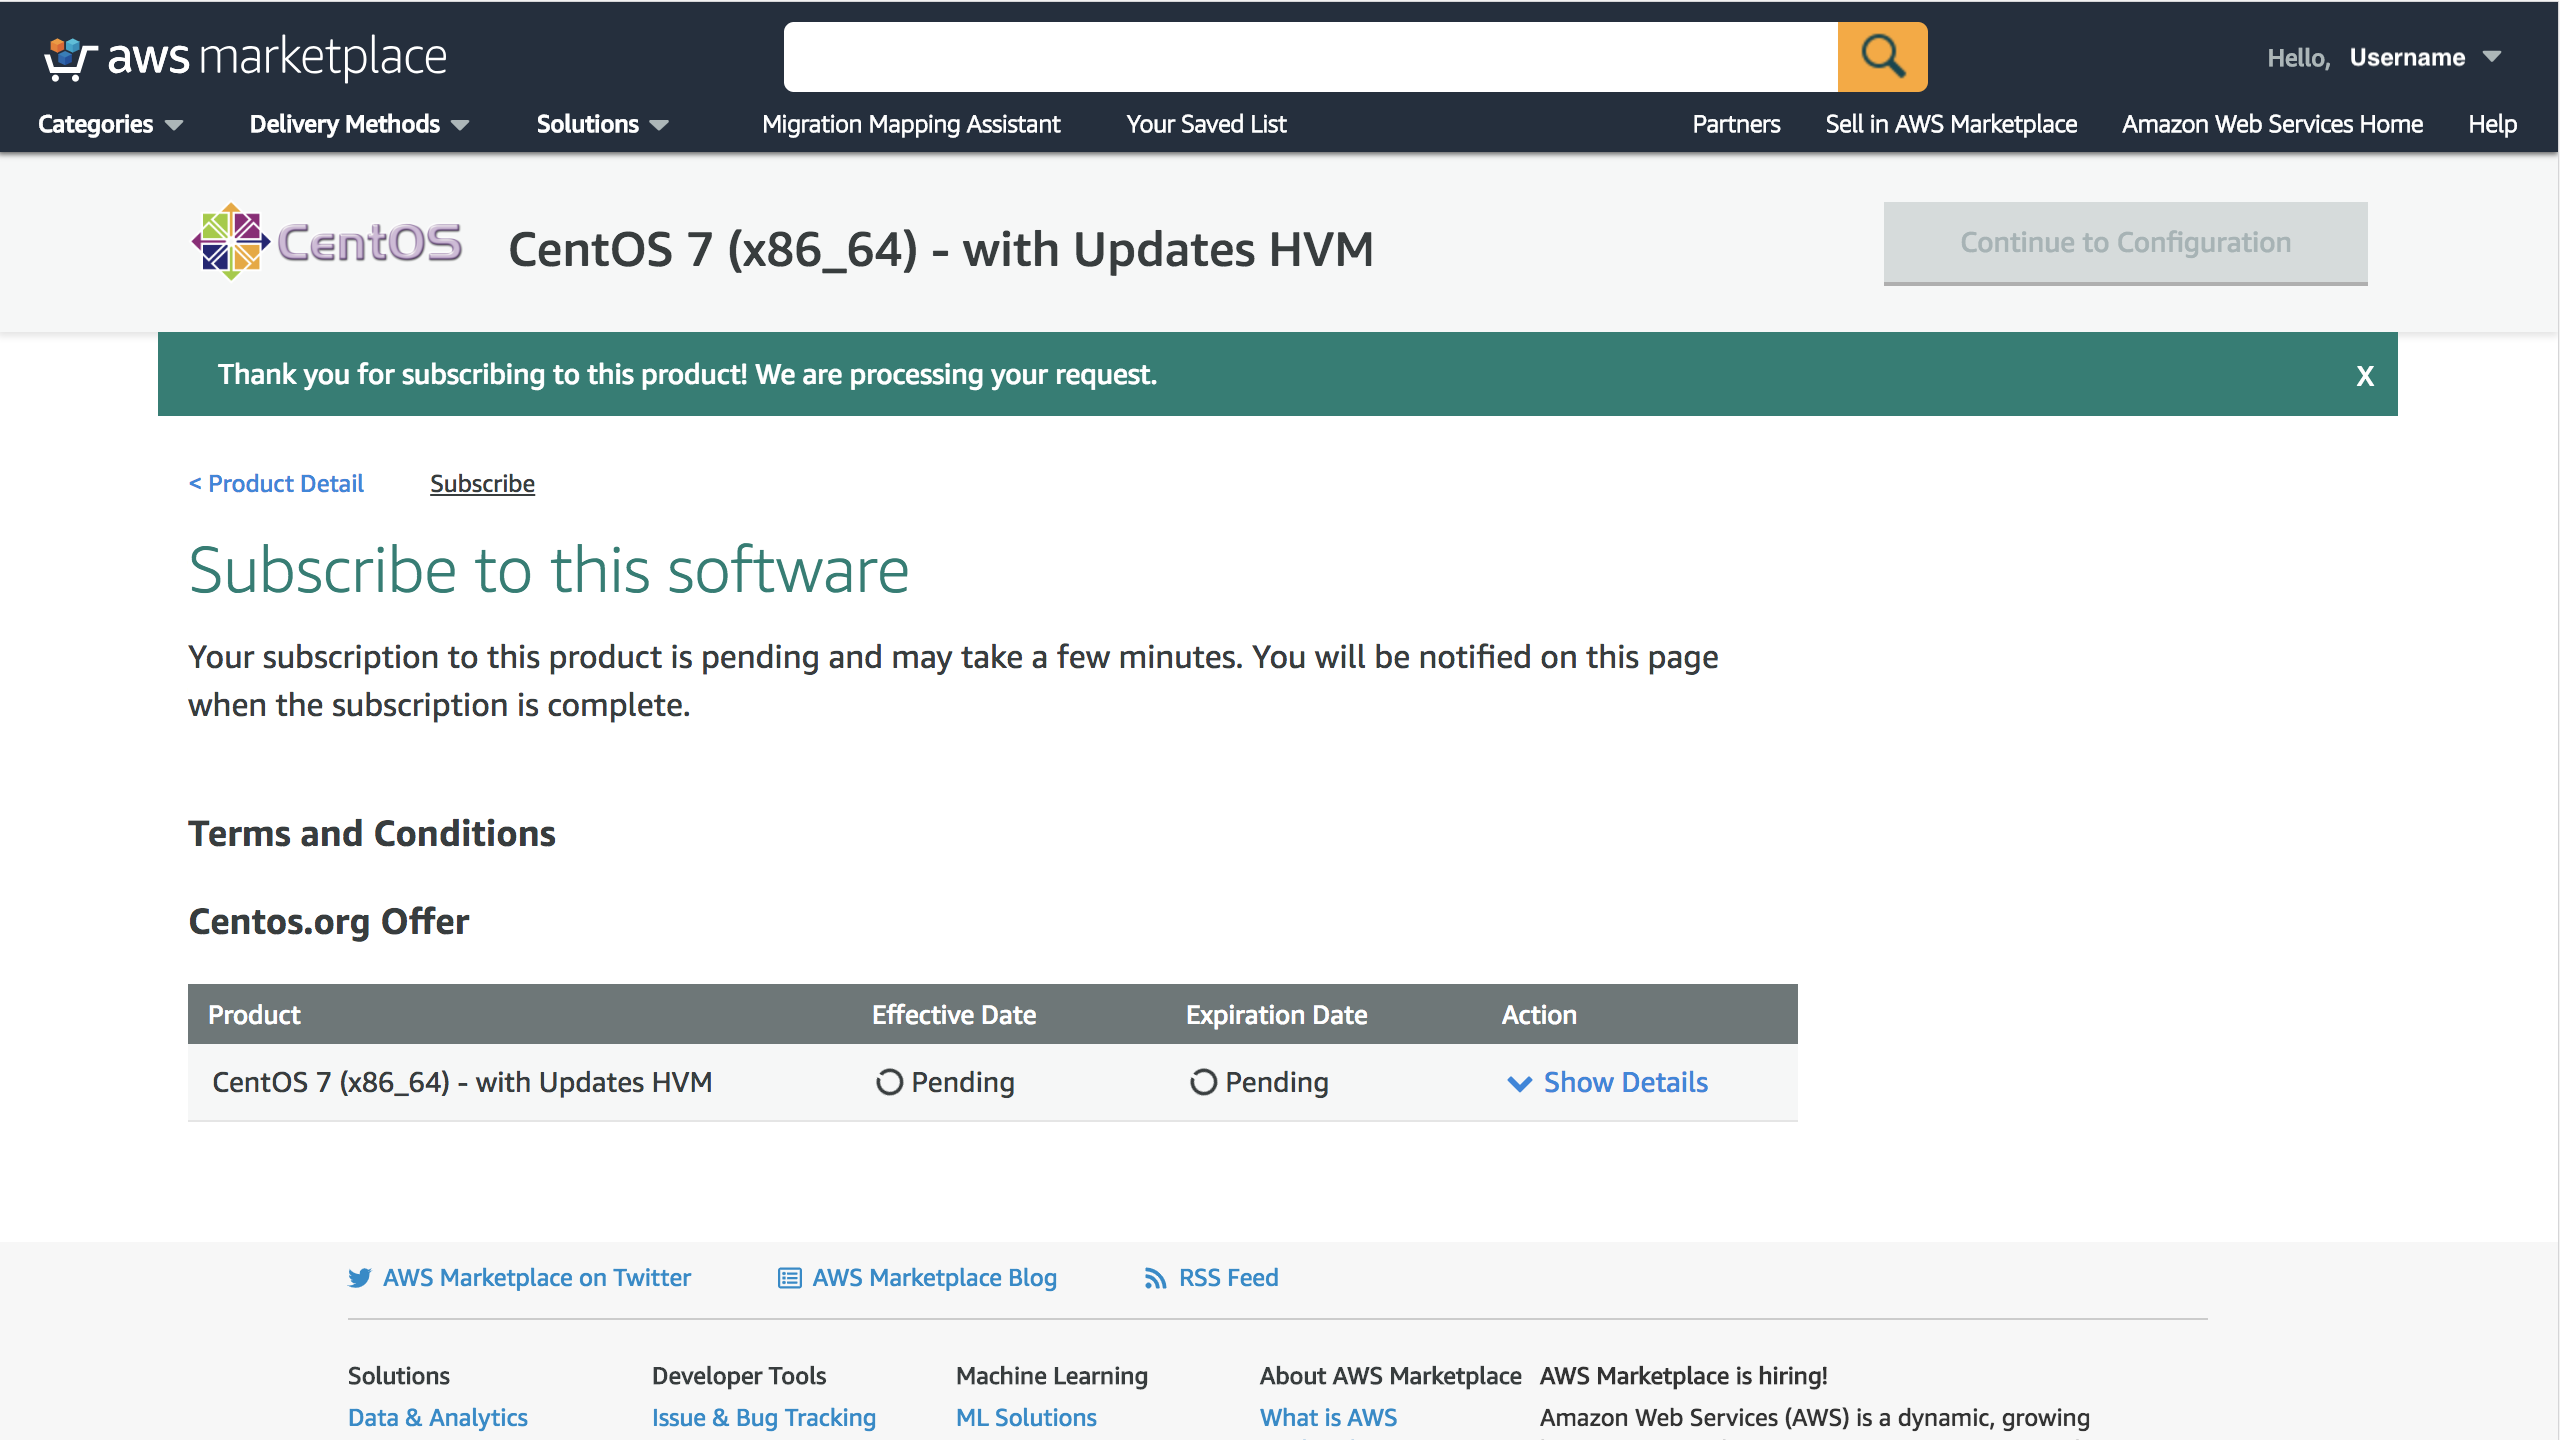
Your subscription request is processing...
 |
Single Instance
This section outlines the steps to provision a single instance of Nexus Repository.
Select a region for deployment
The minimal template provides the ability to set the license parameters, as well as a key pair to access the EC2 instances. The detailed template allows you to additionally customize items like the network details and EC2 instance type, as well as the Nexus Repository version and Java version.
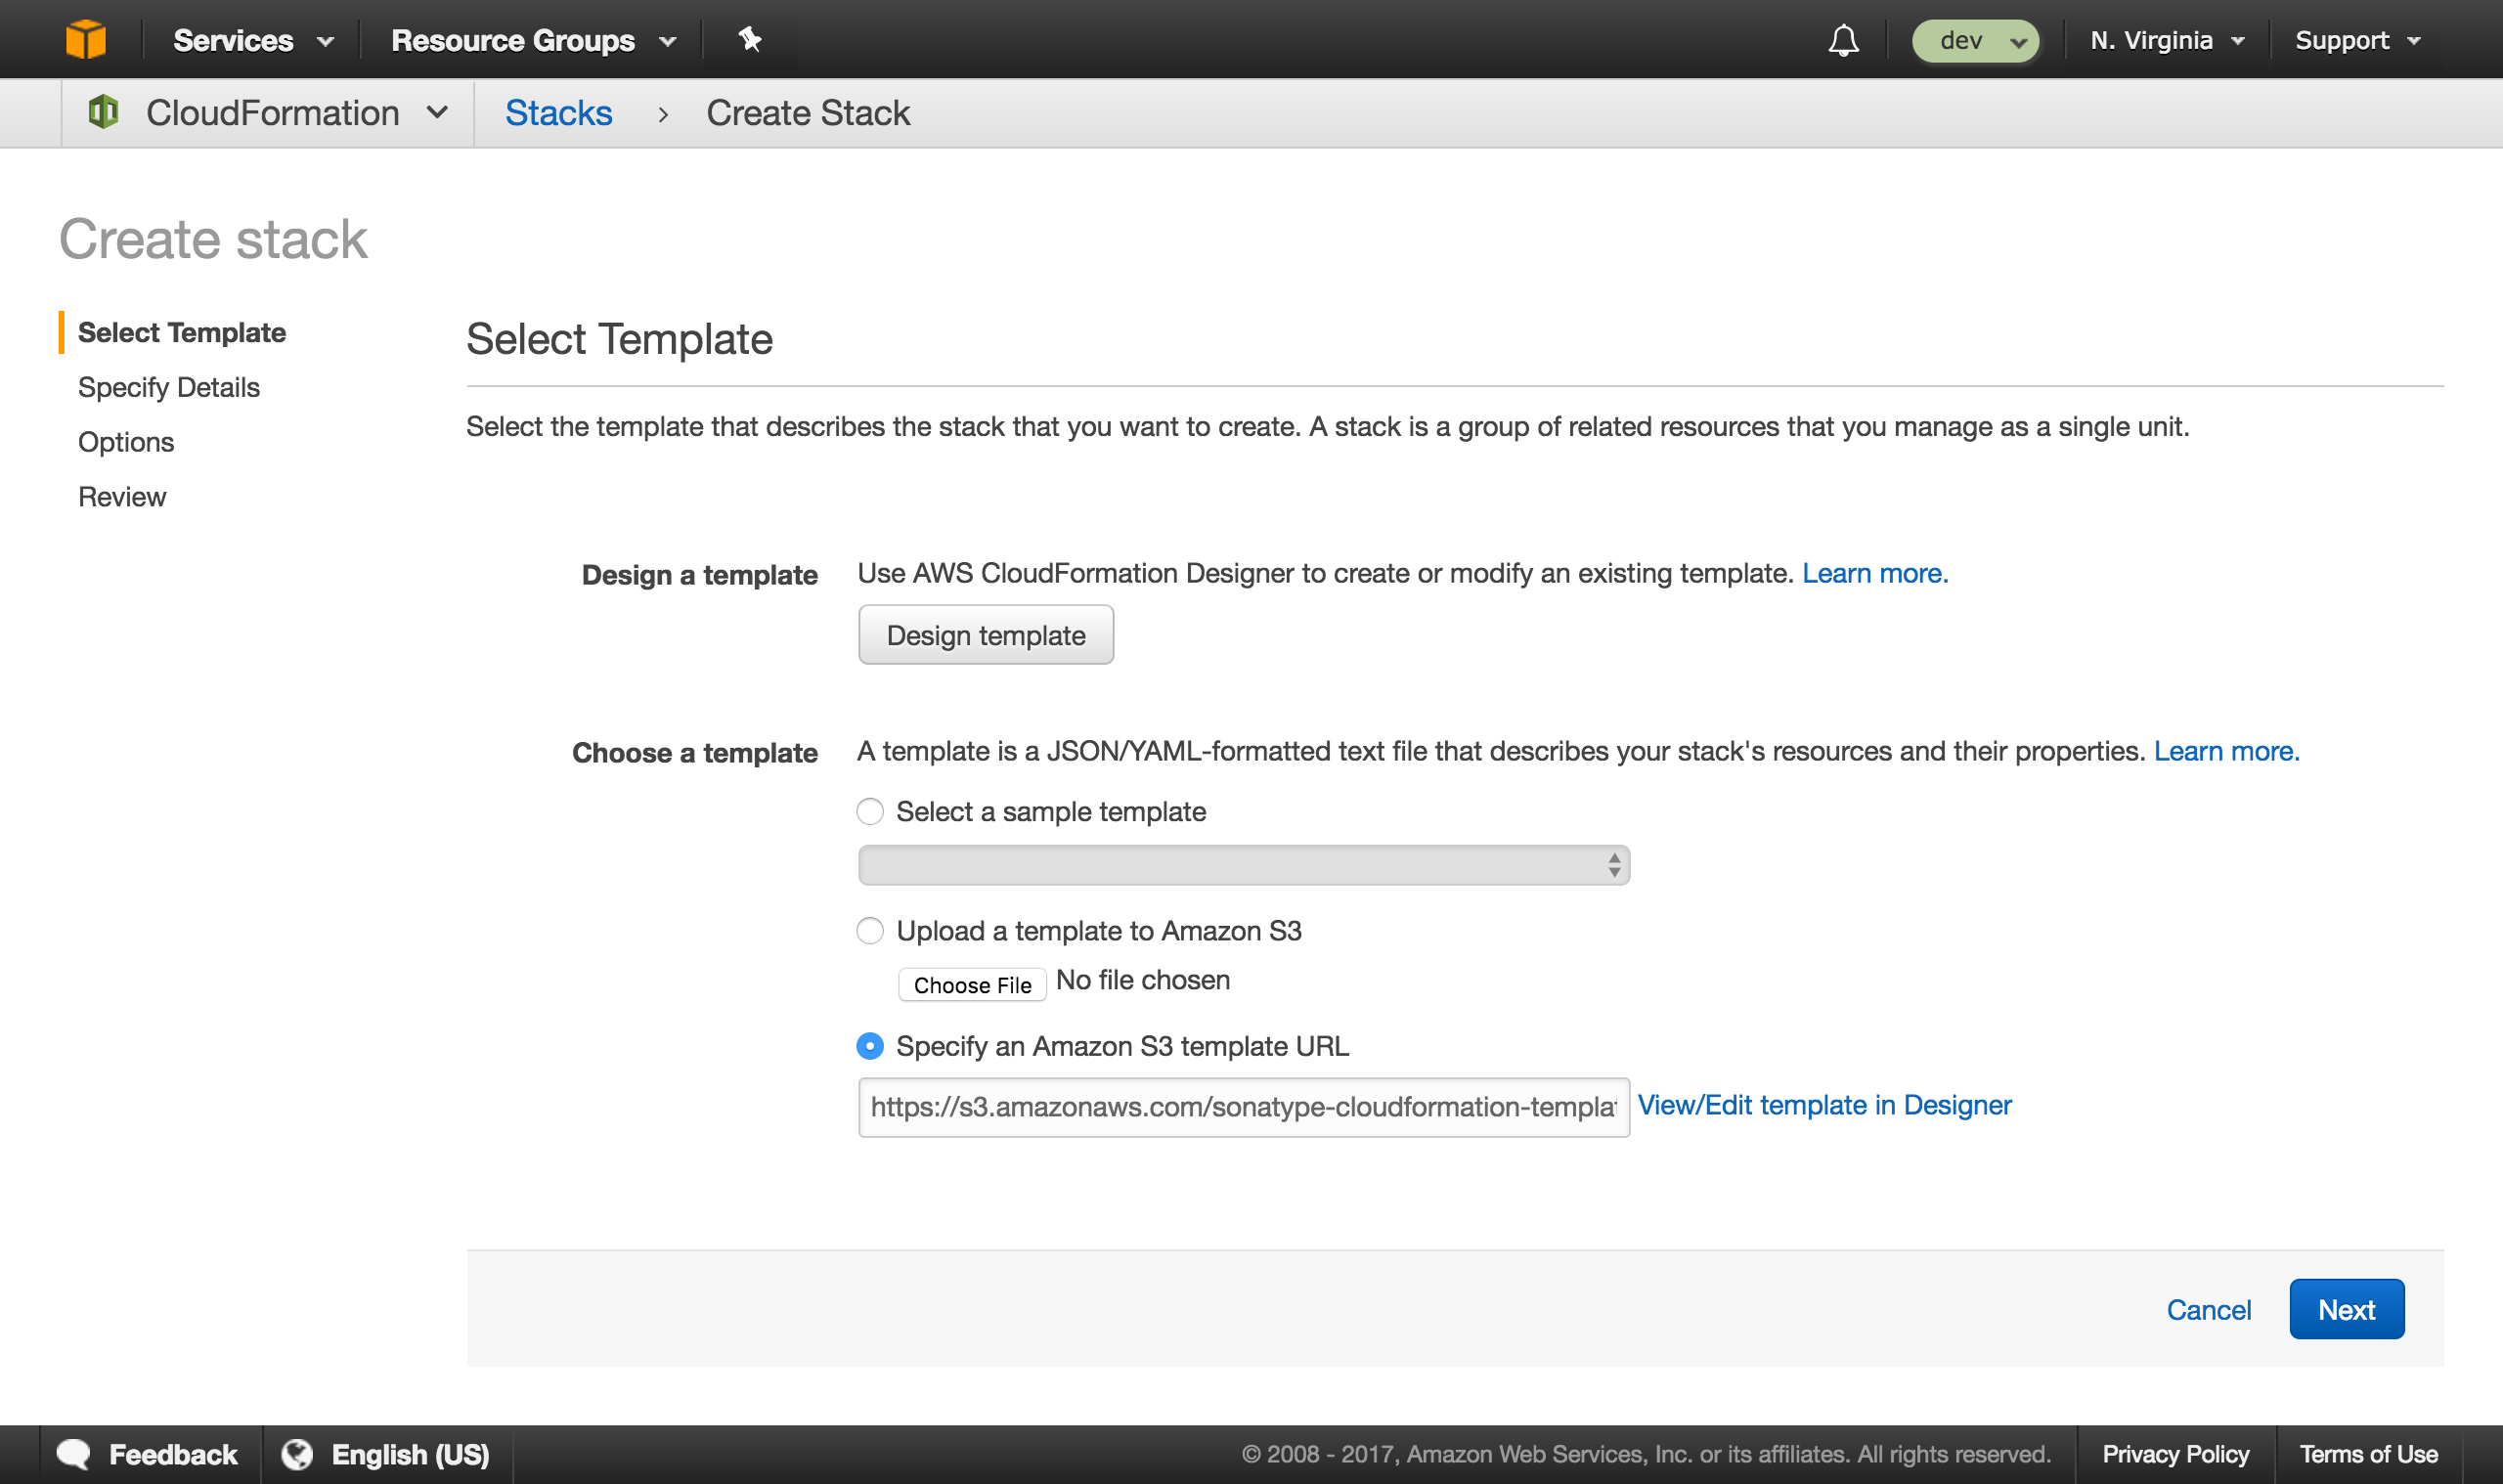
Select template
On the Select Template page, accept the defaults and click the Next button.
 |
Specify Details
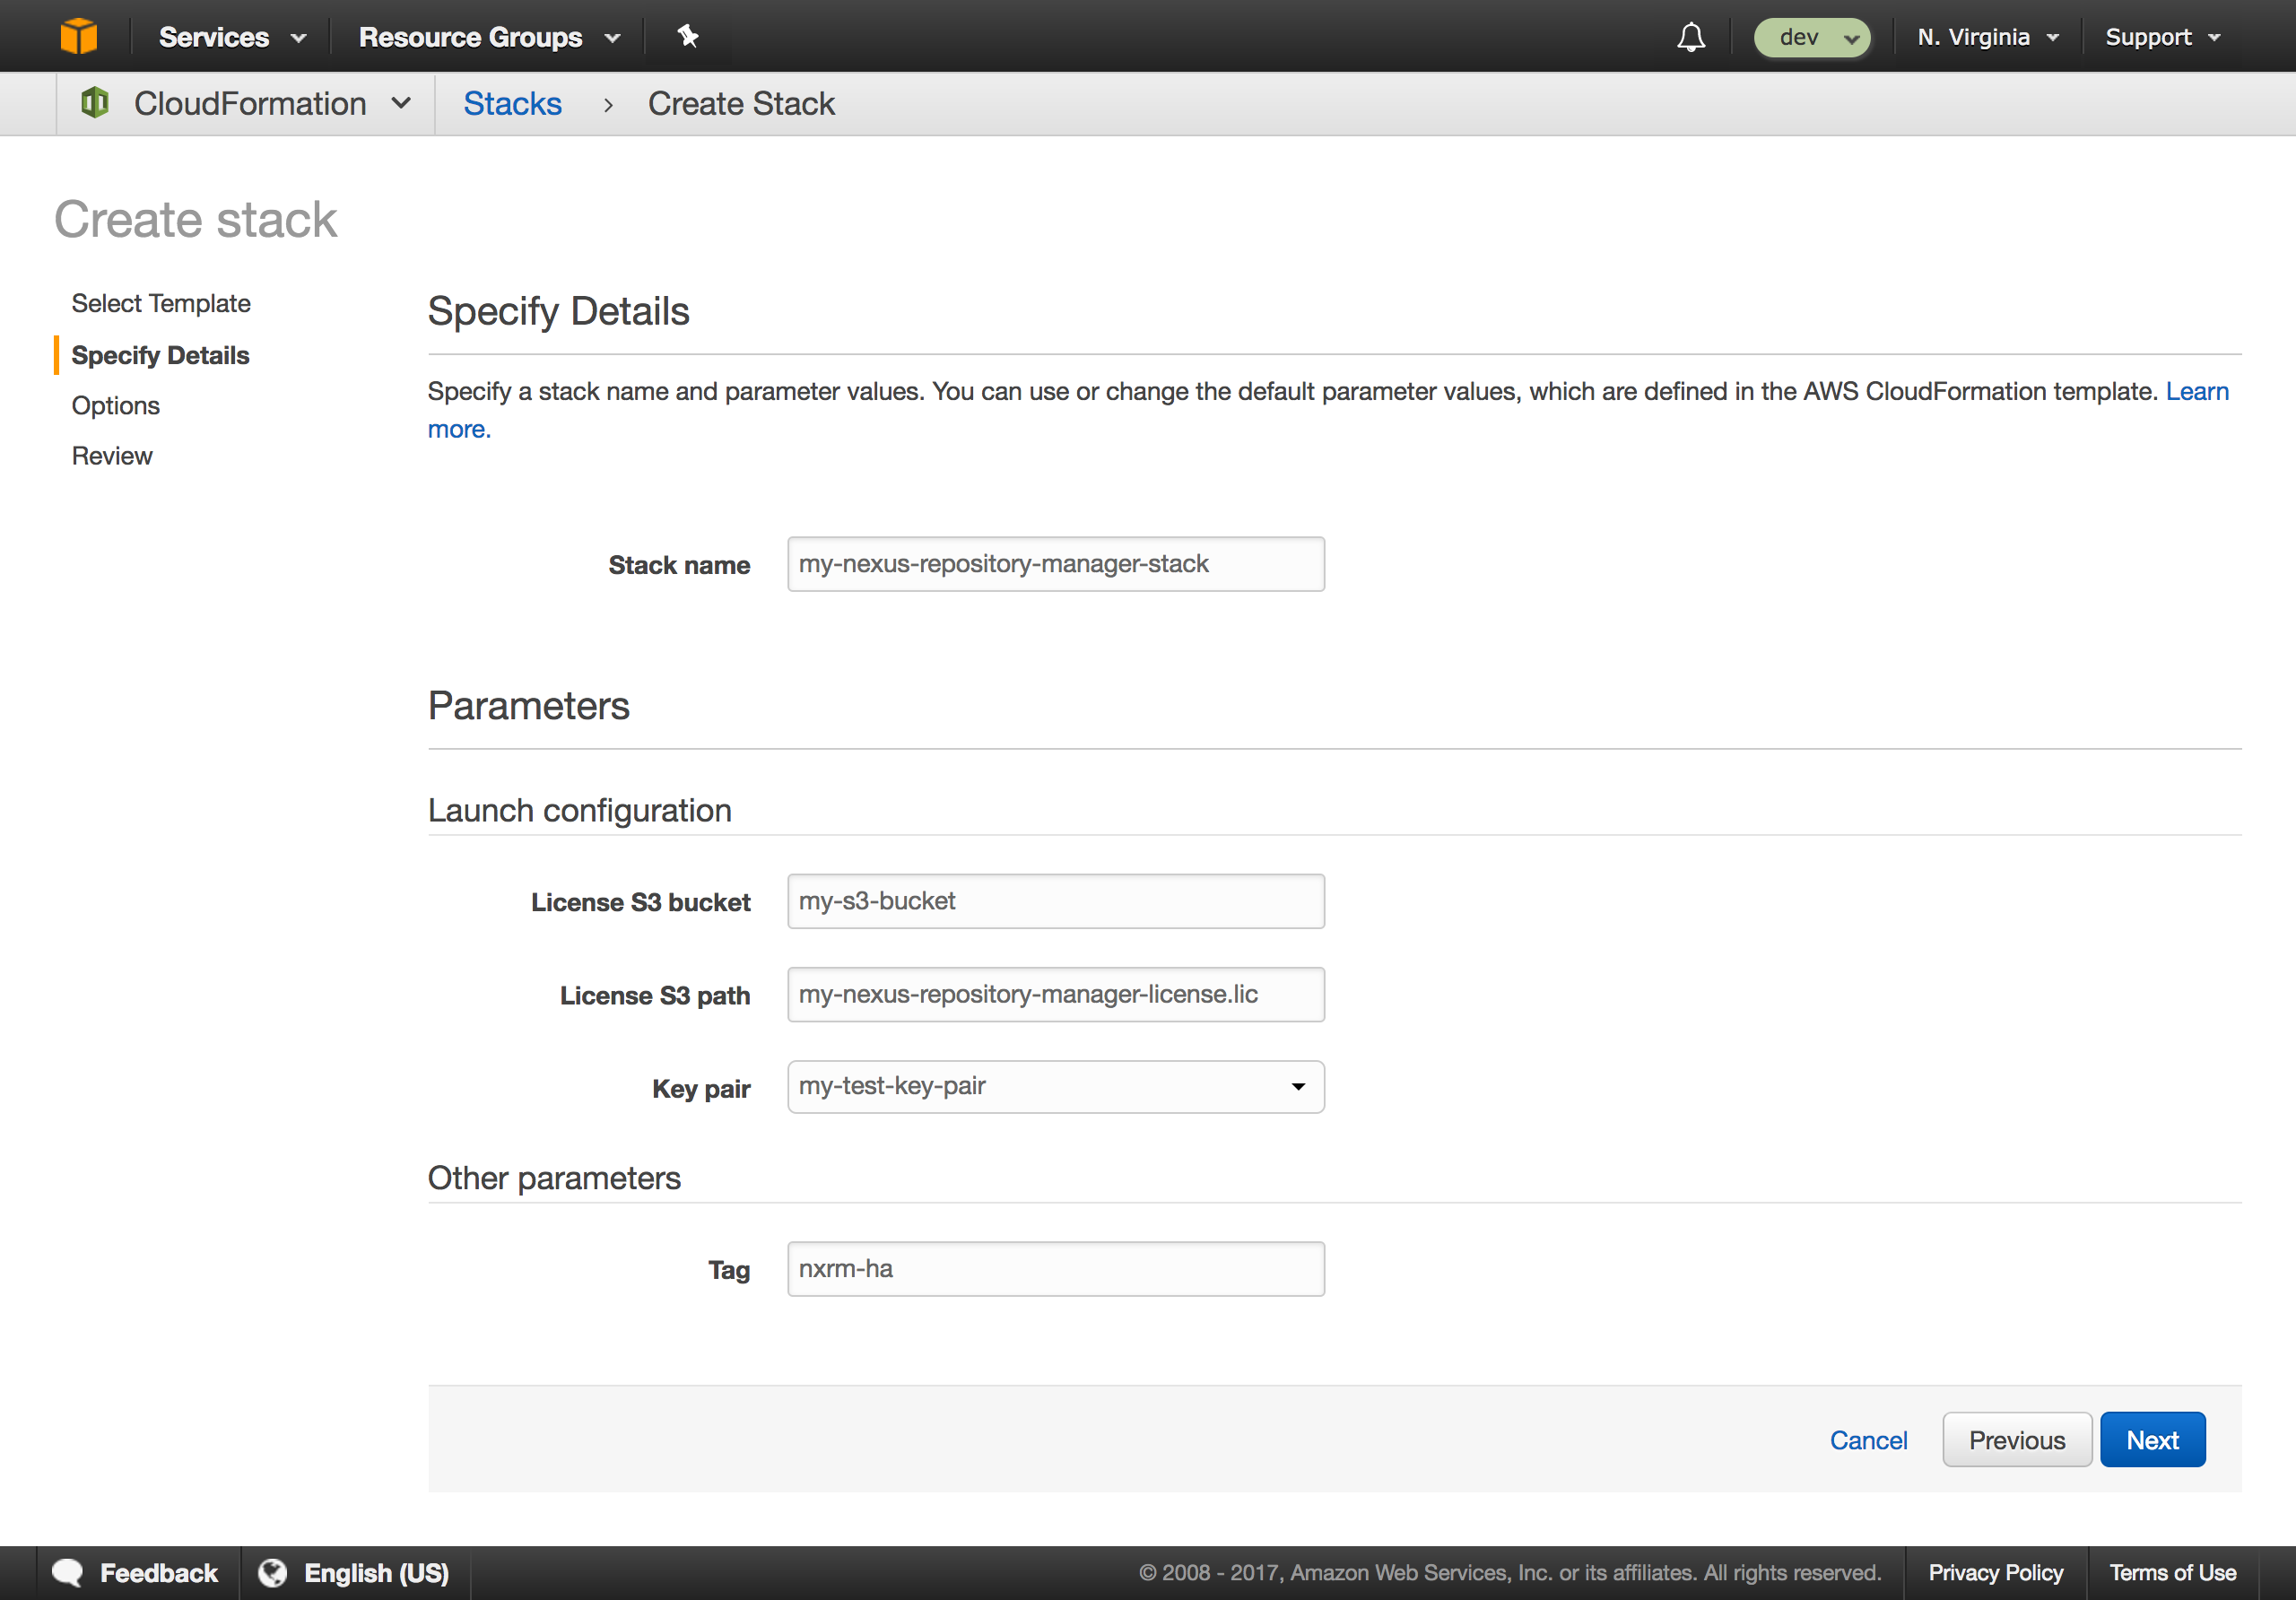
On the Specify Details page, fill in the name of your stack (Stack name), and the name of the Key Pair in the selected deployment region (Key pair). Optionally provide the name of the S3 Bucket that contains your Nexus Repository license file (License S3 bucket) and the path to your Nexus Repository license file in your S3 Bucket (License S3 path). Then, click the Next button.
Key pairs are maintained on the EC2 dashboard under "Key Pairs" in the left menu
If you haven't already loaded a Nexus Repository Pro license up to S3 you can either create a new bucket in S3 or use an existing one and upload your license to either of those places
 |
Options
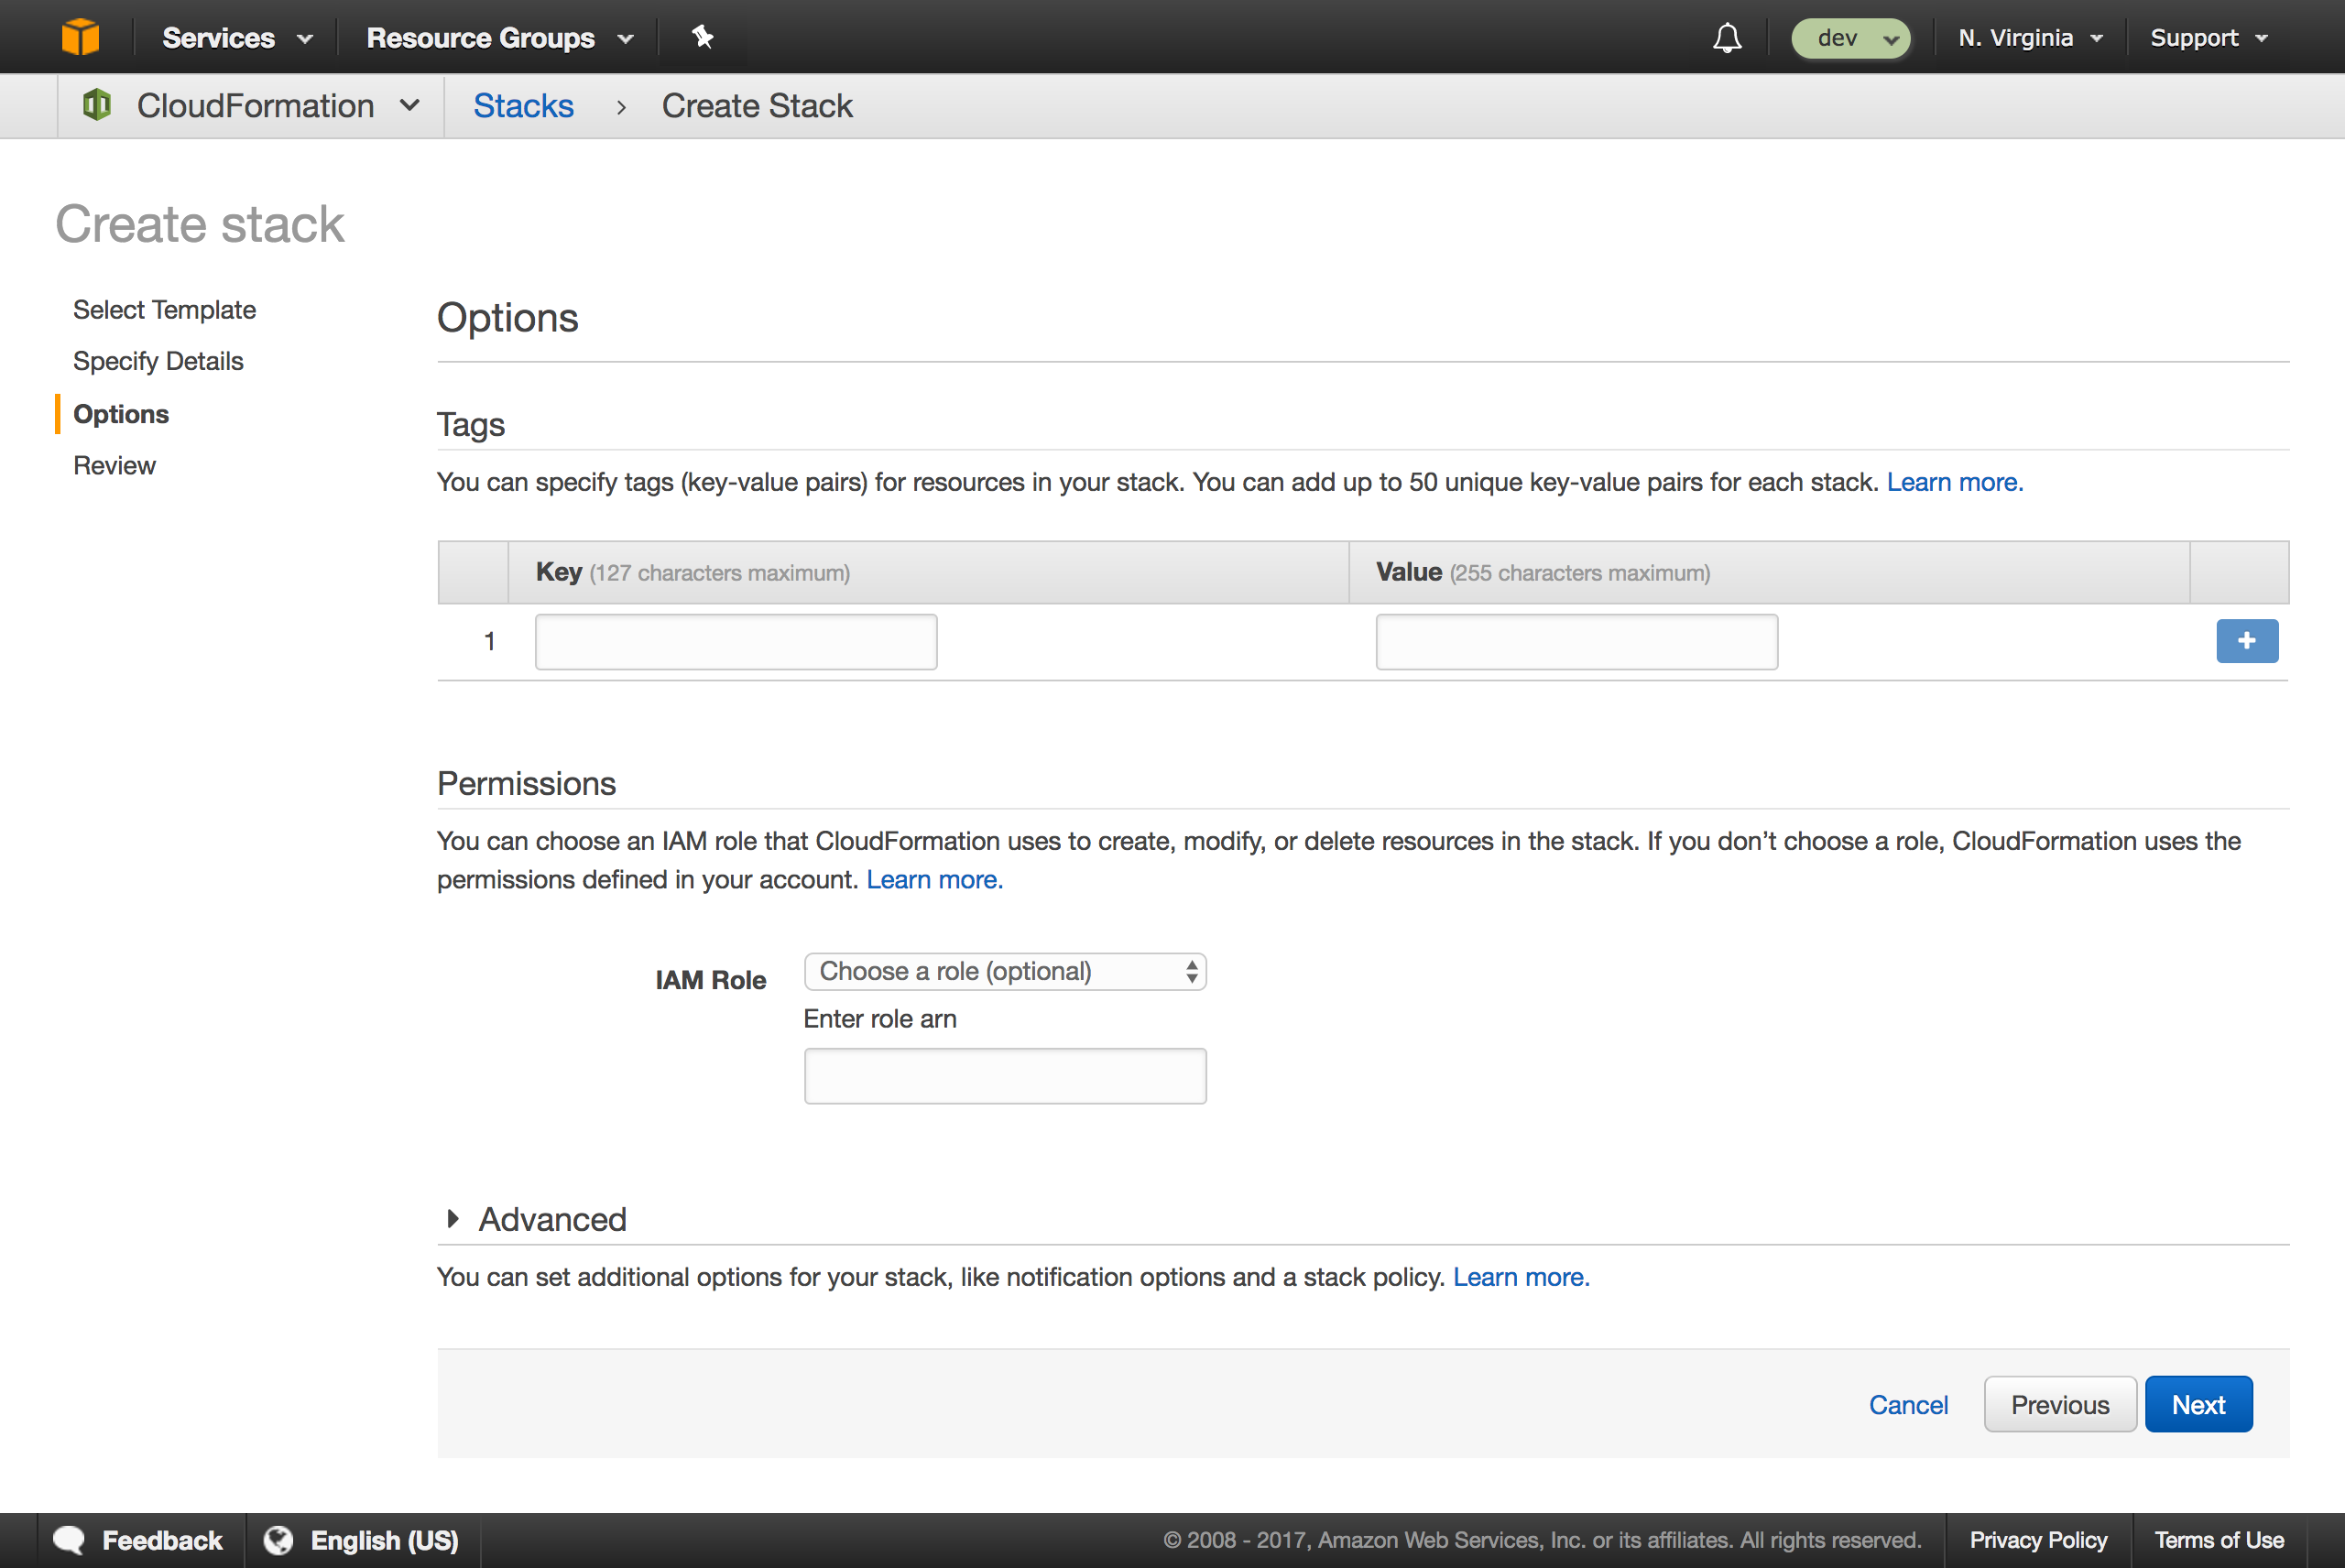
If desired, fill out optional values on the Options page.
 |
Review
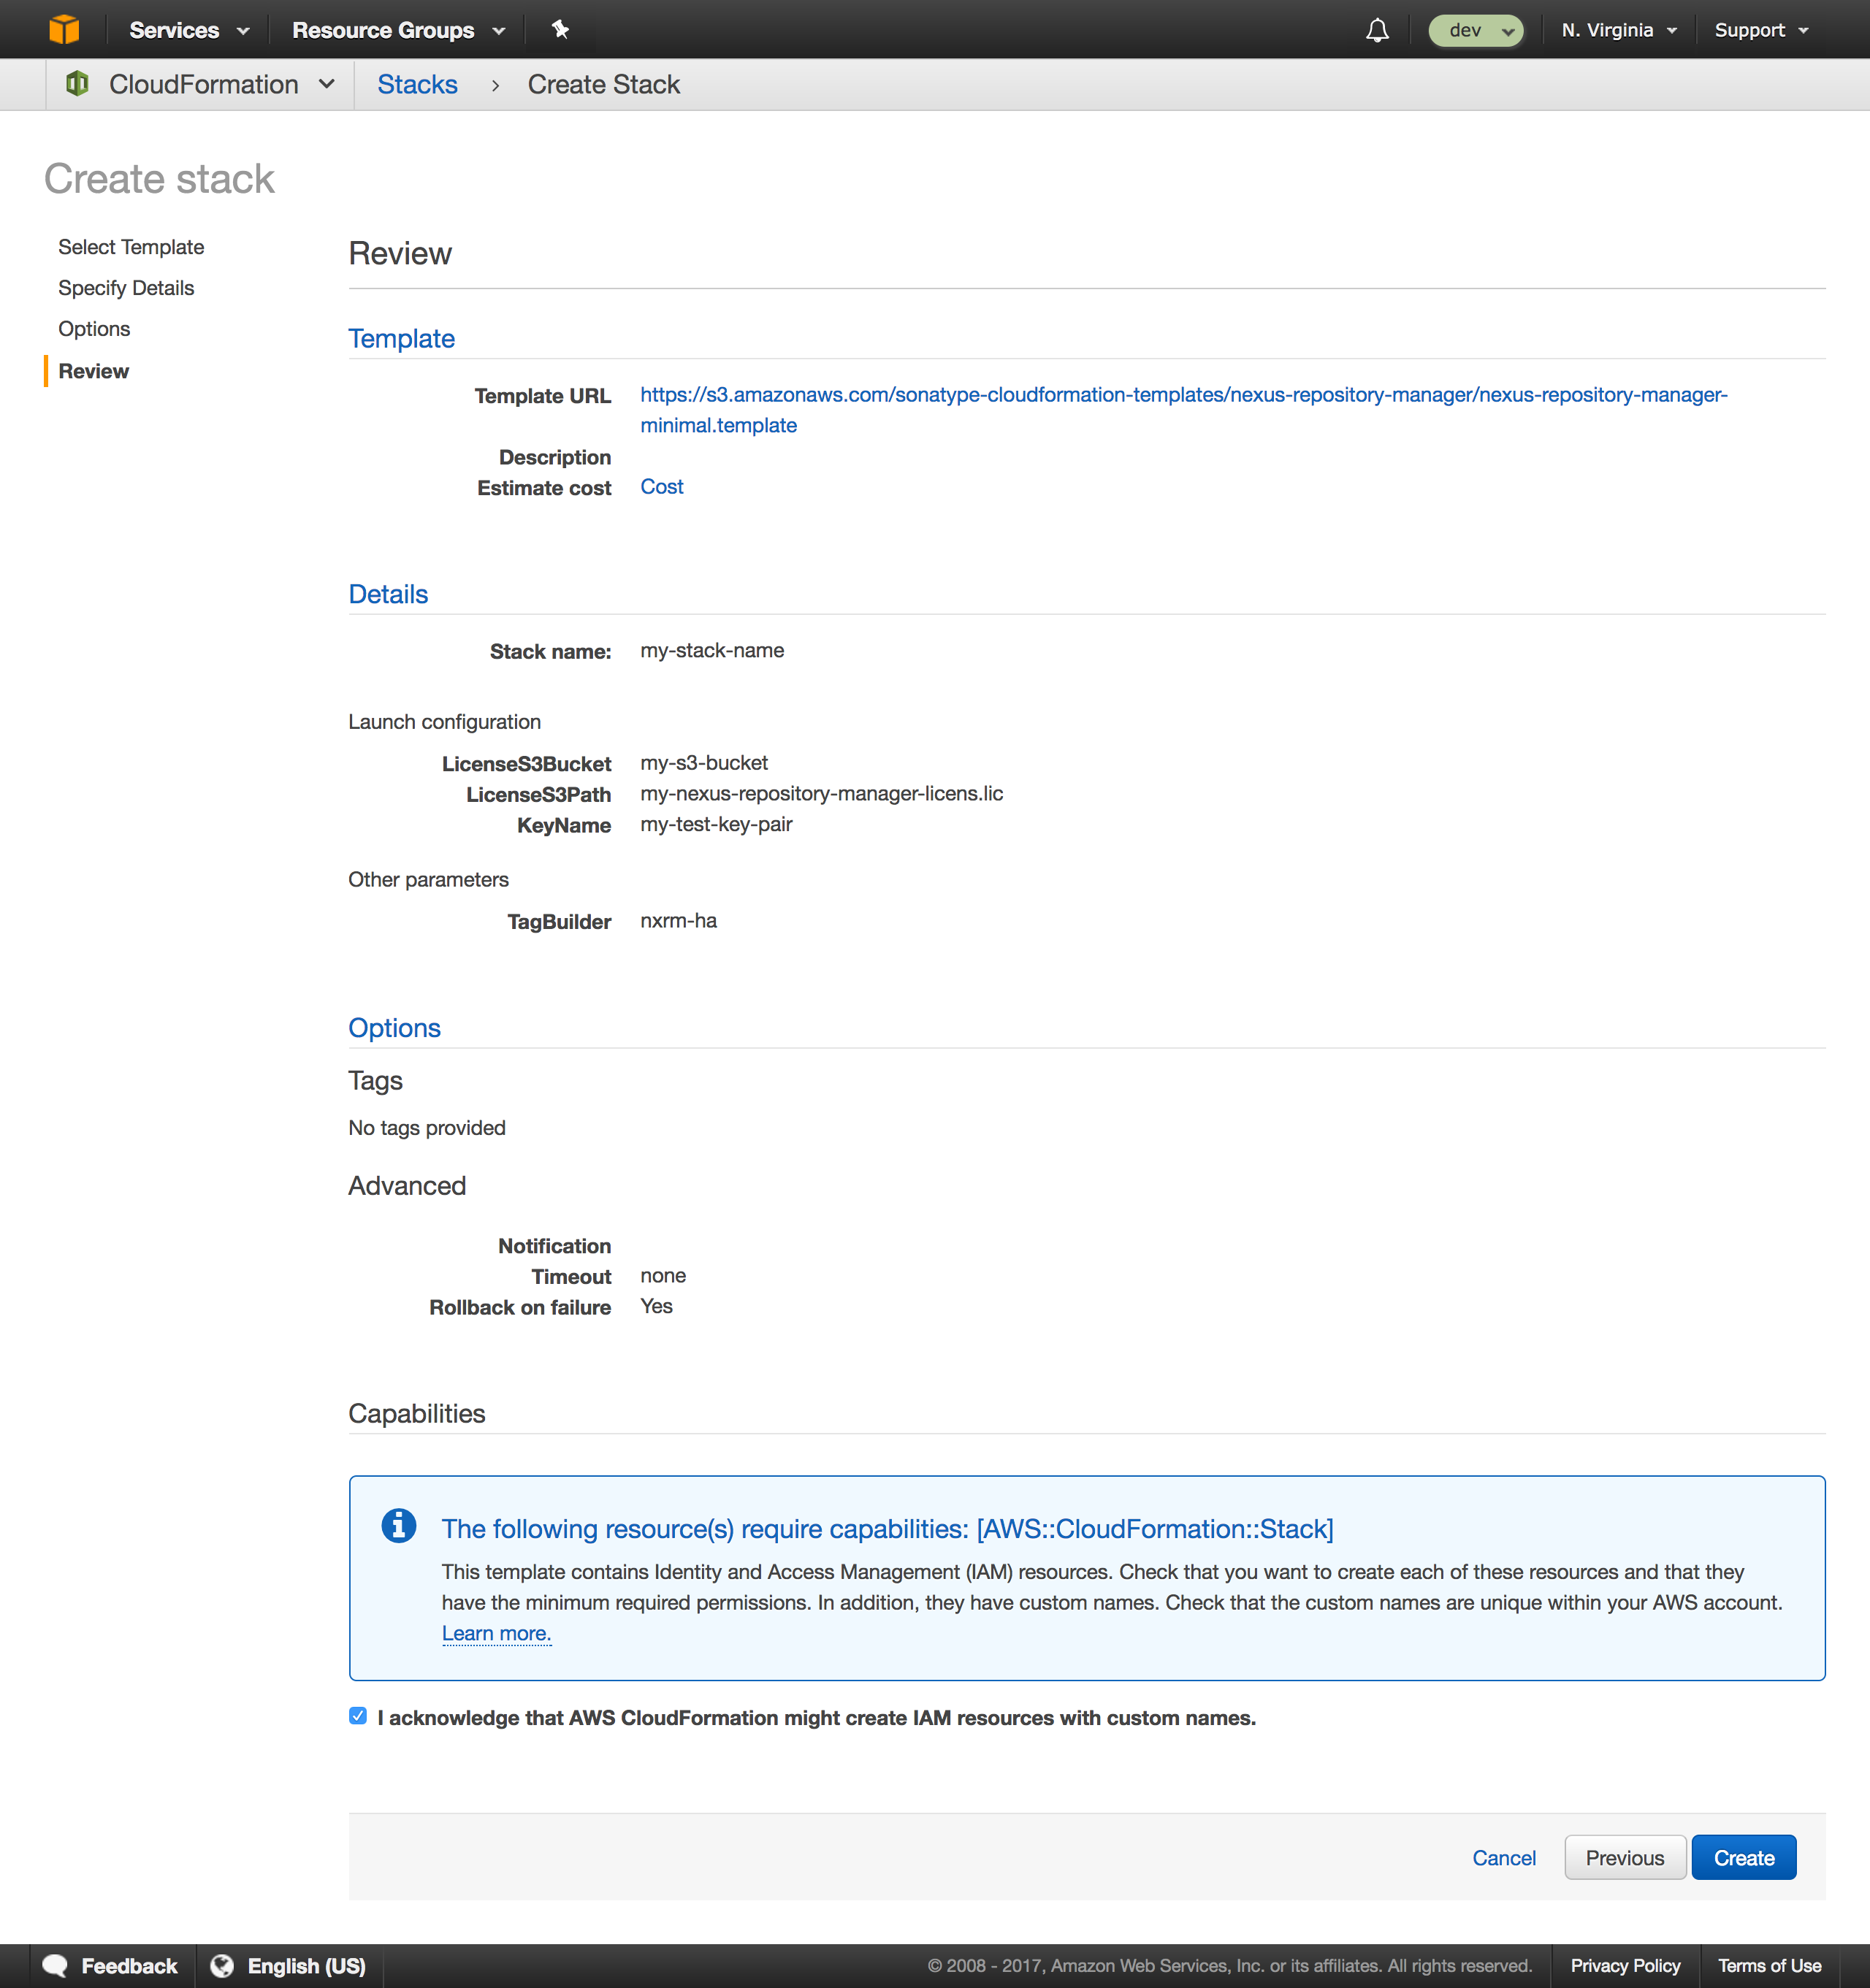
On the Review page, make certain to check I acknowledge that AWS CloudFormation might create IAM resources with custom names and accept the other defaults. Then, click the Create button.
 |
Stack Creation
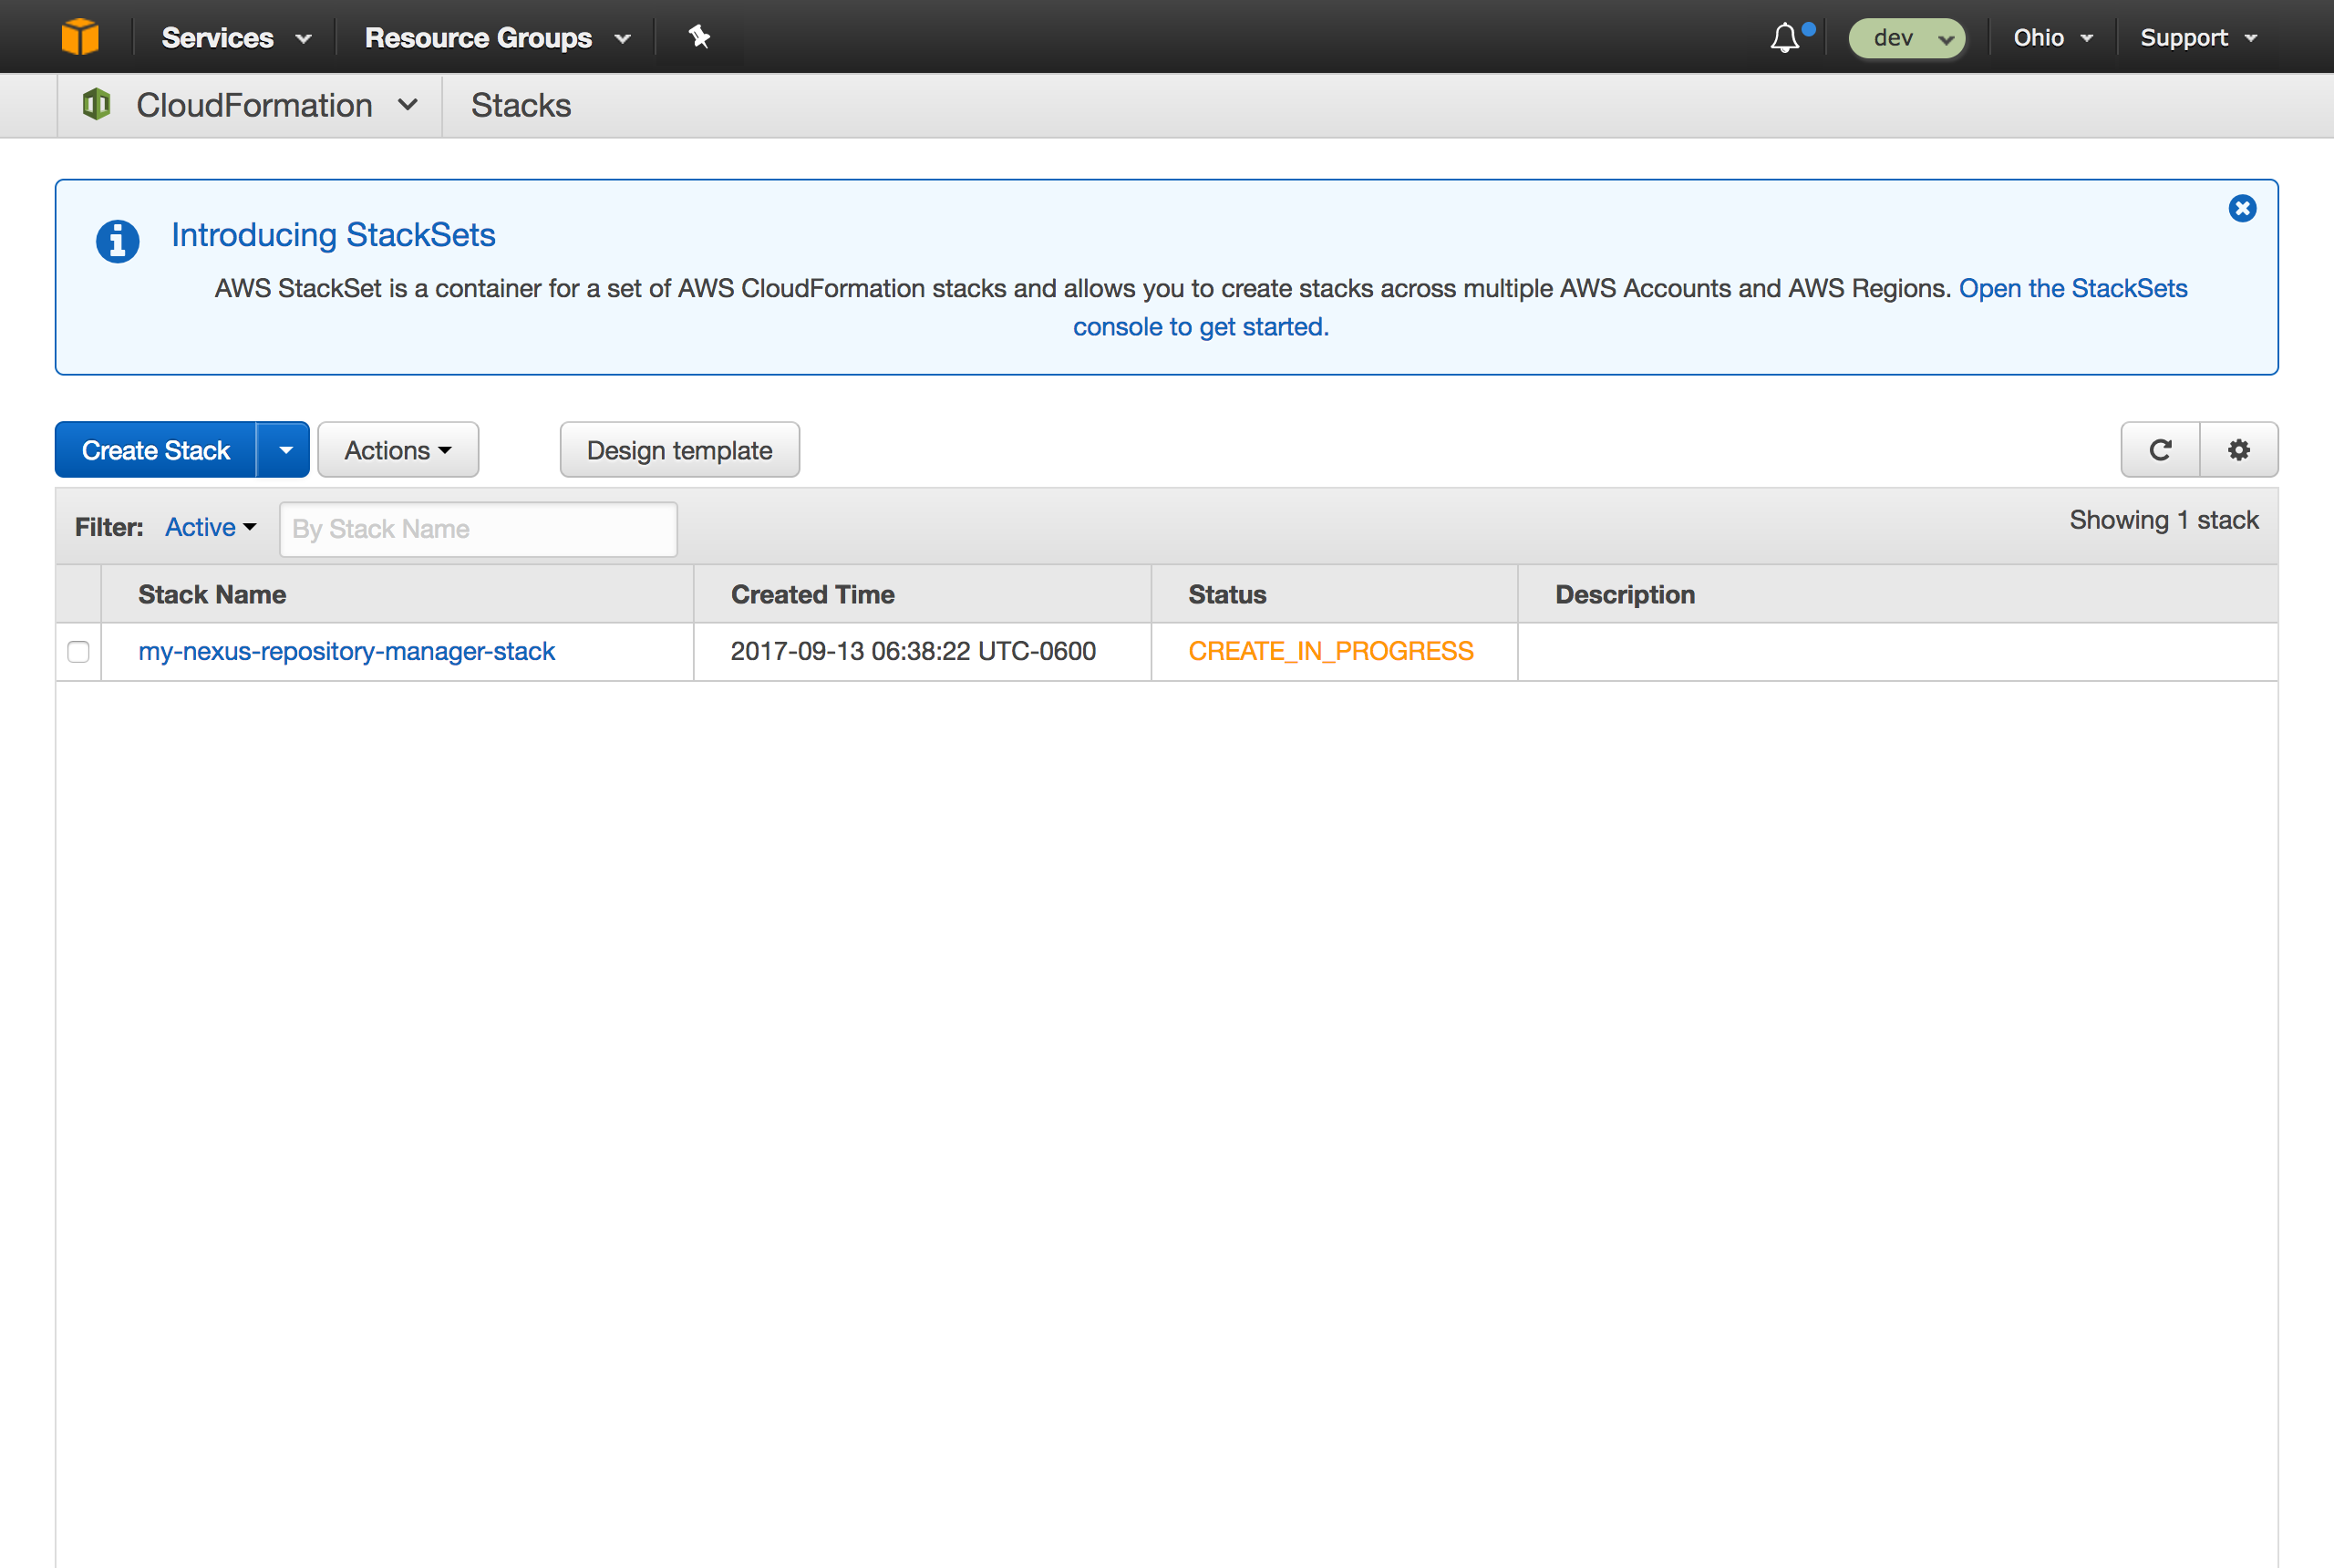
Upon clicking the Create button on the Review page, you will be taken to the Stack page.
 |
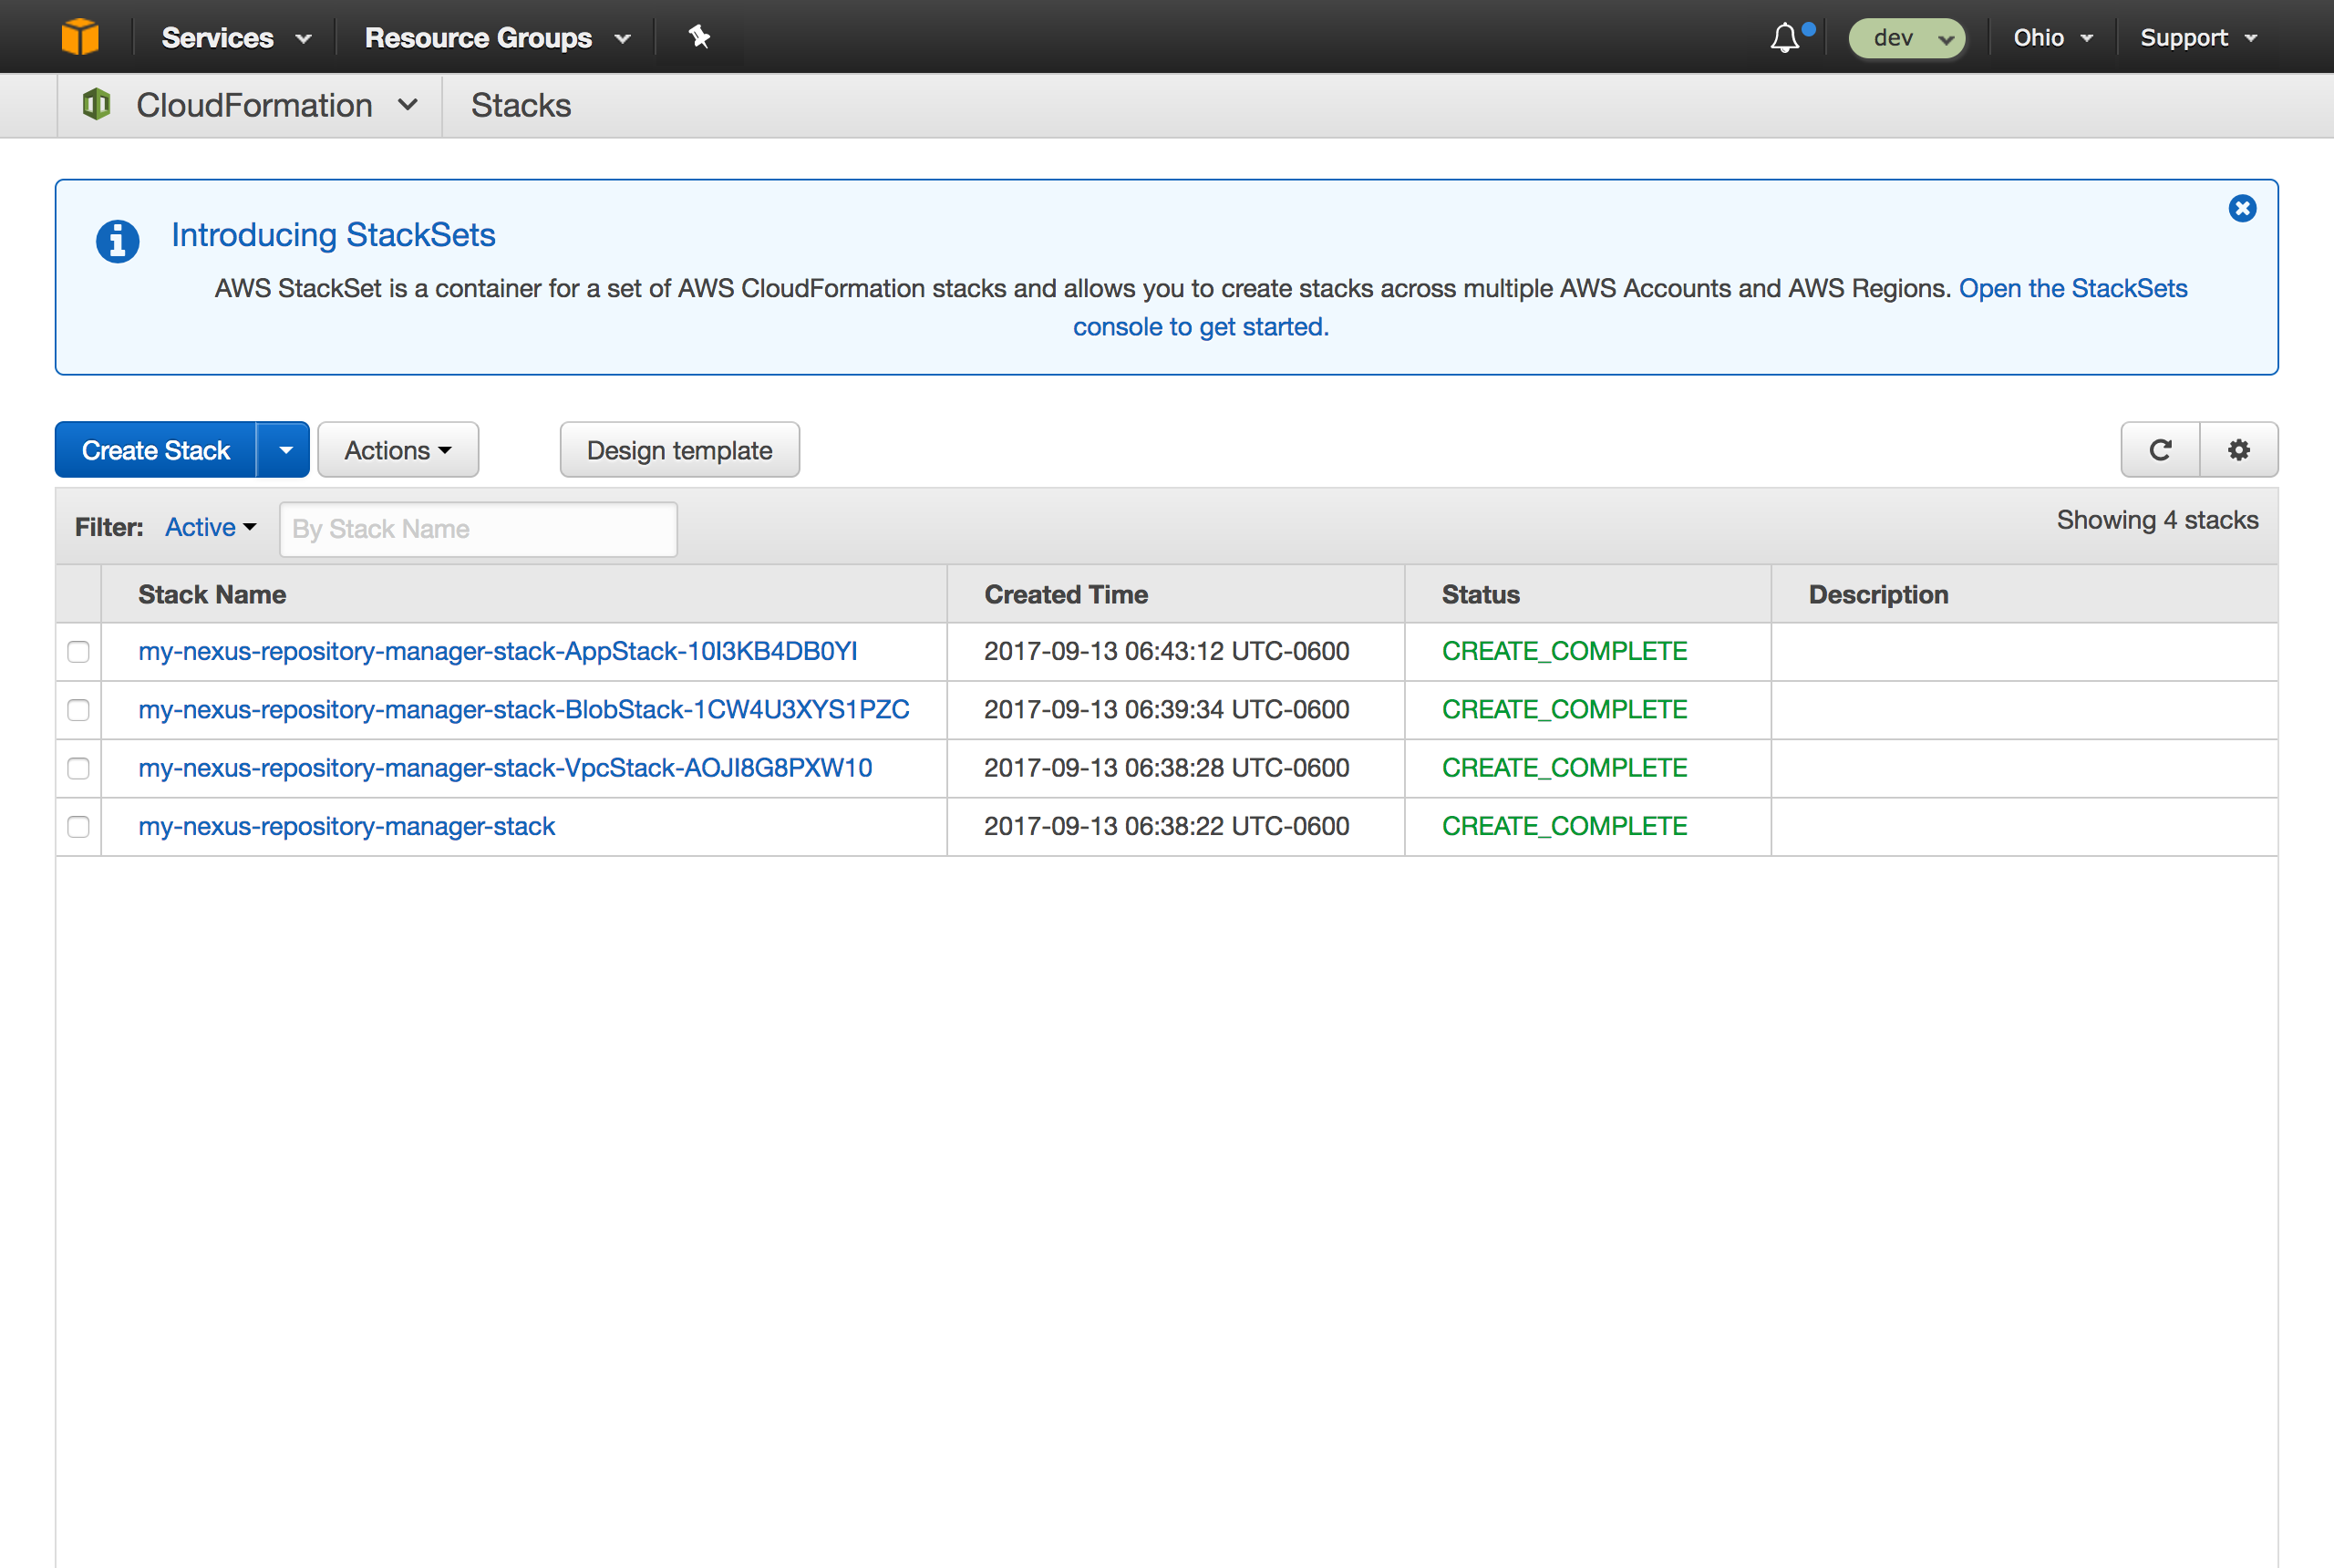
Stack Complete
After several minutes, stack creation will be completed.
 |
Website URL
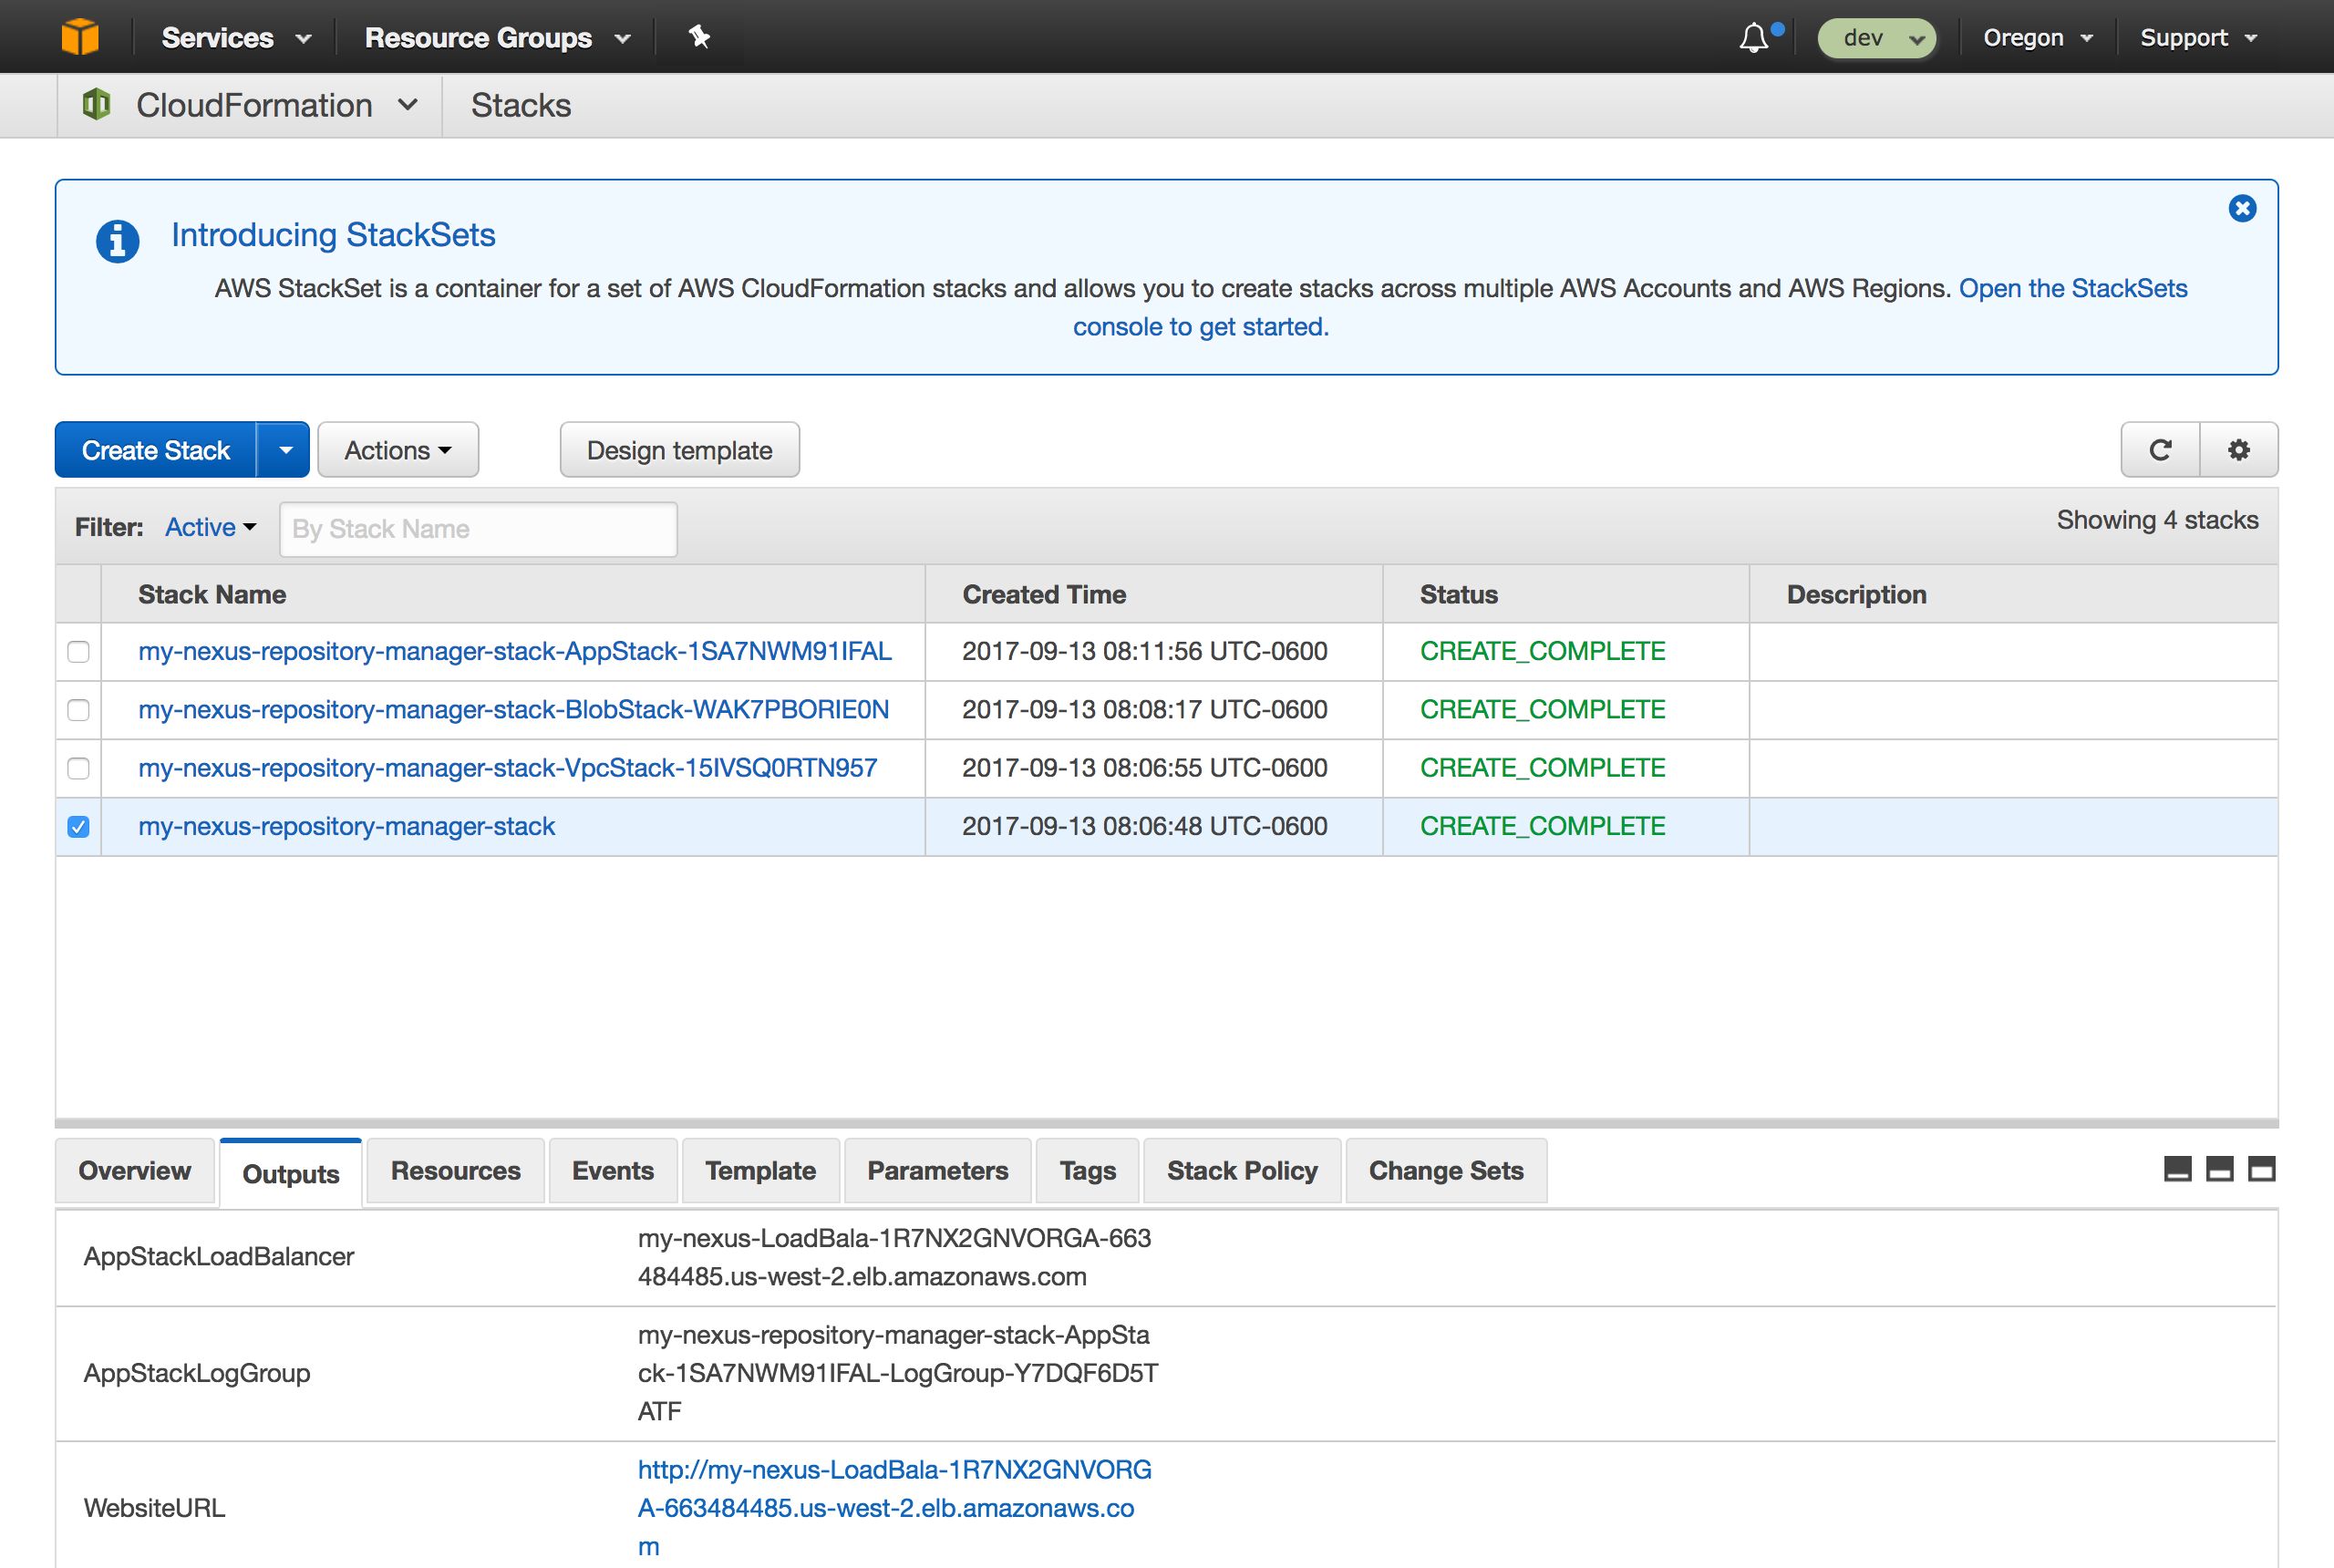
To find the resulting Nexus Repository website URL, select the stack name (usually at the bottom) and open the Outputs tab. Then, click the website URL link.
 |
Login to Nexus Repository
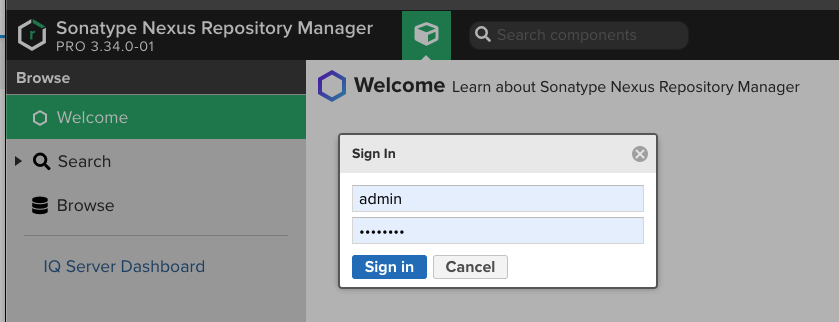
The website URL link will take you to the Nexus Repository welcome page. Click the Sign In button at the top-right to login. The default username is admin and the password can be found in the admin.password file in the $data-dir directory.
The allocation of AWS resources takes a while and there will be a delay in Nexus Repository spinning up. The CloudWatch log group generated for the stack will provide feedback as to the progress, generally, if there are no logs AWS is still doing its allocation.
 |
General Administration
SSH access to the Nexus Repository Instance
To SSH into the AWS Repository Instance, you need to have specified your AWS Key Pair during creation. The hostname to connect to is available in the 'Outputs' section of the stack, you just need to remove the scheme (http) and port (8081). The username to use is "centos".
ssh -i <path to your key pair pem file> centos@ec2-54-68-224-196.us-west-2.compute.amazonaws.com
Managing the Repository Server service
The Nexus Repository server is controlled by the service name "nexus-repository-manager.service". Once you SSH in to the instance as "centos", you can manage the service with:
To stop the service: sudo systemctl stop nexus-repository-manager.service
To start the service: sudo systemctl start nexus-repository-manager.service
Create an S3 blob store and repository
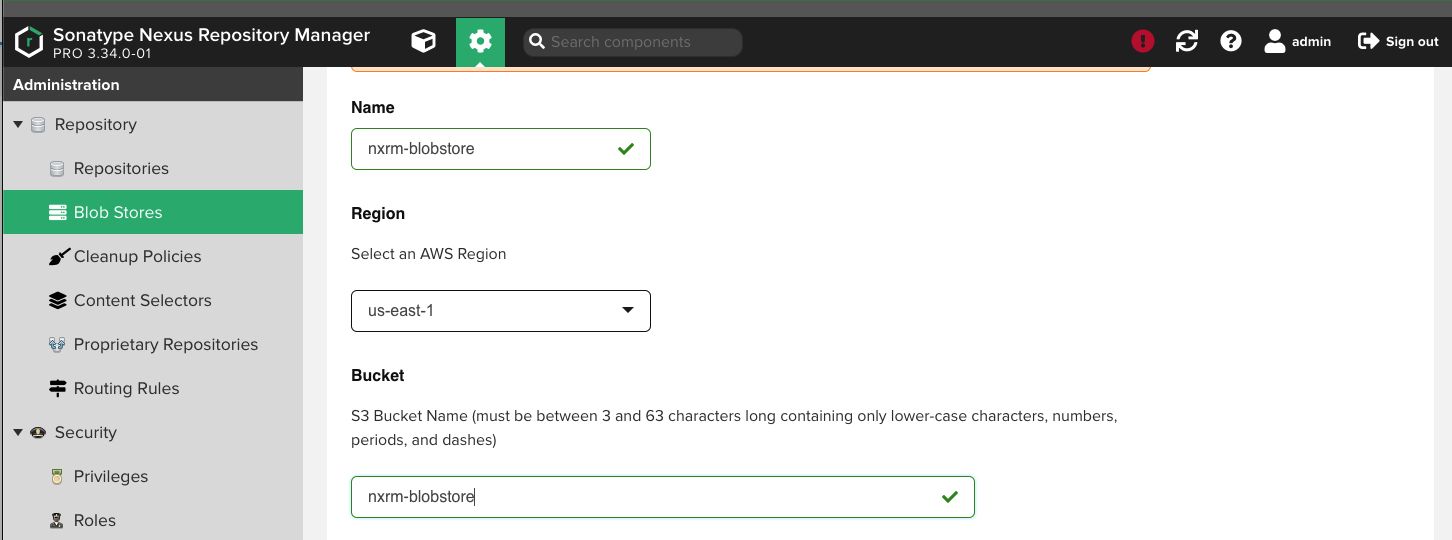
In the admin screen select 'Repository' and 'Blob Stores'. Click 'Create blob store' and for the 'Type' choose 'S3'. Enter a name for the blob store and the S3 bucket. The rest of the information is optional. If you do not override the authentication information then the authentication details are taken from the EC2 instance. The CloudFormation template is set up with permissions to allow Nexus Repository to create S3 buckets.
 |