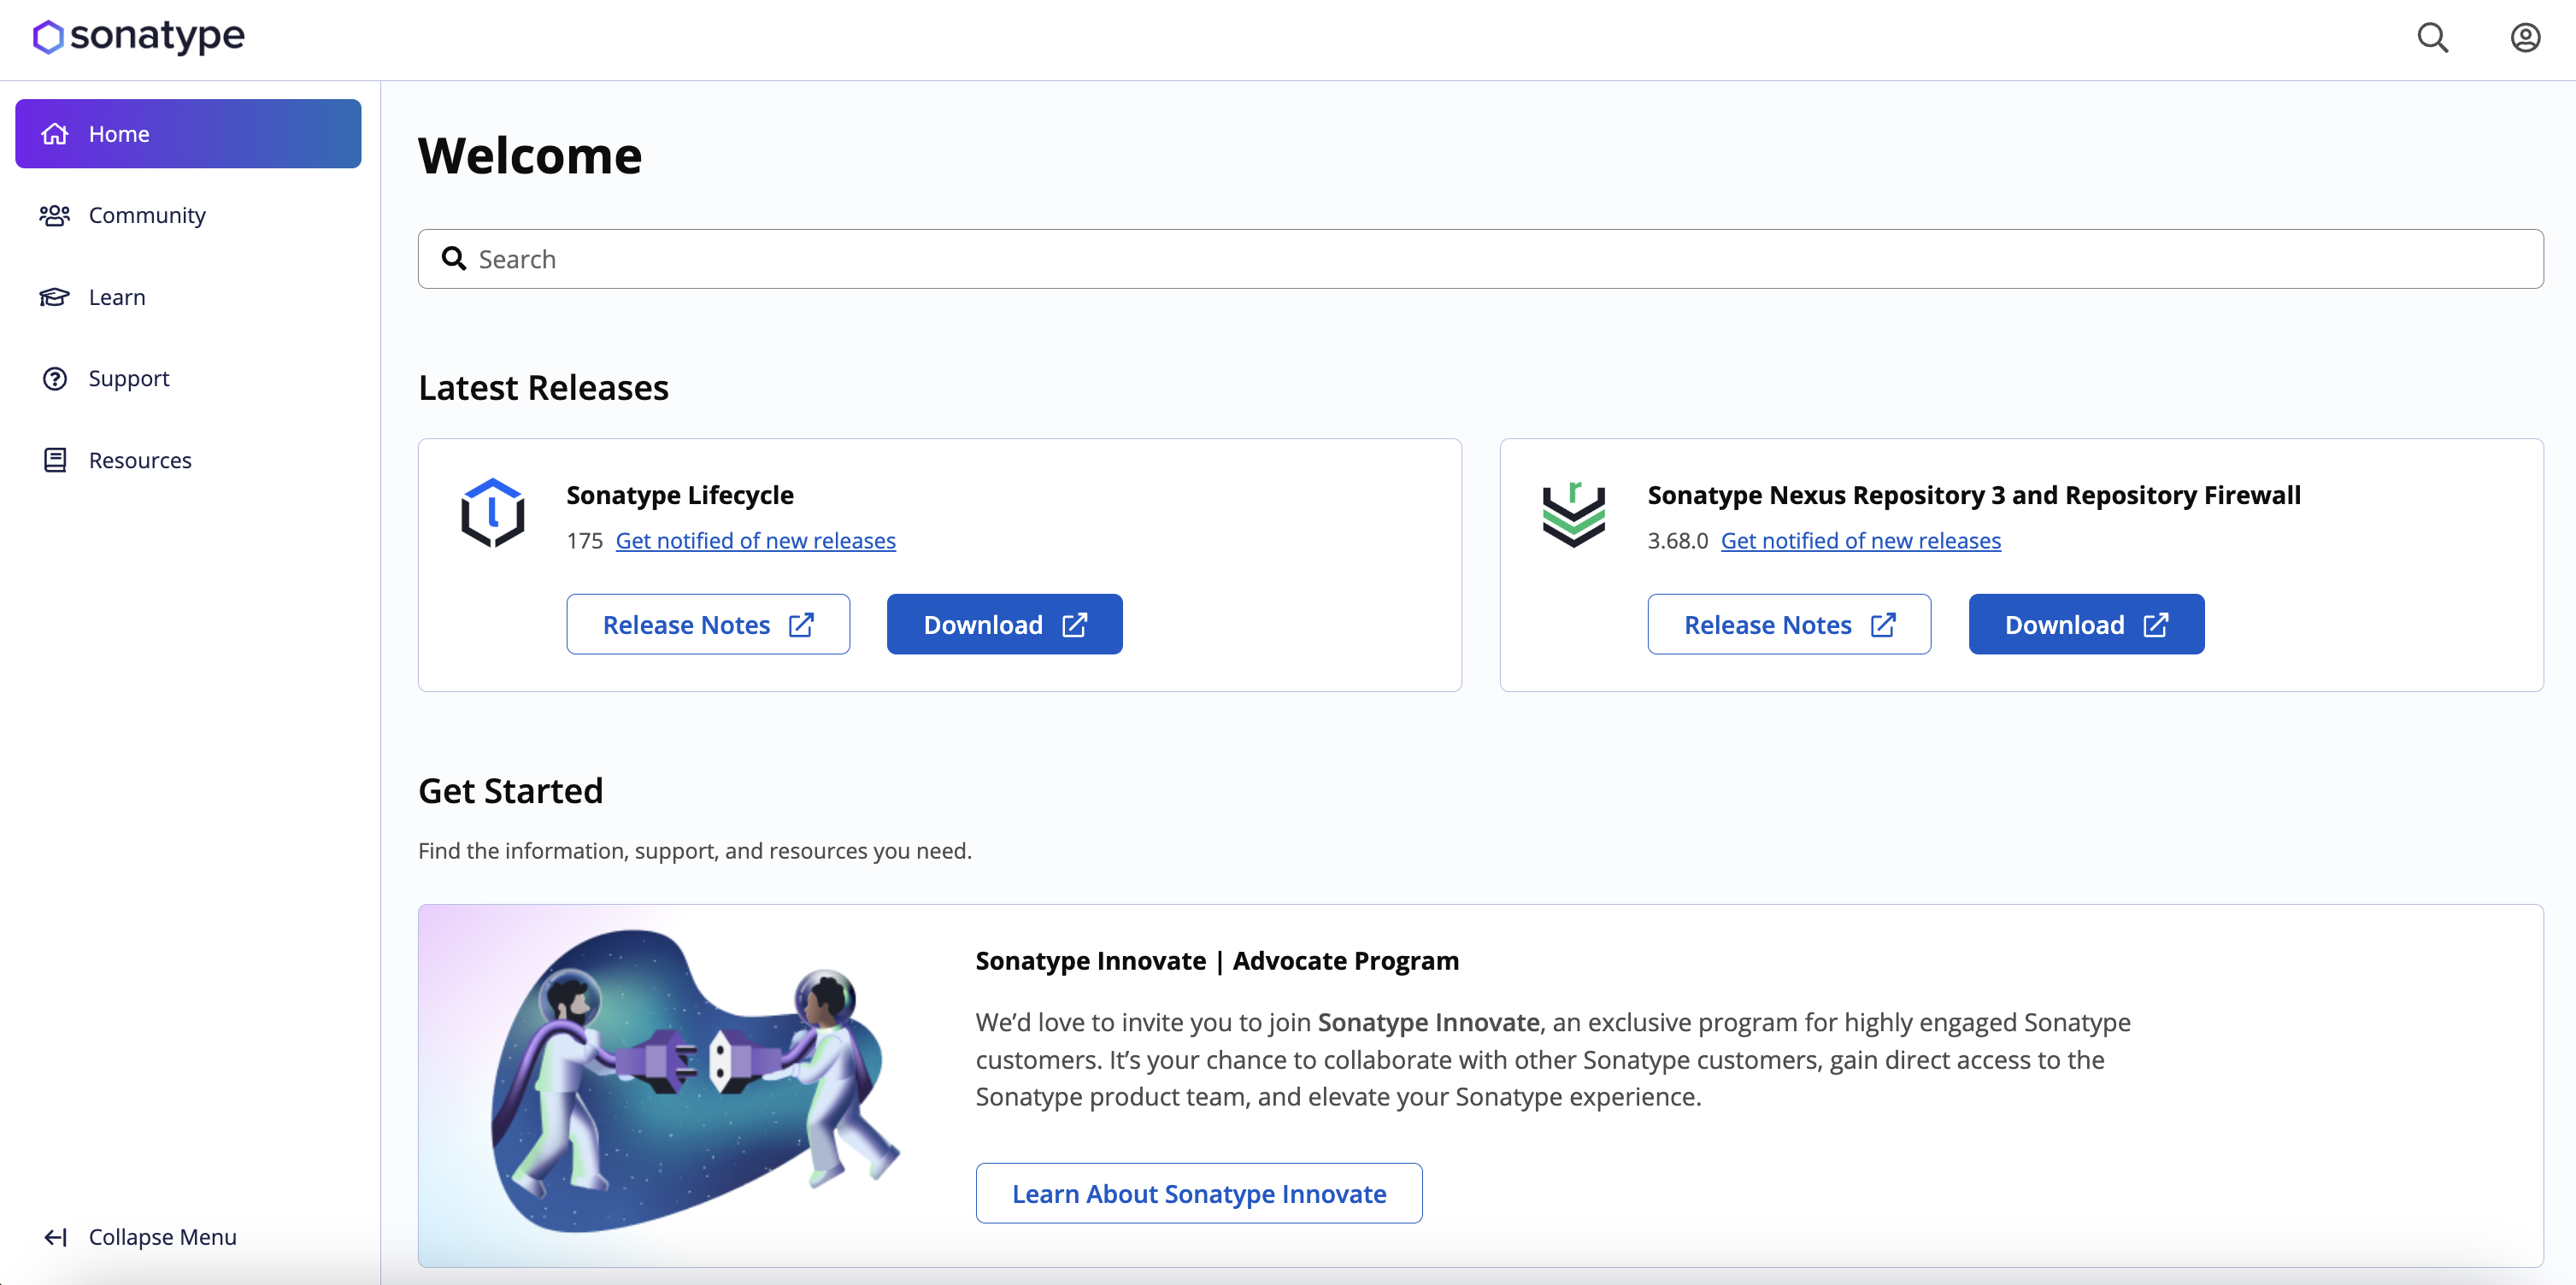
Using my.sonatype.com
My.sonatype.com is a self-service hub for managing Sonatype product licenses and designating individuals as authorized contacts to open Sonatype support tickets.
Creating an Account
Go to my.sonatype.com and click on the profile icon
 at the top right
Click Sign Up at the bottom of the page
Enter the requested information and click on the Sign Up button
Accept the Terms and Conditions
You will be asked to verify your email address
Visit your email inbox and select the email titled "Verify email." This email will come from donotreply@sonatype.com
Click the link provided in the email
Select Click here to proceed. You will see a confirmation message indicating that your email address has been verified
Signing In
Go to my.sonatype.com and click on the profile icon
at the top rightEnter your credentials and click Sign In
When an account already exists for you and your organization is using a Google or GitHub as an SSO solution, select the Google or GitHub buttons to sign in.
 |
Creating an Organization
Your company is identified as an Organization within my.sonatype.com. As the account owner, you need to create an Organization to manage your Sonatype product licenses.
To create an organization:
After signing in, click on the profile icon
 at the top-right. Select Organizations from the dropdown menu to open the page
Click the Create Organization button and enter a name for the organization. You can also upload an image and provide a description in the respective fields. Click Next
Enter the license fingerprint. Instructions on how to find it within Sonatype products are available. Click Next
Add email addresses to send invitations to the members of the newly created organization. Click Finish
Verifying an Organization
You are required to verify your Organization before you can designate your Support Contacts.
You'll be prompted to verify your organization when you first create it. If you did not verify your organization at that time, you can follow the steps below.
After signing in, click on the profile icon
at the top-right. Select Organizations from the dropdown menu to open the pageClick Open next to the organization you want to verify
Go to the Licenses section
Enter your license fingerprint into the text field. Owners/admins can find the fingerprint from one of the following sources:
The email received when the license was created
In Lifecycle: Open the System Preference cogwheel dropdown menu and select Product License
In Nexus Repository: Open the Administration cogwheel and in the left menu and navigate to System → Licensing
Select Verify License
Adding Members to an Organization
Once you have an organization, you can add members to it. When you verify your organization, we will try to integrate any existing members from our support case management system into the organization you just created. However, you can also manually invite members into your organization.
After signing in, click on the profile icon
at the top-right. Select Organizations from the dropdown menu to open the page.Click Open next to the organization to which you want to add members
Under the Members section, click the Invite Members button
Add the email addresses of the members you want to invite
Click Send Invitations
This will email instructions for signing up for my.sonatype.com. Once that person creates an account with the specified email address, they'll automatically be added to your Organization.
Assigning Support Contacts
Authorized support contacts are the people in your organization whom you assign to serve as the liaisons between your company and the Sonatype support team. They are chosen from the pool of existing members in your organization.
The number of members allowed to be support contacts is determined by the customer contract
Being a member of an Organization does not automatically make them a support contact
Only verified Organizations can have support contacts
Individuals who have been invited to an Organization but haven't accepted the invite email cannot be designated a support contact
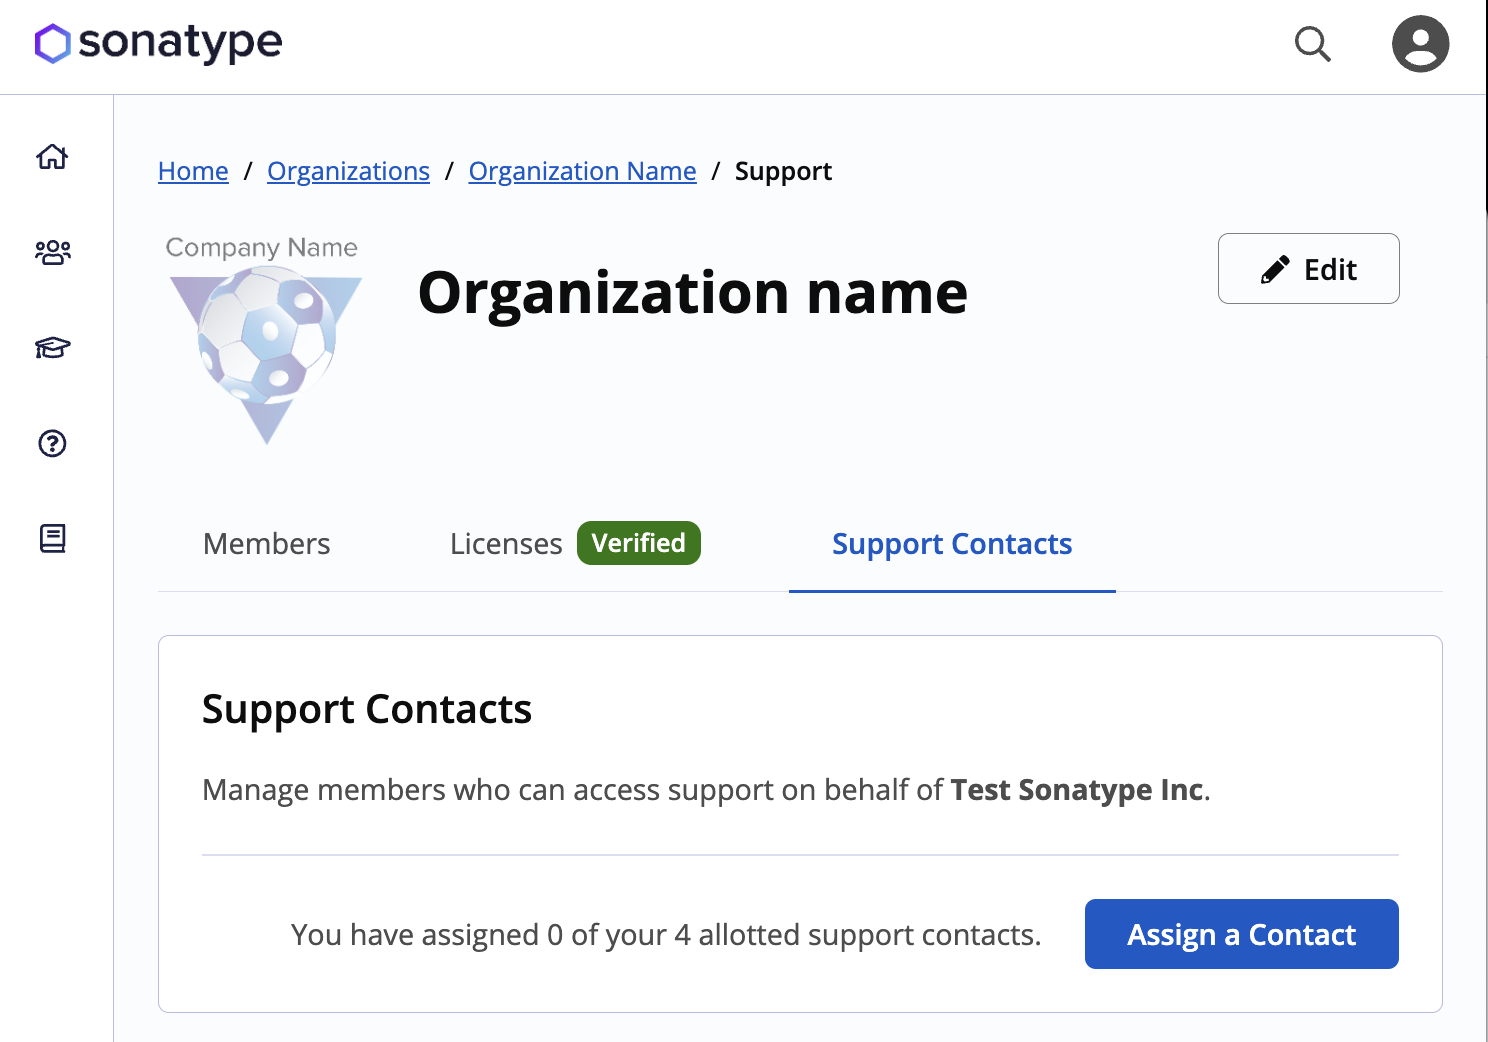
To assign support contacts:
After signing in, click on the profile icon
at the top-right. Select Organizations from the dropdown menu to open the pageClick Open next to the organization to which you want to add support contacts
Go to the Support Contacts section
Click the Assign a Contact button
Select the member to be assigned as a support contact
Click the Assign Now button, and verify the action